Clutch Replacement And Slave Cylinder Check
Saab 90, 99, 900
23.11.2021These instructions have been created during the repair of a Saab 99 from 1984. For Saab 90 and 900 with 5-gear manual transmission the procedure is the same from step 5.

Here we start.
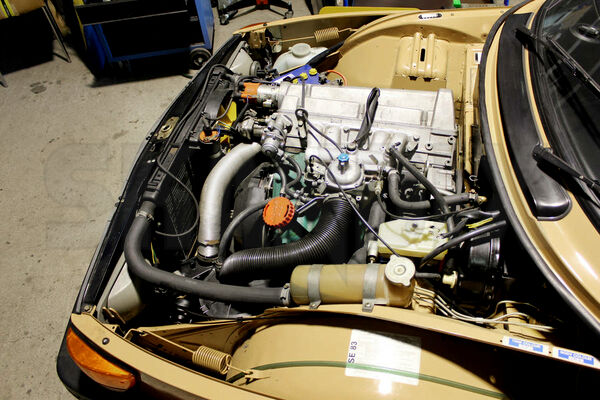
Remove the bonnet.
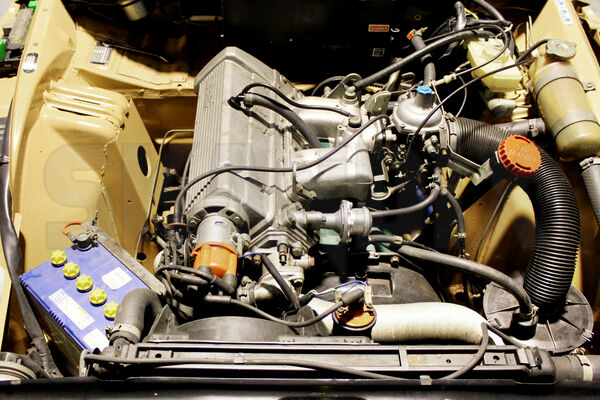
Remove radiator and front mask.
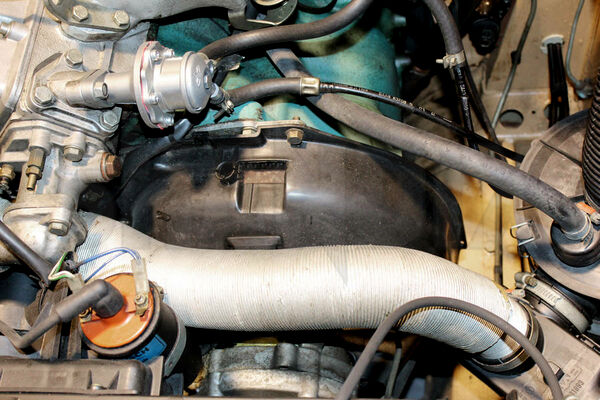
Remove the intake heater hose and the black clutch cover.
Install the tensioning ring.
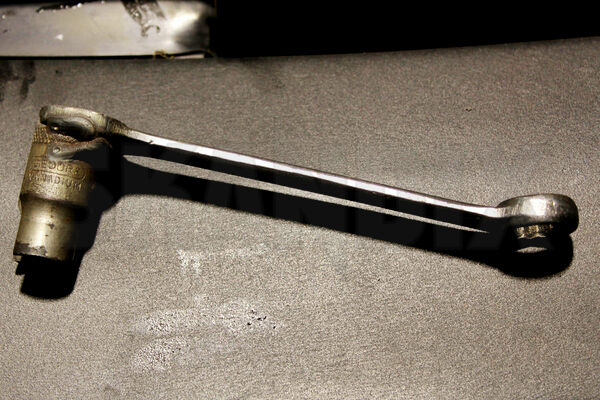
To loosen the nut of the clutch hose we have built a custom tool.
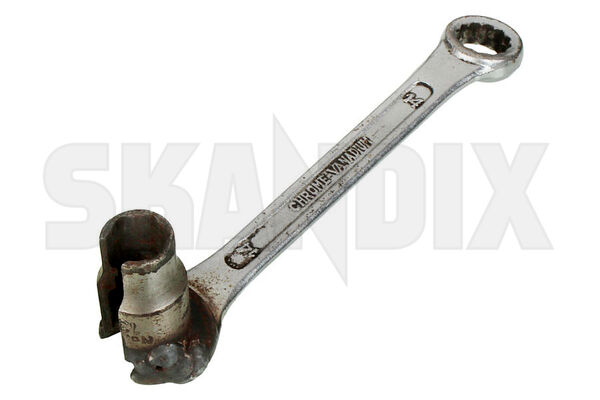
It is made of an old 14mm spanner and an old 13mm hex nut.
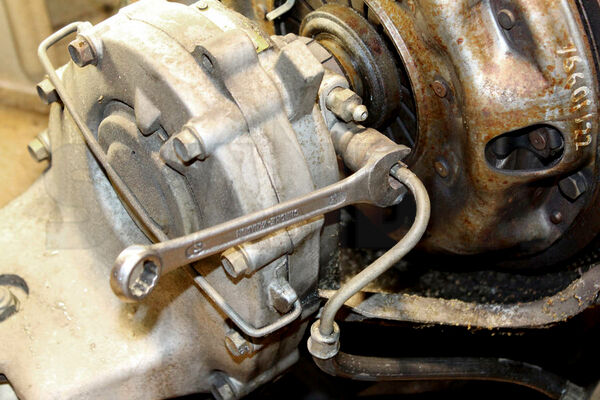
Use this tool to disconnect the clutch hose.
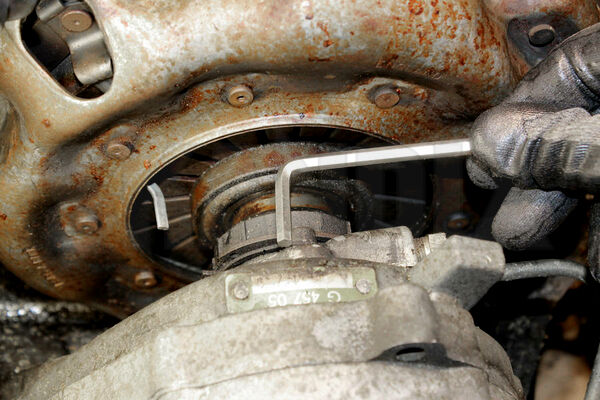
No we need the next custom tool, a 4mm allen wrench.
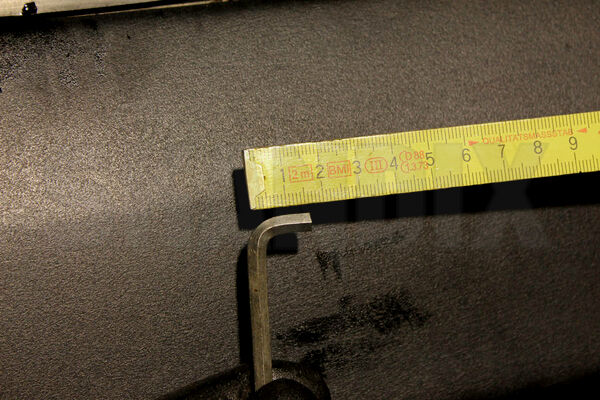
It has to be shortened to 1.5 cm.
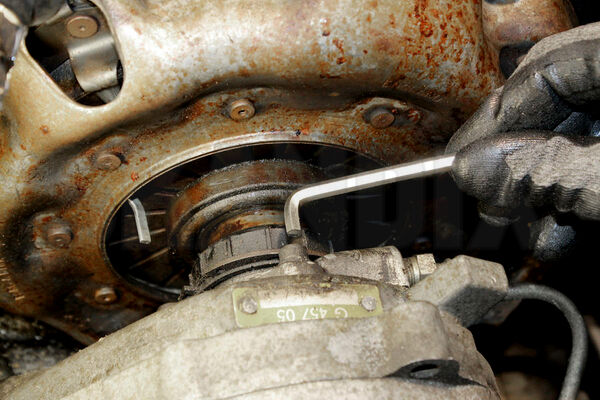
Remove the three screws holding the slave cylinder.
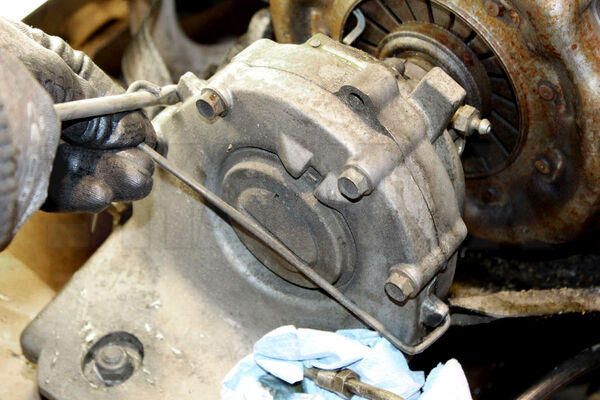
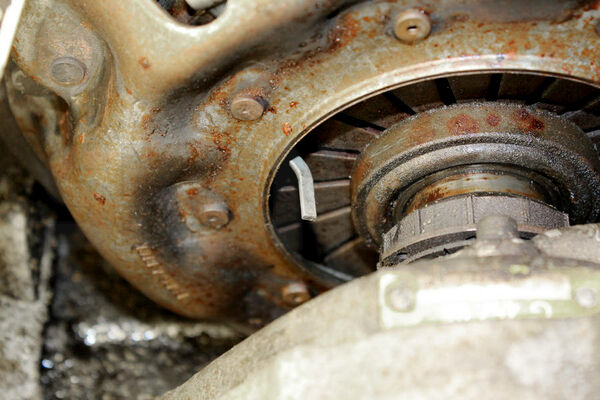
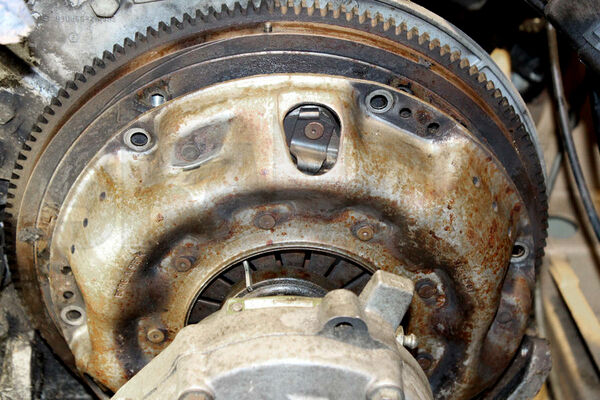
Remove the clamp holding the primary drive´s service cover.
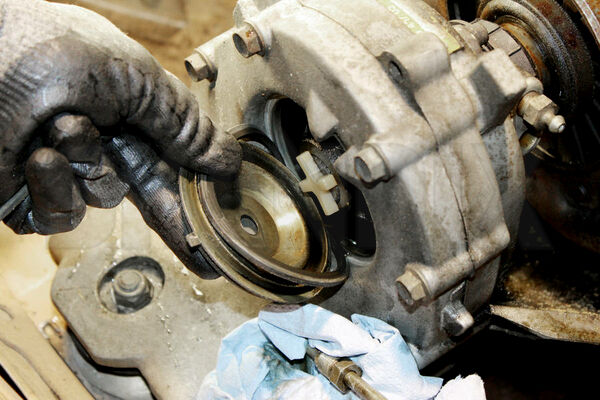
Remove the service cover.
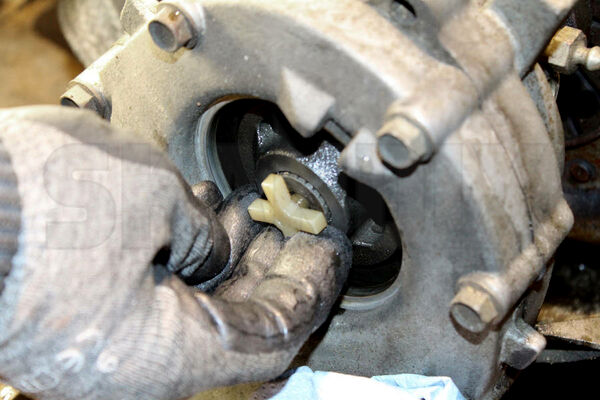
Carefully unscrew the impeller "plastic cross". It´s easy to break and not longer available.
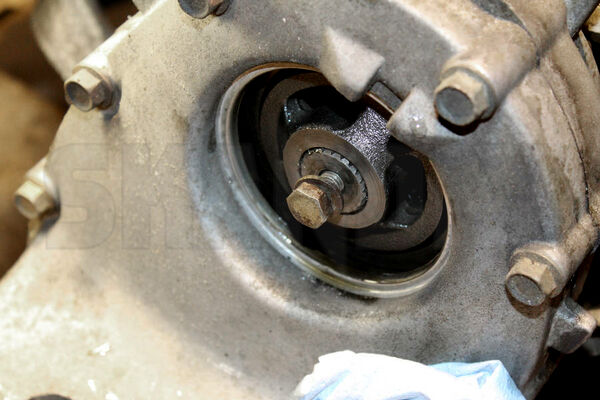
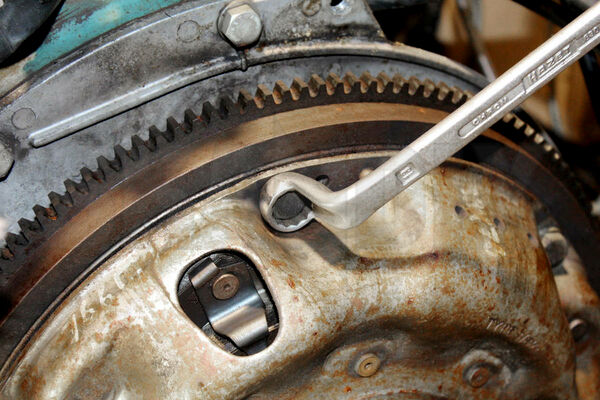
Screw an M8 screw and washer into the clutch shaft.
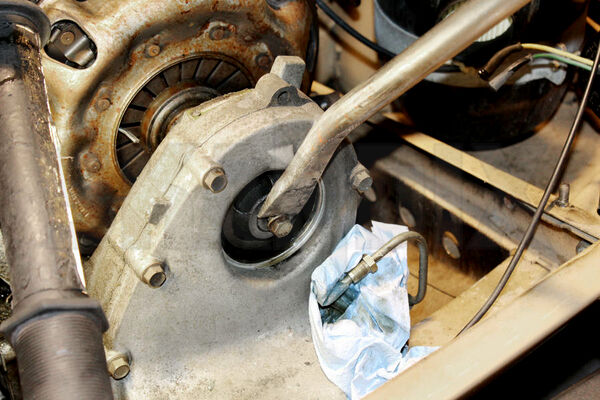
Use an appropriate tool to hook under the screw to lever out the clutch shaft. If it comes out a little bit notchy be patient and careful.
Of course Saab provided a special tool but it is not longer available.
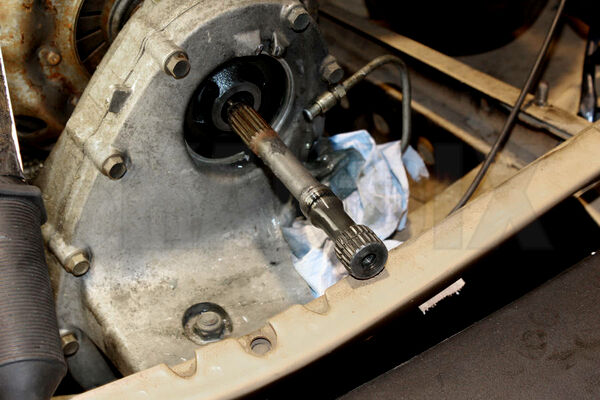
Take out the clutch shaft.
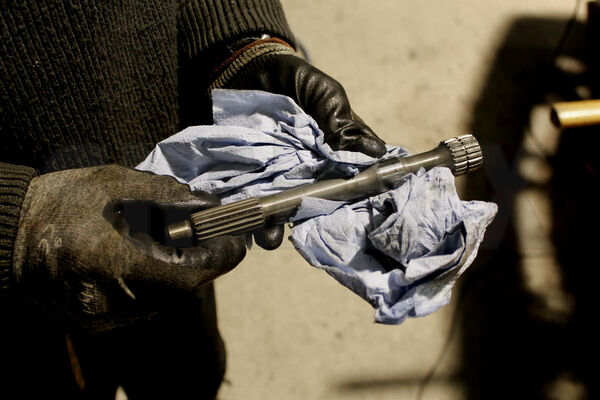
The shaft has to be checked:
1. is the front part oily? -The radial oil seal behind the slave cylinder has to be replaced.
2. Is there brown stain on the front part of the shaft where it runs in the pilot bearing? -The pilot bearing has to be replaced.
Unscrew the 6 srews holding the pressure plate.
Then lever the pressure plate from the guide pins (screwdriver or something similar).

Clutch and slave cylinder can only be taken out together, maybe some kind of notchy again.
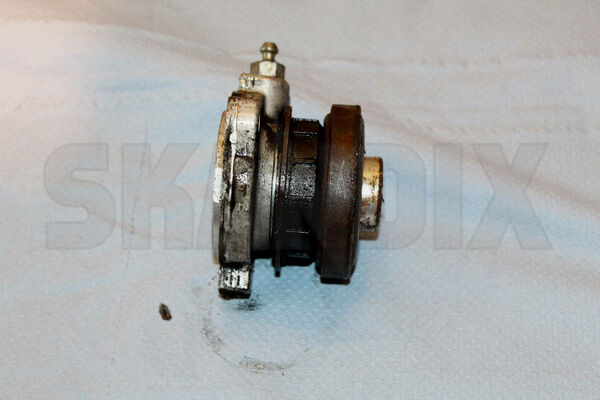
A mandatory step of a clutch repair is the inspection of the slave cylinder.
Here you see the slave cylinder from our sample car, old type 1976-1985. This type is not longer supplied. Some can be refurbeshed or must be replaced by the later type.
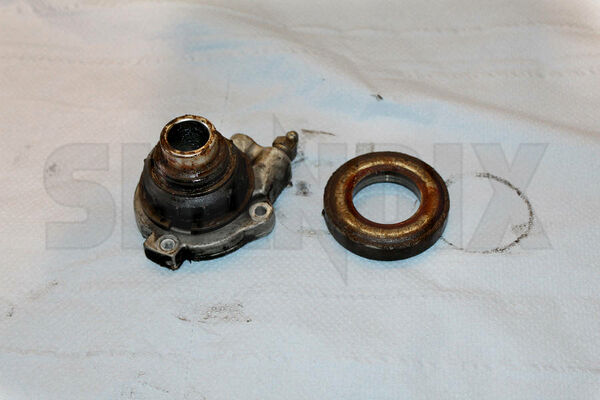
Disassembling the slave cylinder. Take off the release bearing.
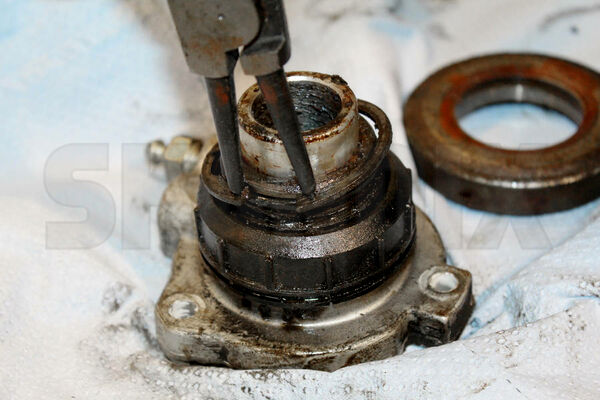
Remove the circlip.
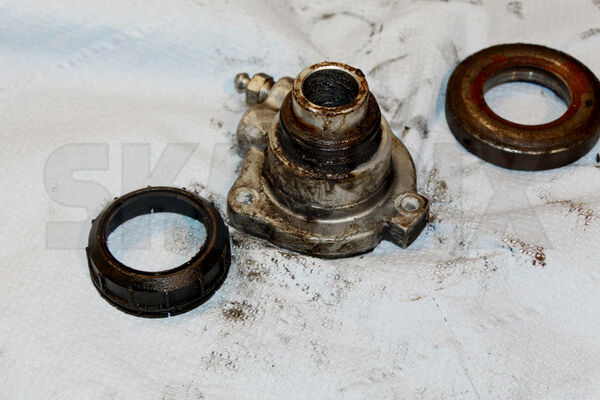
remove the plastic cap.
- All notes serve only as an example and do not replace the workshop instructions of the automobile manufacturers! All information is supplied without guarantee!
Additional information...
- 1003436: Clutch kit
- 1003089: Clutch kit
- 1003874: Clutch kit
- 1006379: Clutch kit
- 1003197: Concentric, Slave clutch cylinder
- 1003458: Repair kit, Clutch slave cylinder
- 1003611: Release bearing
- 1003717: Clamping ring, Pressure plate 155 mm
- 1002998: Radial oil seal, Manual transmission Transmission input
- 1006633: Pilot bearing, Clutch