Valve cover aluminium
Volvo PV544 (61-), 121 (61-), 220, 210, P1800, 140, 240 (-75)
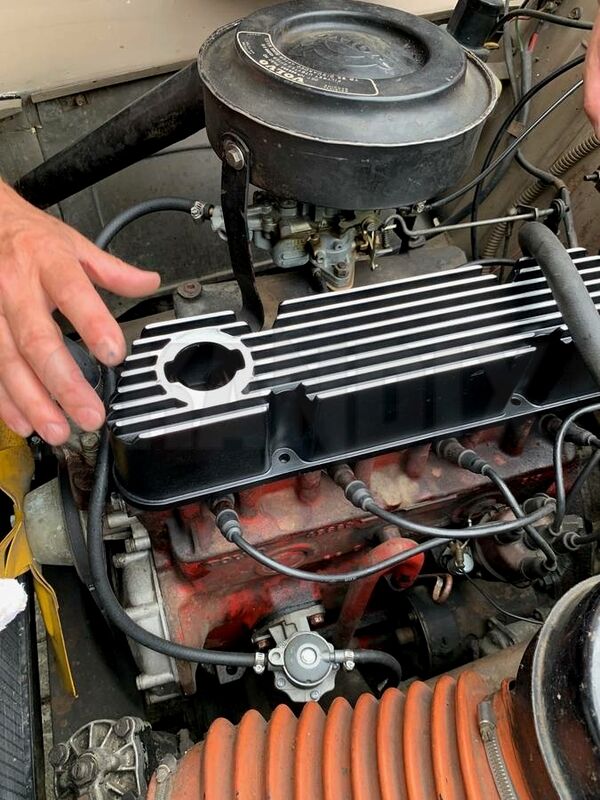
16.01.2024Installation instructions for the aluminium valve cover which does not only look better, it also provides a better heat dissipation and is suitable to replace the original, mostly warped, tin valve cover. The original tin valve cover is often warped badly due to being overtorqued in the past, resulting in constant oil leakage even with a lot of sealant.
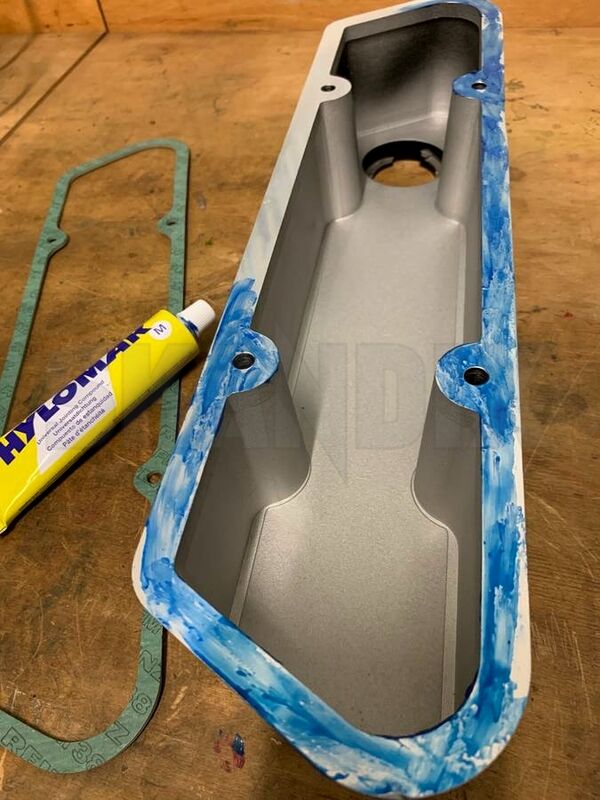
Remove the old valve cover and thoroughly clean the sealing surface on the cylinder head. Suitable for this are gasket scrapers or razor blades. Clean the surface with brake cleaner and a cloth. Now it makes sense to check and adjust your valve clearance. If you want to play it safe, you may want to use a thin and permanently elastic sealant like Hylomar (1013242) and spread it into the sealing surface of the new valve cover. Sealant is mandatory when the sealing surface on the cylinder head has deep scores or visible damages.
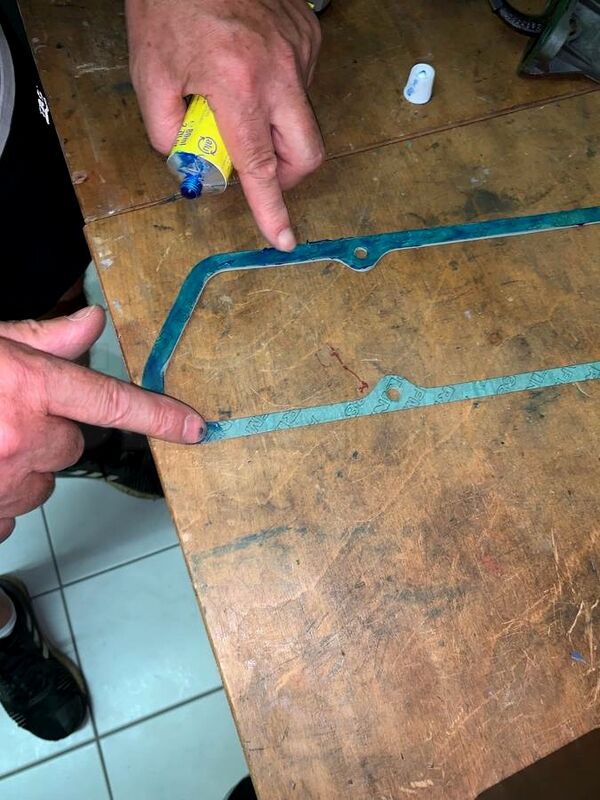
Do the same thing with the suitable gasket (1012767) for the aluminium valve cover on the side facing the cylinder head. The sealant compensates small damages in the sealing surface and keeps the gasket from slipping out of place during the assembly.
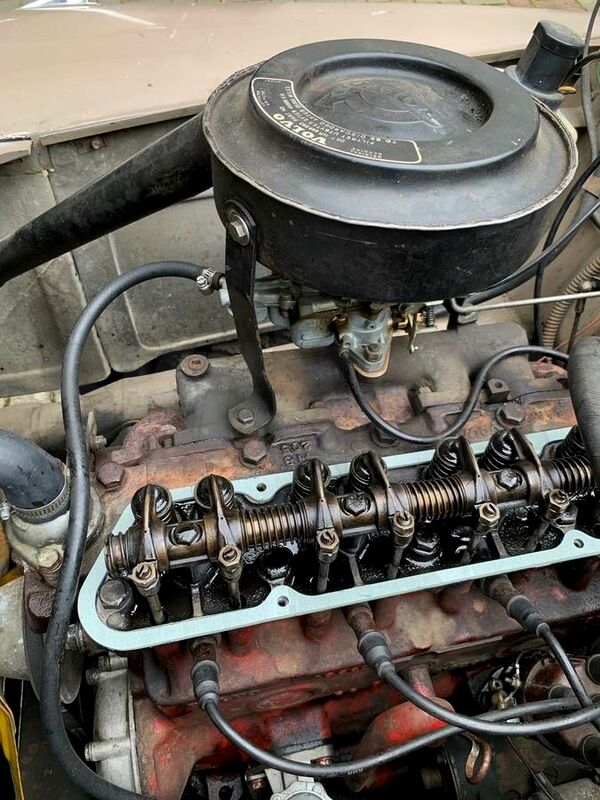
Place the gasket carefully on the cylinder head in the correct position.

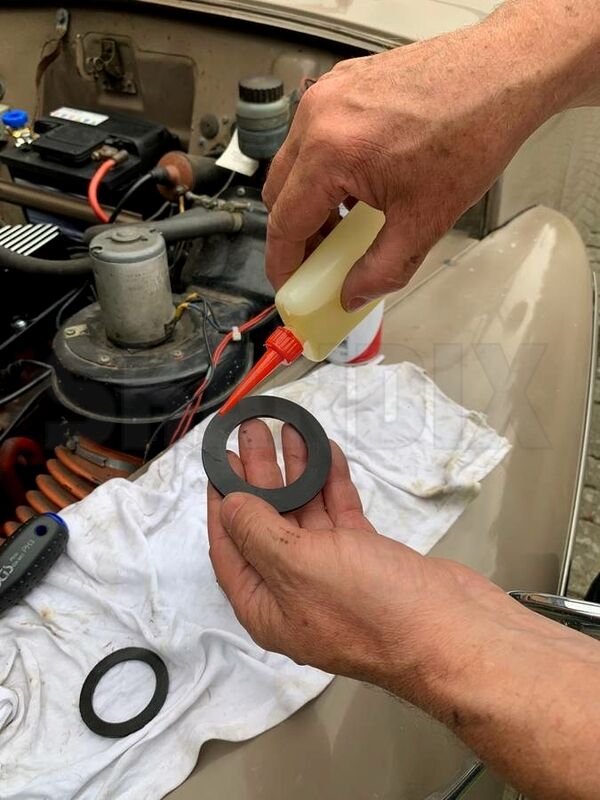
Cover the enclosed, new rubber gasket with oil.
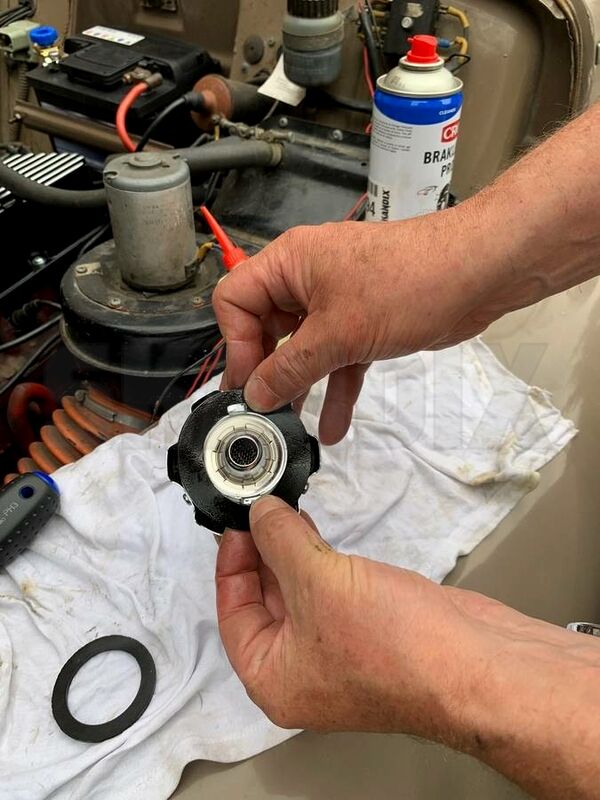
Install the new rubber gasket behind the retaining collars of the oil filler cap.
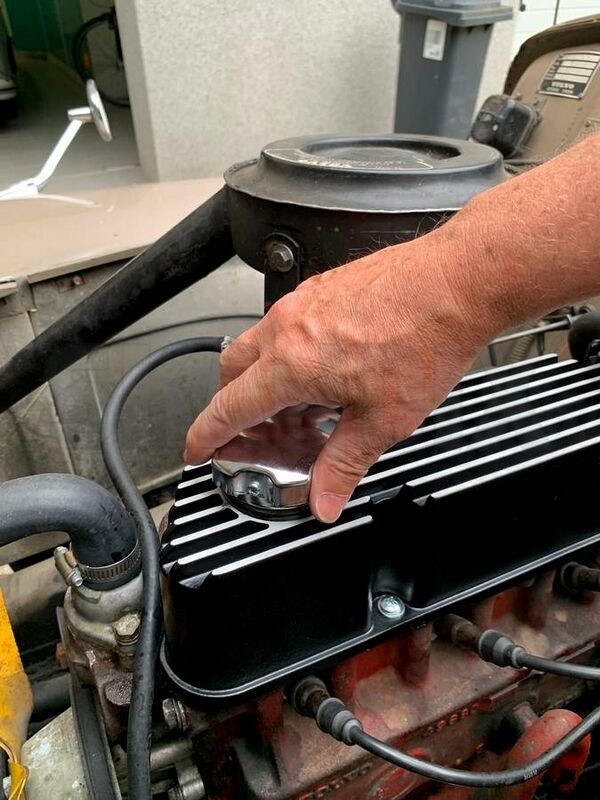
Put the oil filler cap on the valve cover and wait until the sealant has dried. Start the engine and make sure nothing leaks.
- All notes serve only as an example and do not replace the workshop instructions of the automobile manufacturers! All information is supplied without guarantee!
Additional information...
- 1009440: Rocker cover Aluminium