Starter
Volvo 400
30.11.2021Hints for replacing the slightly hidden starter in the 400 Volvo models. The shown car is am early 440 with 1.8l Petrol Engine w/Turbo. The removal of the starter from its position in the models with turbo may vary. In addition two different variants of the rear engine mount and subframe can occur.
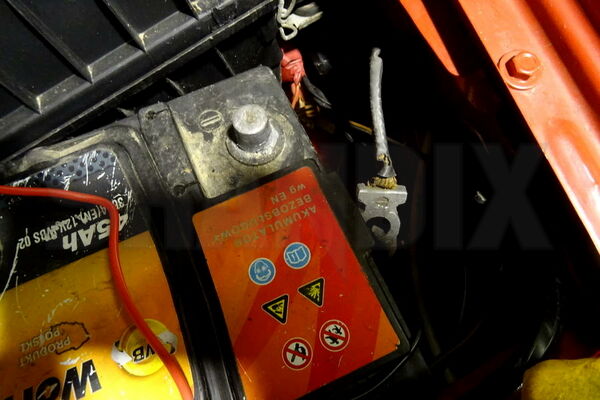
As with all work on the vehicle electrical system, disconnect the battery first.
A workshop lift or pit is helpful, as work must be carried out from above and below. If this is not possible, jack up the vehicle at the front or drive on ramps.
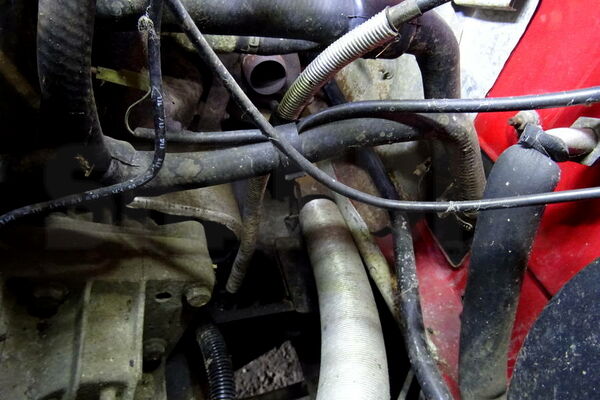
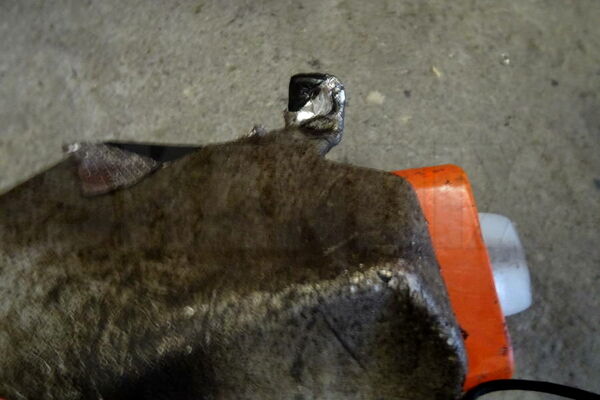
Remove the pre-heating hose from the exhaust manifold and take aside.
Unscrew the two rear heat shield above the drive shaft and the starter.
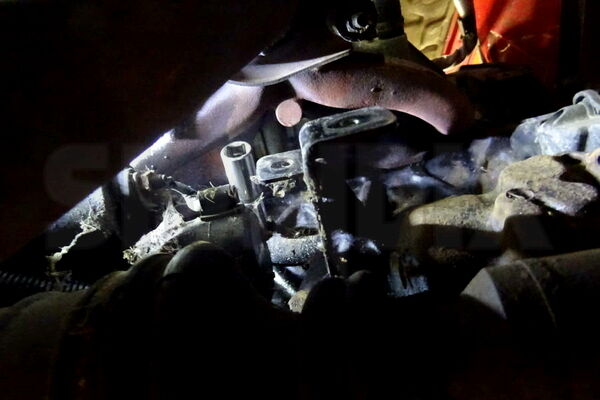
The upper shield above the starter has a very hidden screw between starter and exhaust manifold which can only be reached with a small 1/4" ratchet and a 15cm extension.
From below, unscrew the bracket for the heat flow plates from the engine block.
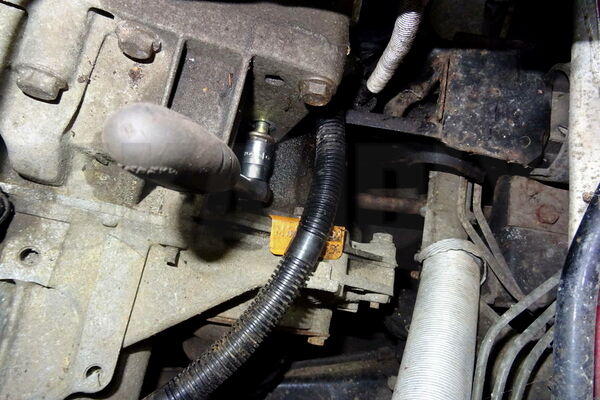
Then pull or unscrew the cables from the starter.
For terminal 50 (magnetic switch) at the starter motor there can be a screw contact as well as a 6,3mm flat plug. Please compare with the new part before installation and if necessary crimp another connection to the cable.
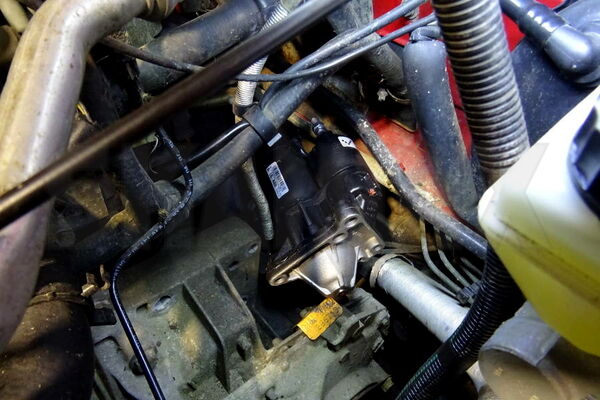
Unscrew the three starter mounting screws, from the top of the gearbox.
The starter now can be loosened. Usually some rocking forth and back is necessary, because the part sticks or is corroded.
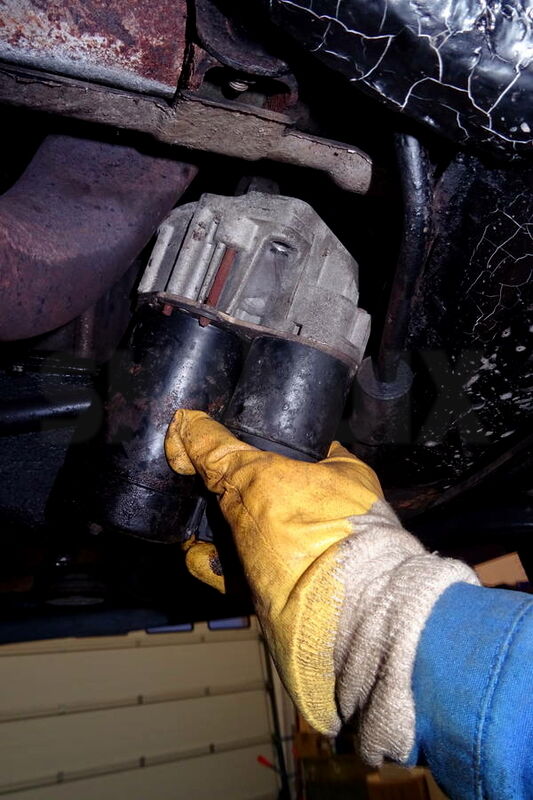
Pull the starter over to the right side of the engine, then bend it down and remove it past the downpipe on the right.
Alternatively, the starter can be removed upwards, passing the gear bell on the rear side.
For this purpose it must also be turned a little, otherwise the magnetic switch will get stuck on the downpipe or manifold.
This method might not work with the turbo engines, because the Turbo is in the way.
It makes sense to clean the seat of the starter on the gearbox with brake cleaner and abrasive fleece before inserting it, because otherwise the fit on the gearbox could jam. Otherwise the installation is carried out in the reverse order of dismantling.
- All notes serve only as an example and do not replace the workshop instructions of the automobile manufacturers! All information is supplied without guarantee!
Additional information...
- 1006167: Starter