Repairing carburettor FoMoCo
Saab 95, 96, Sonnett lll
22.12.2021Hint for the replacement of the float needle valve and the acclerator pump membrane
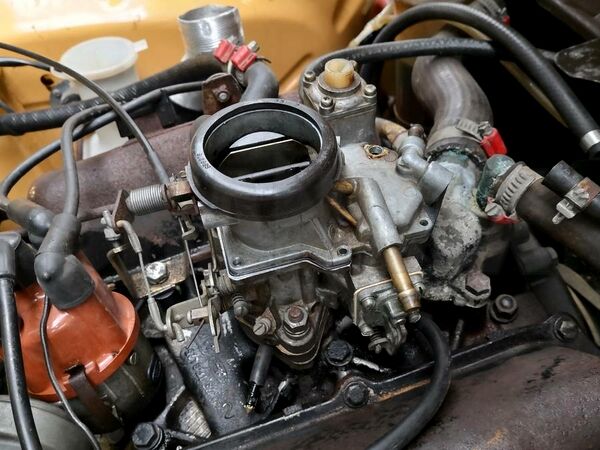
The often in the Saab 96 V4 installed Ford carburettor is a simple construction. Therefore it is easy to repair by non-professionals. Here we show you the exchange of the float needle valve, which could be damaged because of it`s age or bad, dirty fuel. The acclerator pump membrane could be hardened or torn, also the piston on the membrane could hang. All these defects would let the engine turning off, either too much or insufficient fuel.
For these repairs you need the float needle valve, the acclerator pump membrane and the gasket for the carburettor top.
Also you have to check the condition of the throttle valve, if there ist too much bearing clearance the whole carburettor has to be refurbished or replaced.
You cannot adjust such a carburettor correctly!
If your carburettor is not repairable, we have a conversion kit with a new modern weber carburettor (1051411) in our program.
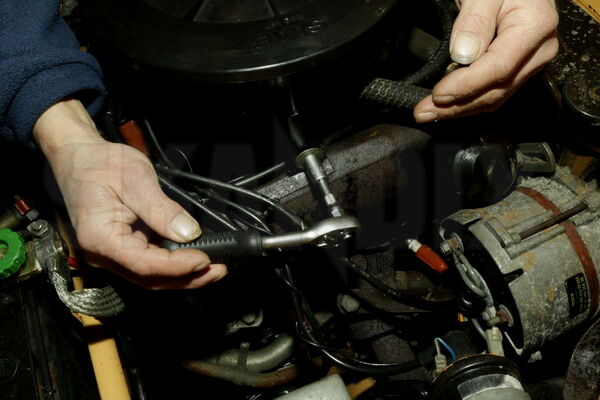
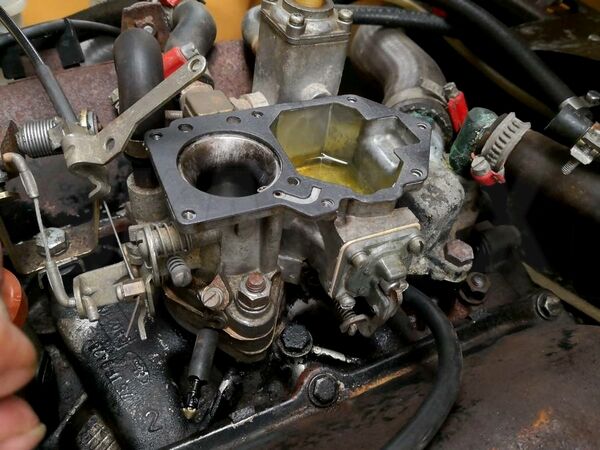
At first you have to dismantle the air cleaner box. Therefore undo the two 6mm screws on the left and the right side of the box. Pull off the crankcase ventilation and the preheating hoses.
On top of the carburettor bowl there is a plasic stud for the ventilation hose which ends near the gearbox. Please handle this stud with care because it is fragile due to the age of the material plus it is not included in the repait kits. Best way is to remove the hose before working at the carburettor. Do not forget to reinstall this hose later otherwise there is a risk of fire.
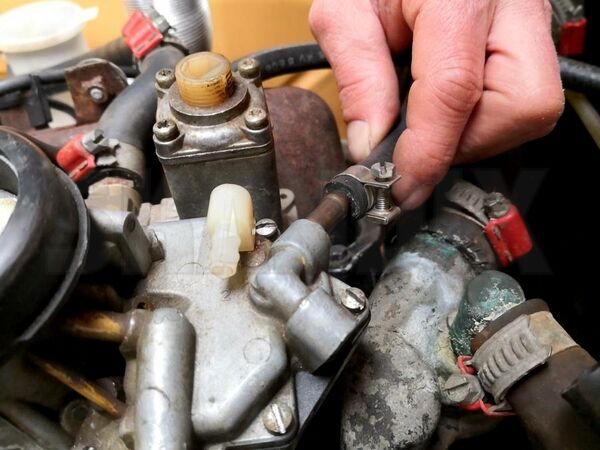
Unscrew and pull off the fuel hose.
For the replacement of the float needle valve, unscrew the screws of the carburettor cover plate. Then disengage the choke valve from the choke linkage. To do this, there is slot next to the bore through which the linkage can be disengaged in one position
Now remove the float by driving out its shaft. This must be done carefully using a exact fitting pin punch because the casted carburettor cover can be damaged easily.
To do this properly clamp the cover vertically in a vice using aluminium jaws. Do not overtighten! Alternatively a helper person can hold the part on the workbench. High forces are neither necessary nor appropriate.
Hold the pin punch exactly vertically and do not hit the cast material of the cover.
Remove the loosened shaft and take out the float. Now you can reach the needle valve.
Now unscrew the needle valve. Screw the new one into the carburettor cover plate with a very small torque, do not damage the thread.
Put the the cover plate on the back and set the needle into the valve. Take the float in its position and drive in the shaft carefully, think of the cast. Clean the sealing faces of the body and the cover plate, put the new seal in its position and engage the choke valve into the linkage. After this, set the screws and tight them woth low torque as well.
Never additionally use liquid sealing on carburettors because it can cause damage during disassembly and plugging of important bores.
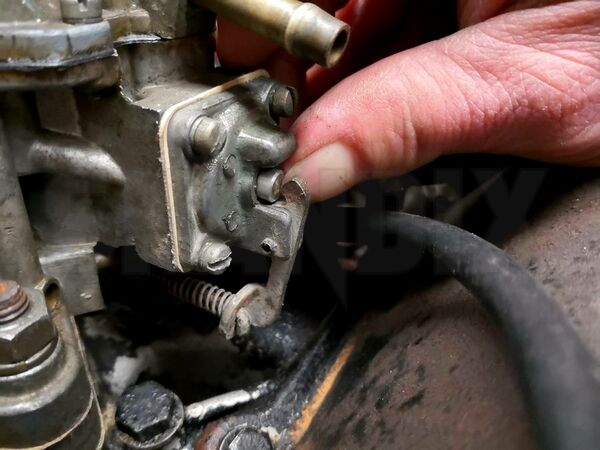
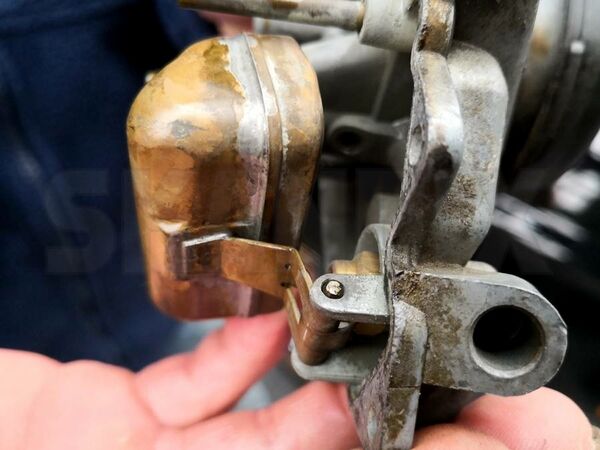
For the acclerator pump you need a very short screwdriver, there ist not enough place for a longer one. If you don`t have such a short one, you better dismantle the whole carburettor.
If you have unsrewed the four screws from the cover plate of the acclerator pump, hold the plate tightly, there is a spring under the membrane. Take the cover plate off and pull the membrane piston out of it, then you can remove the membrane.
For mounting the new membrane, arrange it carefully under it`s cover plate, then press the spring in it`s seat an set the screws. Screw them crossover with an also small torque. Check at the freely moving of the piston at the acclerator linkage. If it`s all okay, you can mount the air cleaner box and make a test drive!
- All notes serve only as an example and do not replace the workshop instructions of the automobile manufacturers! All information is supplied without guarantee!
Additional information...
- 1021154: Repair kit, Carburettor FoMoCo