Repair kit for dashboard shelf
Volvo 120, 130, 220
30.11.2021Installation notes for the SKANDIX dashboard shelf repair kit 1073043 which fits for Volvo 120, 130, 220 Amazon.
The set consists of a finished lower part covered with vinyl, which must be attached to the existing sheet metal carrier. This manual shows the repair.
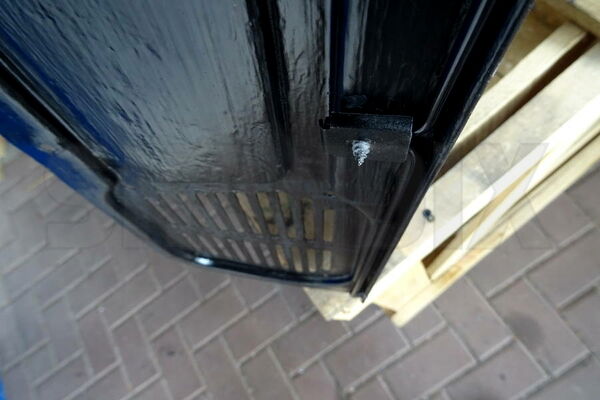
Unscrew the shelf from the firewall. The Screw heads are located in the engine compartment behind the battery.
Now lever the wire bow over the underside of the metal and pull the shelf out of the groove.
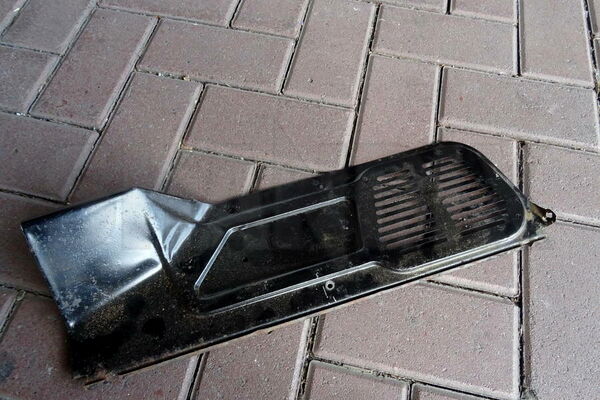
The metal part is not a part of our repair kit.
It must be cleaned and refurbished. In most cases this part is still in usefull or good condition.
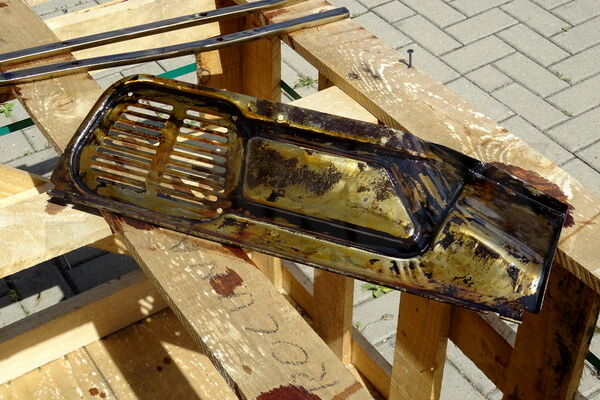
Clean the metal part and carefully inspect the groove:
- It must not be bent or folded
Straigten the mould of the groove to prevent damaging the new shelf floor during installation.
Our part was cleaned with a Bristle-Disc and derusted with Fertan.
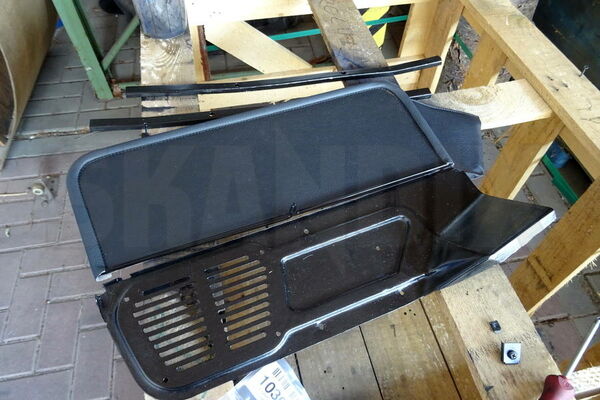
After that we painted the metal part twice with black Brantho Korrux 3-in-1 which made a sturdy slightly uneven surface.
The new shelf floor can be installed as soon as the paint went dry.
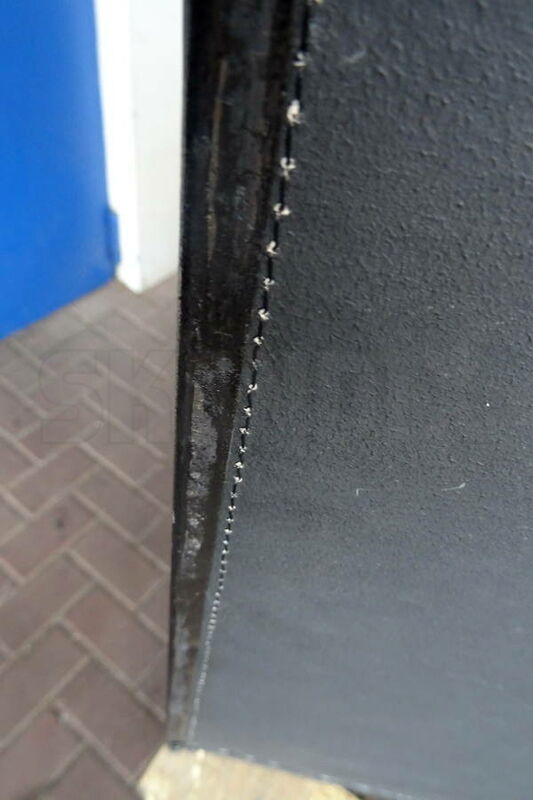
push the repair part into the groove straight and clean. When doing this the wire bow must be pused over the groove.
Make sure that the vinly lies on the circumferential reinforcement in the recesses provided in the metal part, otherwise unattractive folds will form at the ends.
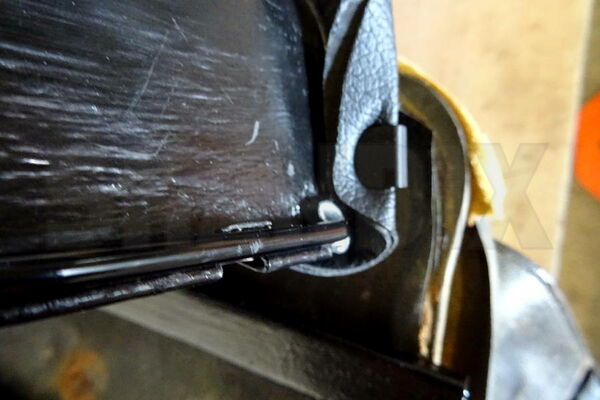
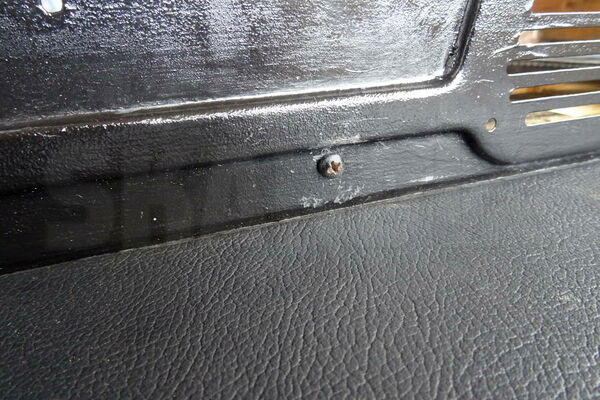
Refit the wire bow tappet. Here you can see the screw head.
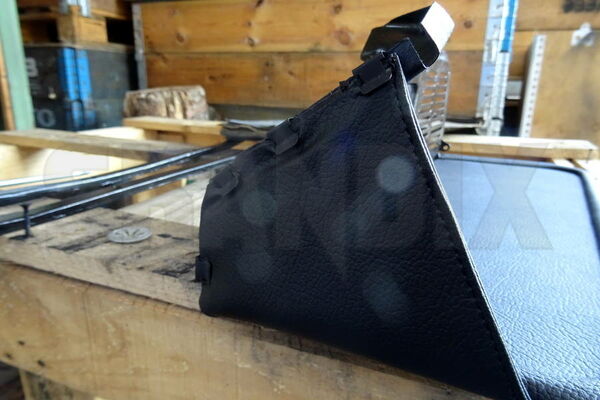
Now lay the vinyl on the left side above the sheet metal and press the clamps back on.
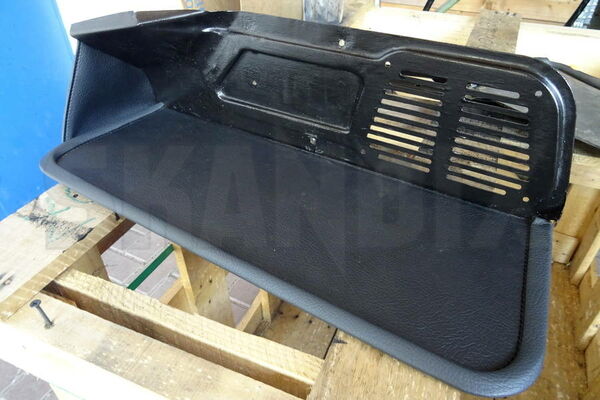
Now the overhauled shelf is ready for installation!
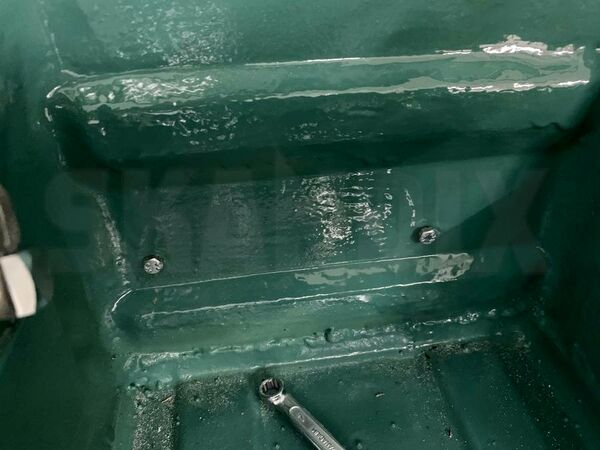
The mounting screws for the shelf are inserted from the engine compartment. The holes are located in the engine compartment behind the battery.
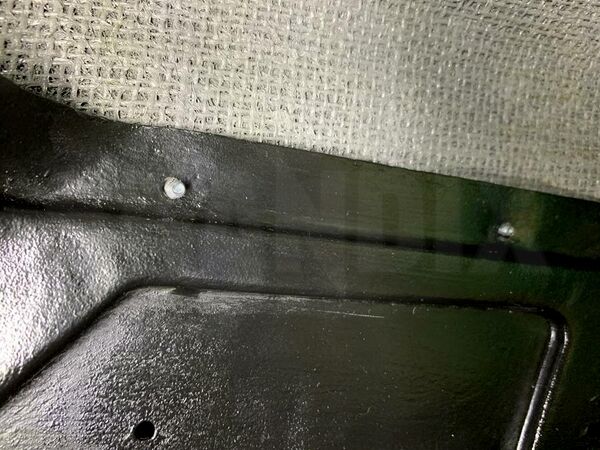
Put the shelf over the screw threads and mount with nuts.
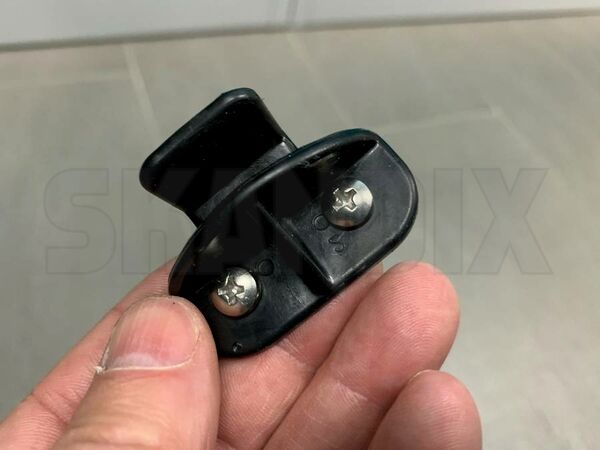
This is the side bracket.
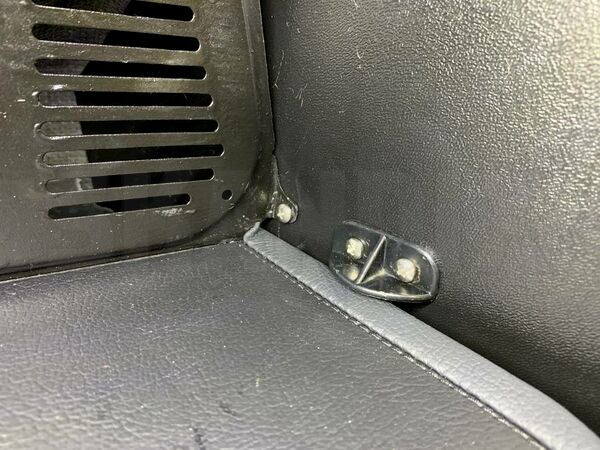
Shelf and side bracket are mounted to the A-Pillar with tapping screws.
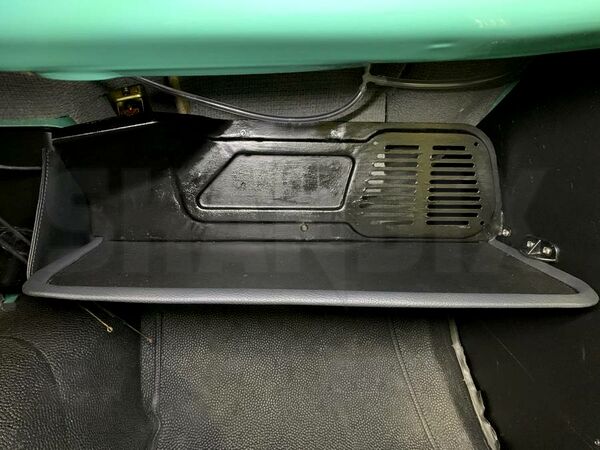
Done!
- All notes serve only as an example and do not replace the workshop instructions of the automobile manufacturers! All information is supplied without guarantee!
Additional information...
- Installation guide: Repair kit for dashboard shelf
30.11.2021, 1.2 MBytesDownload now

