Licence plate light repair part Volvo V70, V70XC (up to 2000)
Volvo 900, V70 (-2000), V70 XC (-2000), V90 (-1998)
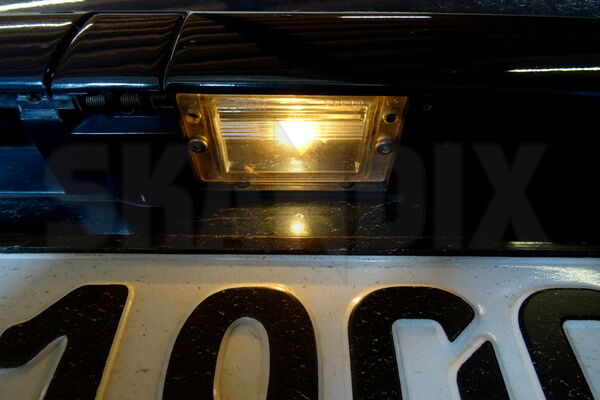
22.12.2021Repair instructions for the frequently scorched or corroded socket of the license plate light on the Volvo V70 and V70 Cross Country up to 2000.
Until now, if the lamp carrier is corroded or scorched, the complete tailgate handle had to be replaced because the vehicle manufacturer does not offer any individual part for repair. In addition to the higher spare parts costs, a new tailgate handle must also be painted in the vehicle colour.
We can now offer an inexpensive long-term repair solution for the lamp socket.
In the original the arrangement of the lamps are mirror-inverted on the left and right. The Skandix repair kit can be used on both sides with the same arrangement.
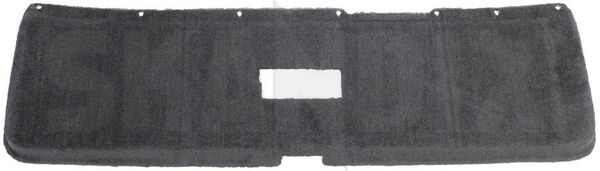
To remove the tailgate handle first remove the interior tailgate panel:
- Unscrew and remove the pull handle
- Clip off the panel on the underside towards the bottom and pull it slightly inwards away from the tailgate.
- At the upper ends of the panel, clamp thin pieces of cardboard under the fairing at the side next to the glass so as not to scratch the glass frame panels when the panel is pressed up.
- Push the panel up towards the glass, thereby pushing the upper clips out of their guides.
It is relatively normal that most of the clips break. They are brittle due to age and should be kept ready as new parts. There are four each at the top (1006002) and bottom (1006000).
If the panel itself is damaged, it can be repaired with kit 1005611.
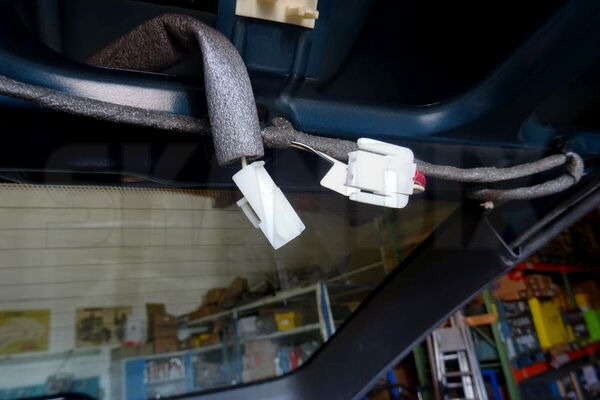
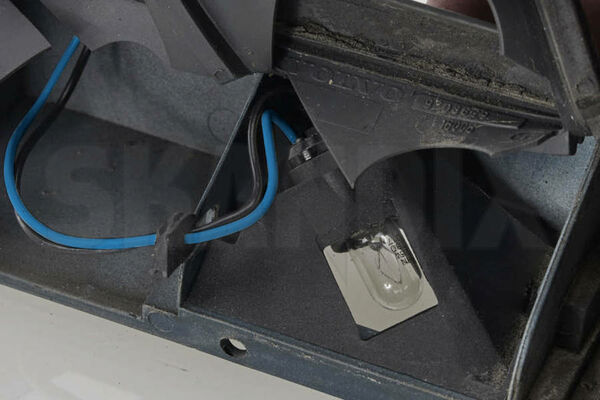
Push the plugs for the license plate illumination and the rear wiper motor out of their guides and disconnect the plugs.
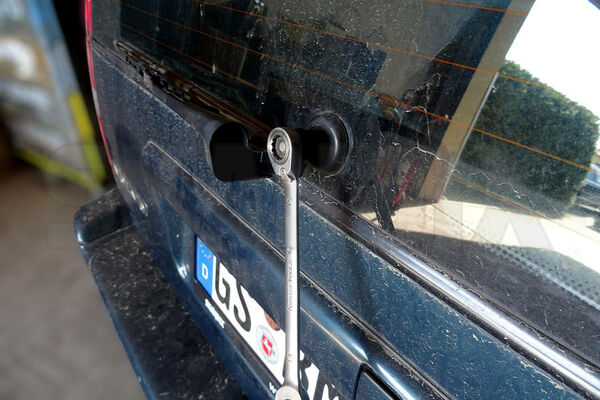
Fold up the cover of the wiper shaft and unscrew the wiper arm.
Fold down the wiper arm and loosen it by wiggling it slightly, or use the puller tool 1042375.
Remove the wiper arm and put it aside.
Now completely unscrew and remove the wiper drive. The shaft can be pulled out of the seal vertically quite easily.
This is now a good opportunity to lightly grease the wiper linkage and the shaft!
Unlock the actuating rod of the lock by the handle and pull it out of its guide.
The tailgate may now no longer be closed, because it can now only be unlocked from the inside of the lock!
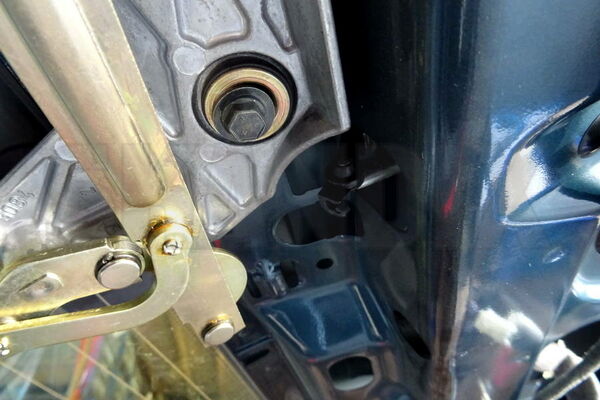
Remove the four nuts of the handle and take the handle down.
Pay attention to the electrical supply line and carefully thread out the handle.
Now unbutton the seal from the handle and lift it up.
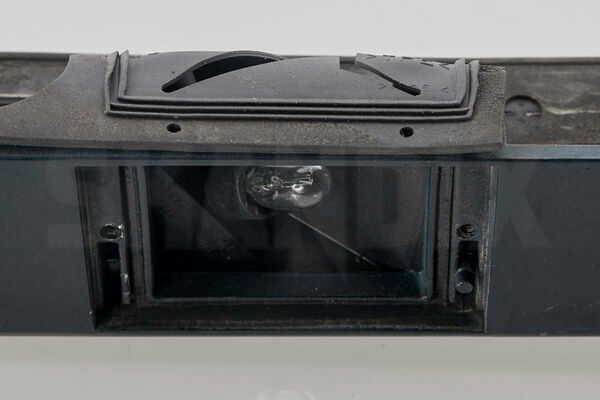
The socket for the lamp can now be easily pushed out towards the inside.
Leave the leads as long as possible, i.e. cut them as close as possible to the old socket.
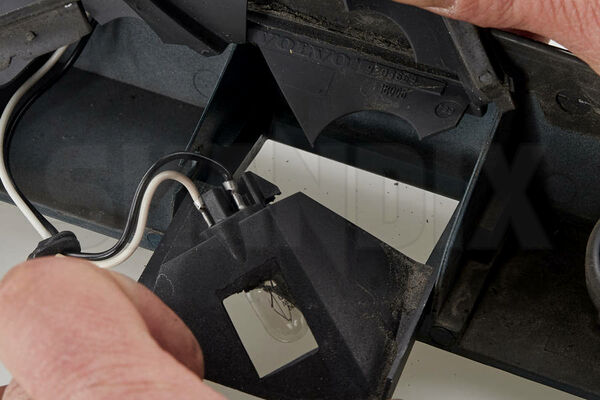
Remove the lamp from the new socket and test whether the lamp holder can be pushed into the seat.
Due to manufacturing tolerances on the handles, it may occasionally be a little tight. Then the new socket must be ground a little thinner with the lower support surface on a sheet of sand paper.
If everything fits, push the small lateral seal for the chamber of the license plate light onto the leads of the new socket.
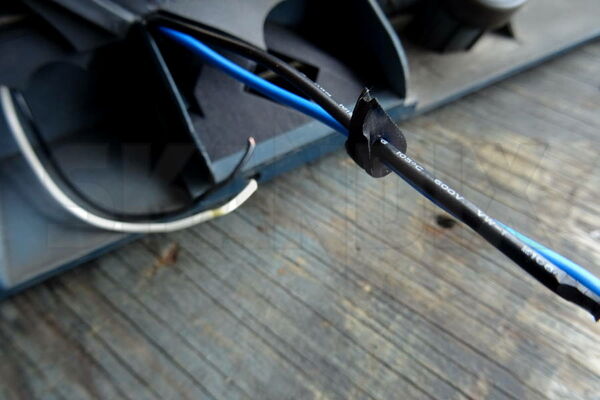
Strip the wires and carefully solder and shrink them with hot air or lighter using the included solder connectors (Caution: fire hazard).
In order not to damage the seal or the handle in the process, the wires should remain as long as possible so that you can heat them with some distance to the handle.
In the chamber next to the lamp there is enough space to carefully heat the excess length of the cable there.
Now the seal must be carefully buttoned in again. Then the assembly can start in reverse order.
Please note again that the tailgate can only be opened from the inside before the locking bar is mounted on the handle!
After installation of the engine the rear wiper should be switched on once before mounting the wiper arm to make sure that the shaft is in its initial position.
On this occasion, the glass for the license plate people (1016771) plus the gasket (1016768) and screws (1028862) can also be replaced.
- All notes serve only as an example and do not replace the workshop instructions of the automobile manufacturers! All information is supplied without guarantee!
Additional information...
- Installation guide: Licence plate light repair part Volvo V70, V70XC (up to 2000)
22.12.2021, 640 KBytesDownload now
-
 1076902: Licence plate light Repair kit