Installation retro radio
22.11.2023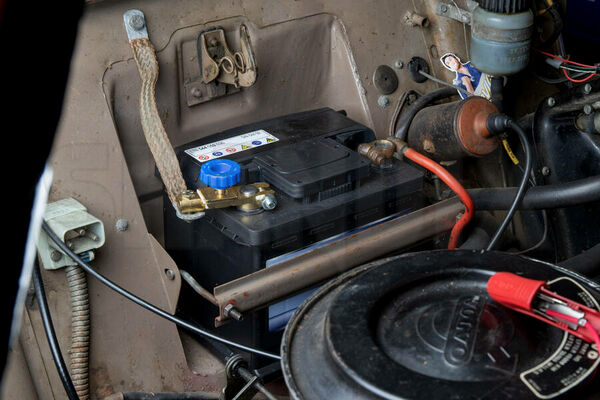
Before you start: Disconnect the battery.
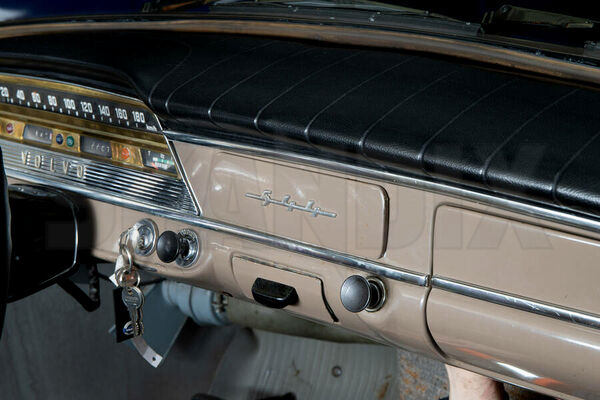
Remove the factory radio cover. Push it out from behind the dashboard.
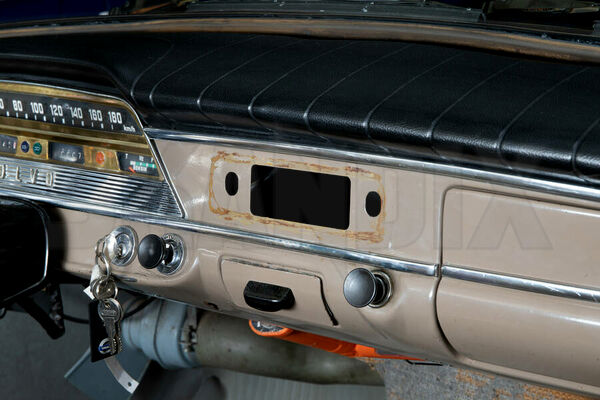
Exposed radio slot.
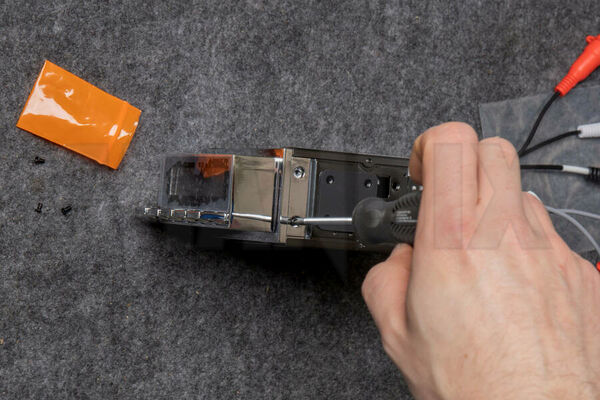
Bolt the display on the center part of the radio.
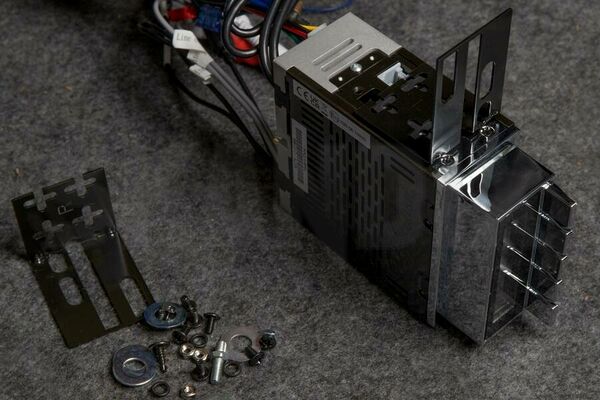
Bolt on the lateral mounting brackets, but leave the screws slightly loose.
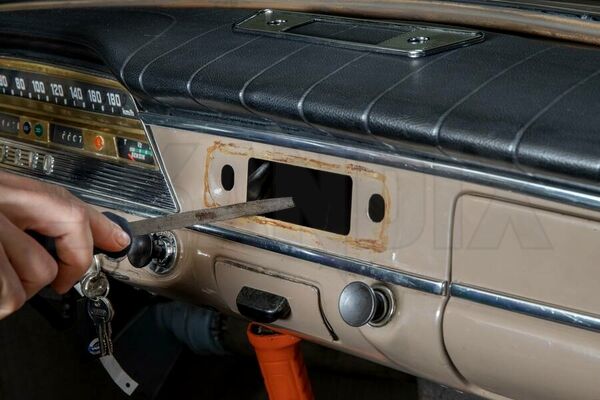
Since there was no exact norm for radio slots back in the day, you maybe have to enlarge the slot with a file.

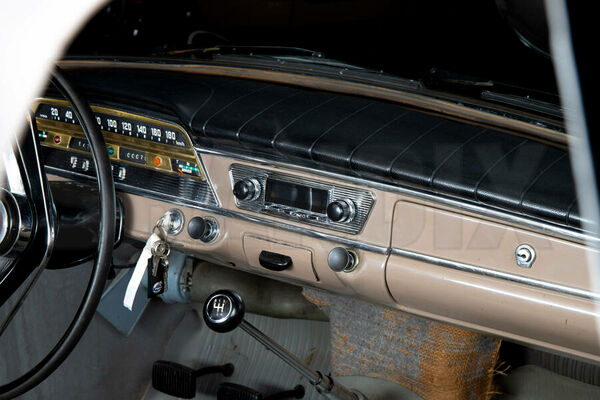
Make sure the radio fits into the slot properly. Protect bare metal on the edges of the slot with a thin coat of paint. Shorten both of the lateral mounting brackets so far they do not interfere with the speedometer and the glove box.
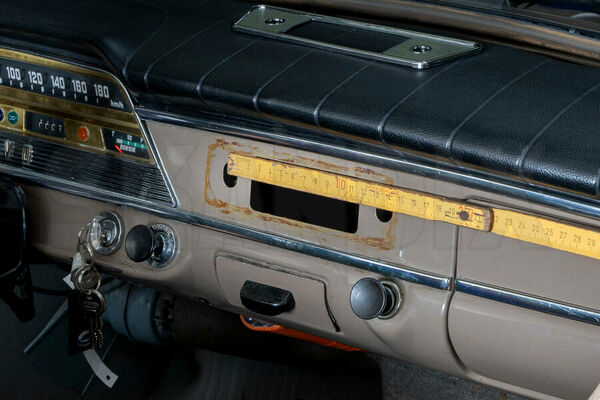
Measure the hole spacing (hole center to hole center) of the two holes for the rotary controls.
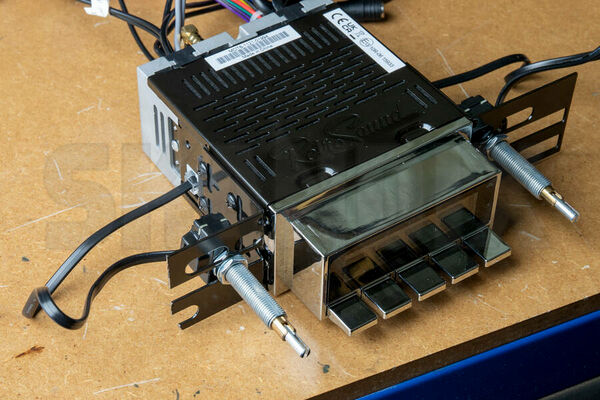
Install the two rotary controls with the distance you determined in the previous step.

Attach the ISO connector to the appropriate connection cables. Connect it to the antenna splitter too. In the PV544 it is appropriate to tap ground, steady plus and ignition plus from the ignition switch
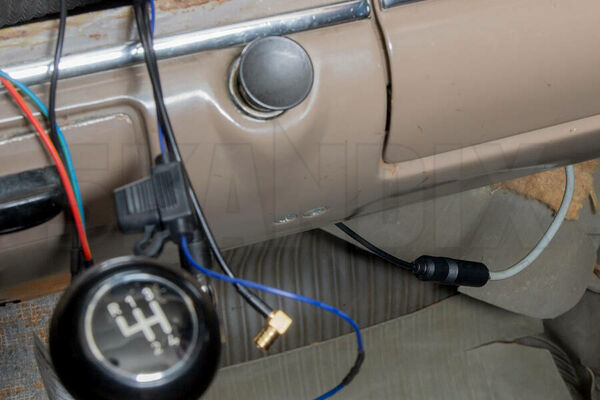
Connect the prepared wiring harness to the voltage source and the radio antenna.
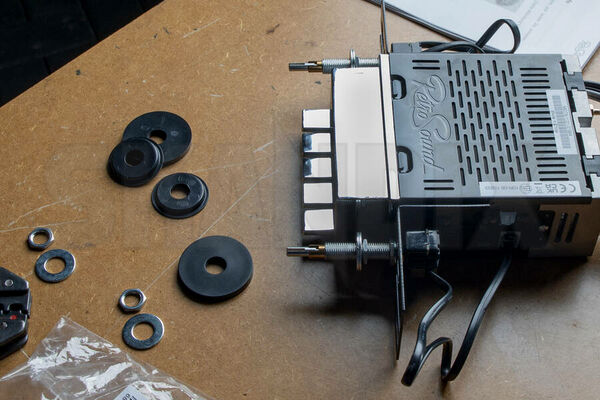
Use a selection of the numerous enclosed washers to create a good looking distance between the front of the display and the dashboard.
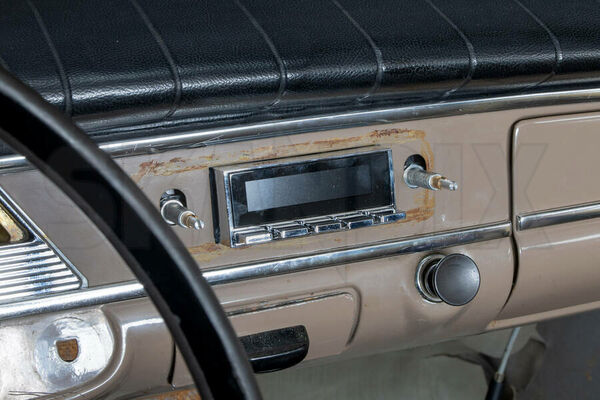
Adjust the distance according to this picture.

Connect the ISO connector for the power supply, the ISO connector for the speakers and the antenna splitter to the radio. After that put the radio into its slot from underneath/behind the dashboard.
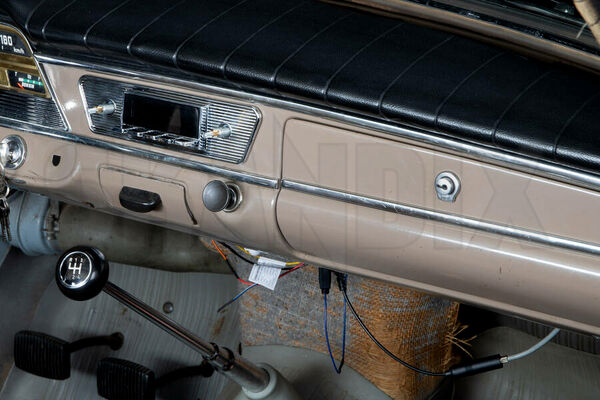
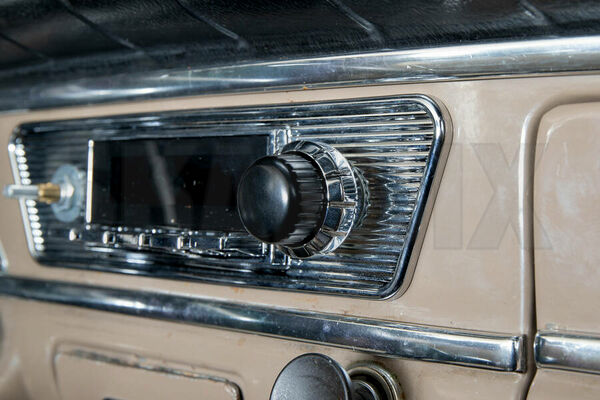
Push on the knobs firmly. Make sure the knobs do not touch each other.
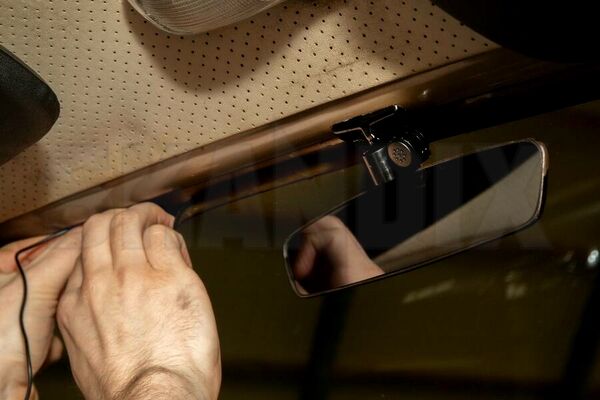
If you want to use the enclosed microphone for the hands-free system, attach it to the rear view mirror and direct it towards the driver. Run the microphone cable under the rubber lip of the windshield seal.
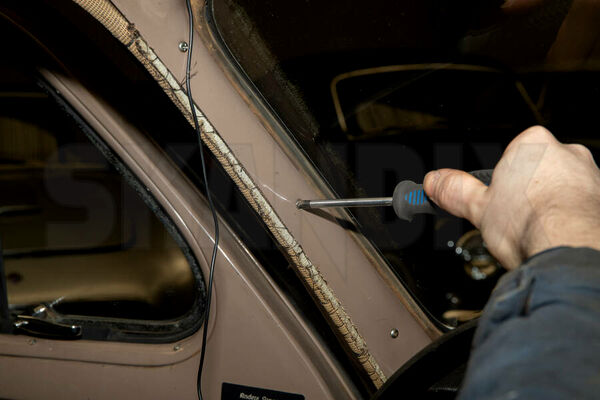
Unscrew the a pillar trim to run the microphone cable safe and invisible behind the dashboard.
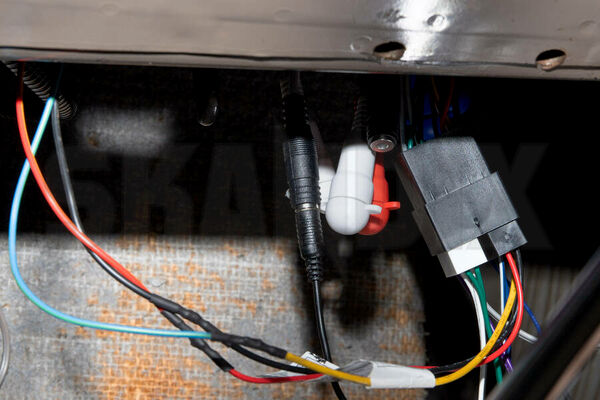
Connect the microphone cable to the radio.
Hide all loose wires behind the dashboard. Installation done!
- All notes serve only as an example and do not replace the workshop instructions of the automobile manufacturers! All information is supplied without guarantee!