Headlight adjustment screw
30.01.2023Quick guide to replacing the headlamp adjusting screw on the Volvo 140
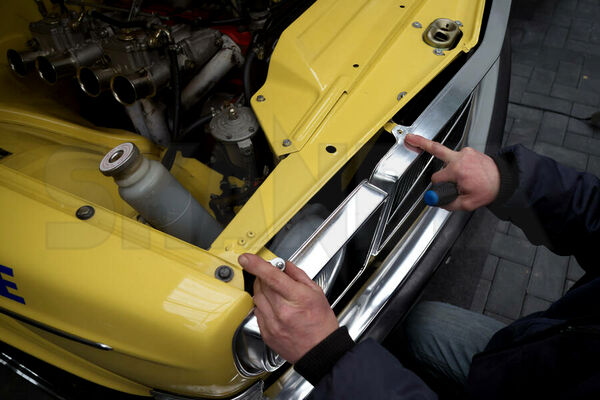
To replace the adjusting screw, the headlight frame must be dismantled and the radiator grille loosened on the corresponding side. To do this, start with the two upper screws.
Then pull off the top of the grill a little and unscrew the lower screw of the grill.
Now unscrew the two screws between the radiator grille and the headlight frame.

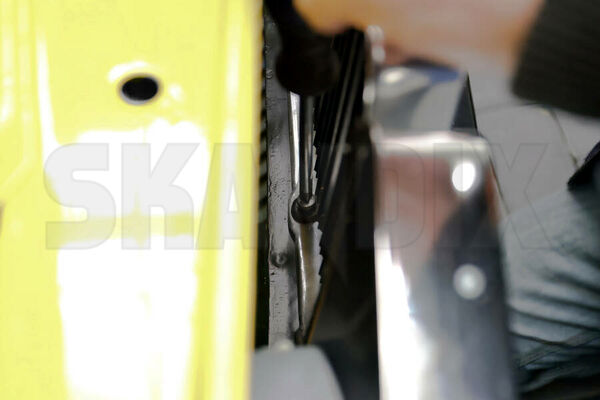
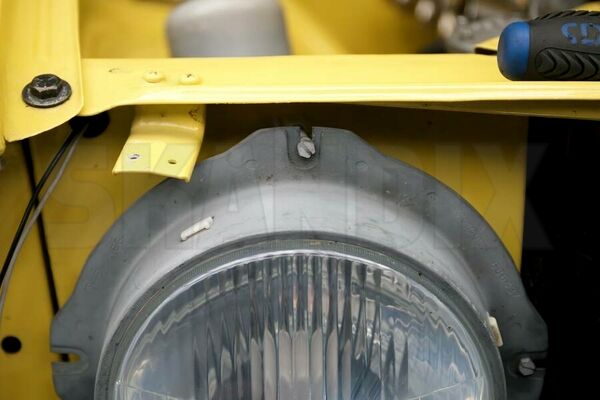
Now remove the headlight frame, it is still plugged in at the bottom, so the grill must be pulled off a little on this side. Carefully hang it on the side, do not damage the cable of the parking light.
Now the spring at the bottom of the headlight frame must be unhooked.
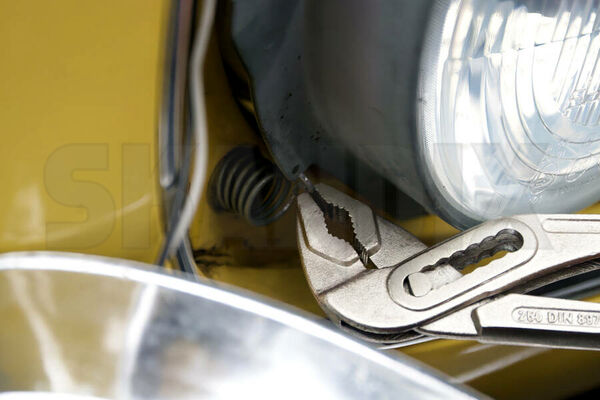
This is best done with a good pair of relatively small water pump pliers.
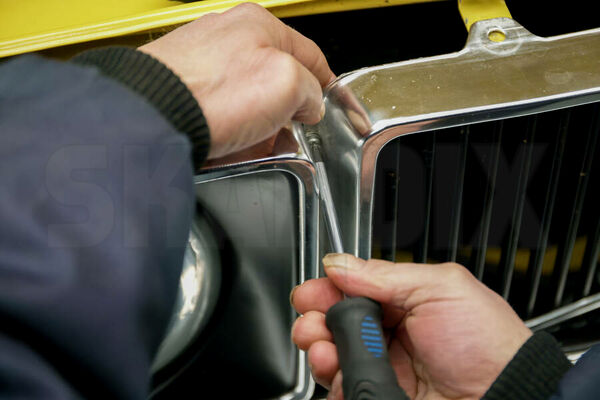
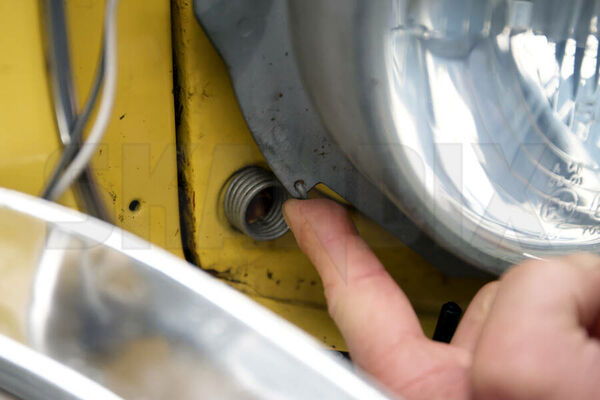
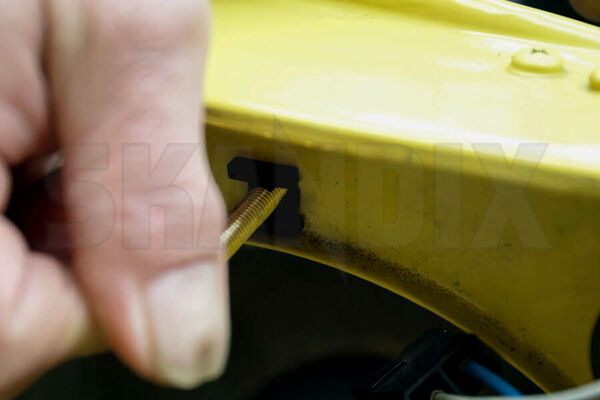
Unscrew the adjusting screw to be replaced as far forward as possible, then it is easiest to push it out of the groove.
Push the adjusting screw out of the groove and push it out backwards together with the guide nut. To do this, push the knurled handle at the back first to one side and then to the other to disengage the flat lugs of the nut.
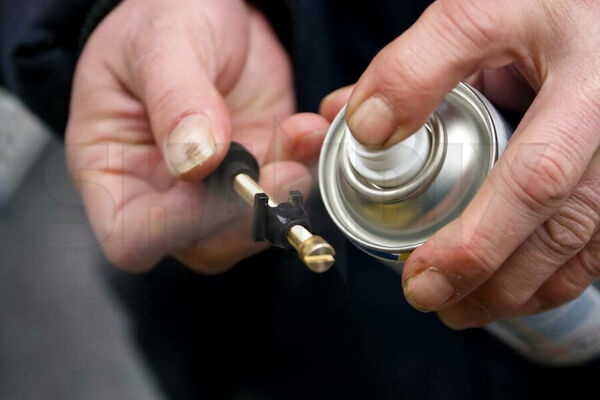
To make it easier to engage the guide nut of the new adjusting screw, spray it with silicone grease or silicone spray.
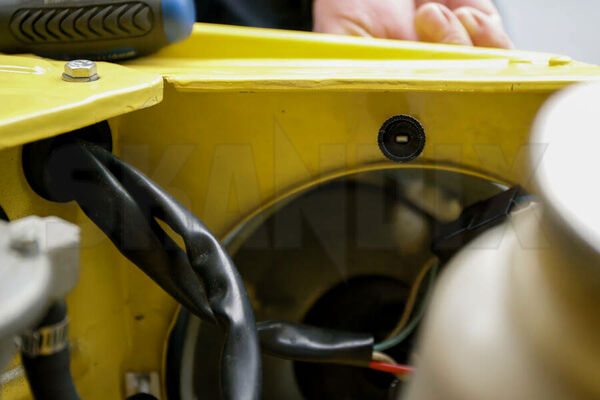
Now engage the guide nut in the front apron from behind.
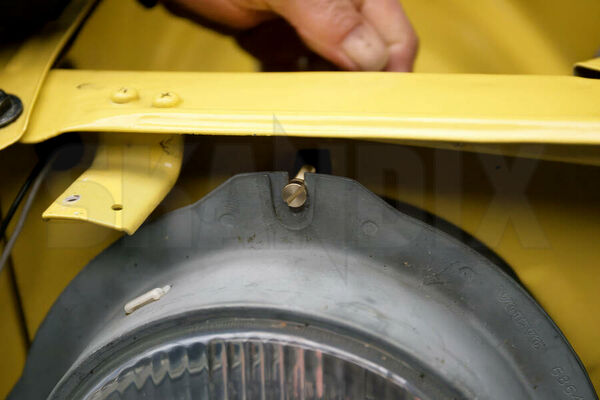
Screw out the adjusting screw all the way to the front again....

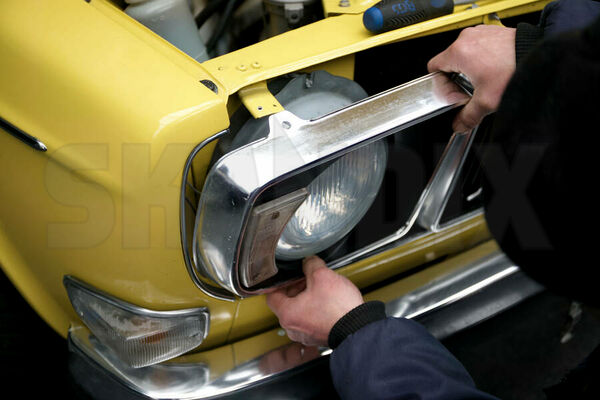
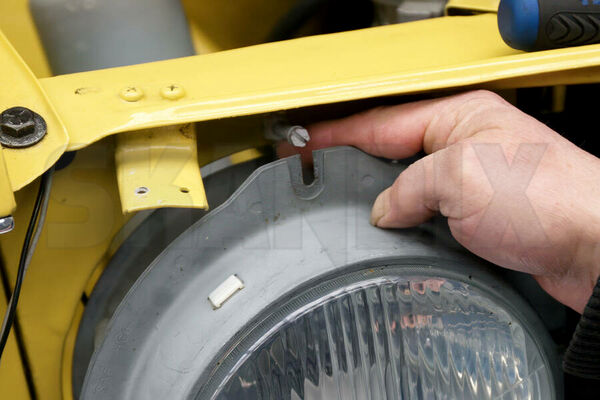
Now press the adjusting screw back into the groove and reinsert the spring. A little grease in the groove does no harm, it protects against corrosion and stickiness.
Now set the adjusting screw directly to the approximate position and reassemble the rest in reverse order.

Then adjust the headlight correctly and you`re done.
- All notes serve only as an example and do not replace the workshop instructions of the automobile manufacturers! All information is supplied without guarantee!
Additional information...
- 1026516: Headlights adjustment