Dust cap, Tie rod end
Volvo 120, 130, 220, P1800, P1800ES, PV, P210
24.11.2021Instructions for replacing the dust cap on the tie rod end if it is porous due to age or damaged by mechanical influences.
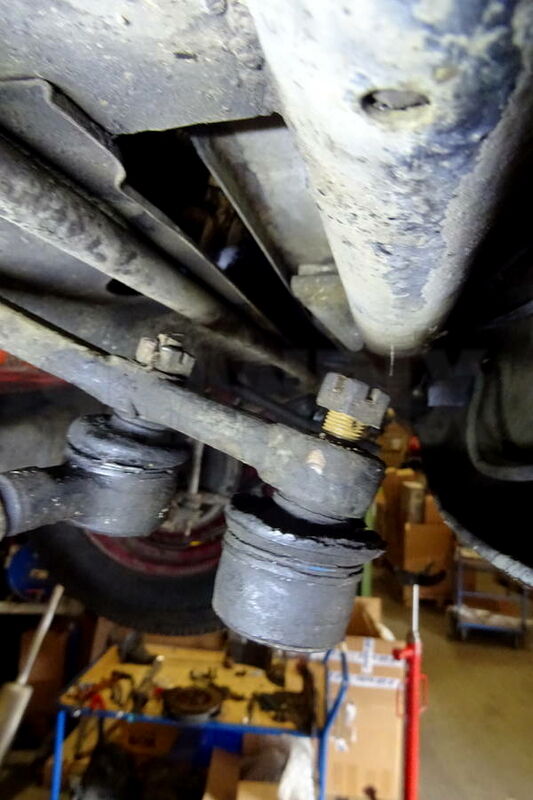
Many classic car owners know this: The tie rod still works perfectly and is completely free of play, but the dust cap (or dust sleeve) dissolves due to age.
For such a case we have the dust cap as spare part.
The ball joint should still be in perfect condition. Parts with heavy soiling or rust in the joint are unsuitable for repair.
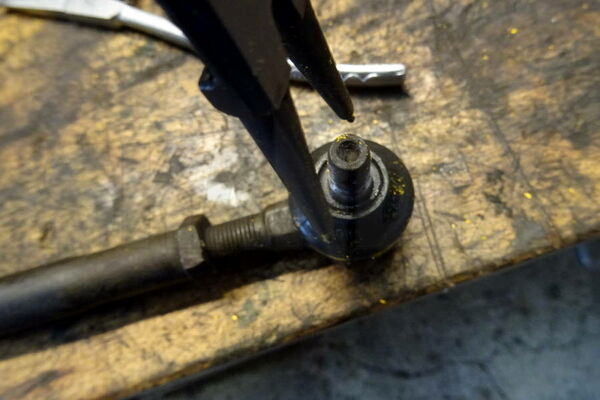
Unscrew the tie rod.
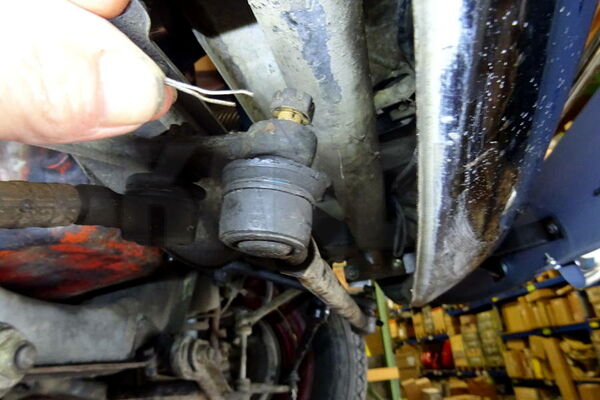
For variants with the classic crown nut as shown in the picture, of course remove the safety spline pin first.
Remove the joints from the cone with a suitable puller tool (e.g. Skandix 1014296 or 1069536).
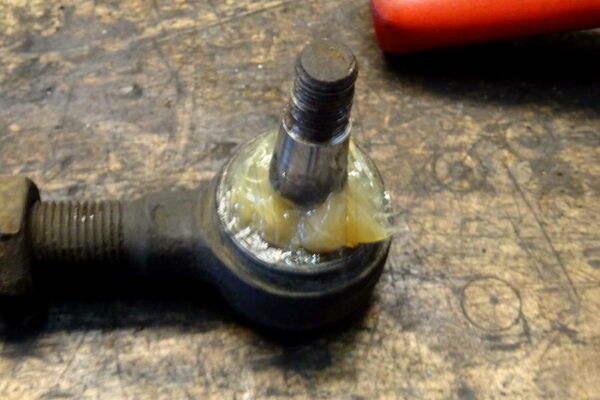
After removing the old dust cap and its spring clip, clean the joint and then fill it with fresh, clean grease.
Use e.g. multi-purpose grease Skandix 1017914.
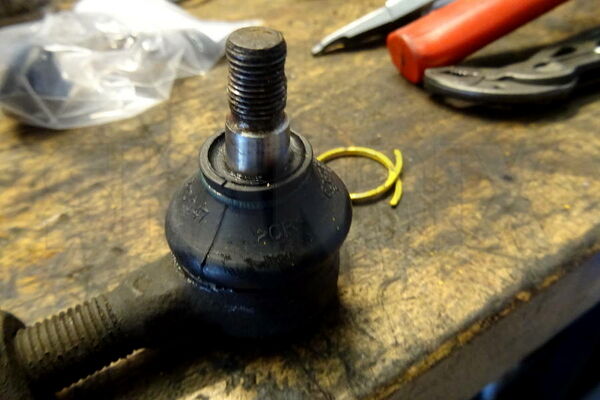
Now lightly lubricate the dust cap with silicone spray or grease, put it over the joint and carefully press it into the seat on the joint housing.
For example, lever the spring clip apart with large circlip pliers, hold it in position over the dust cap and press it into the groove by the pliers. Be careful not to damage the dust cap.
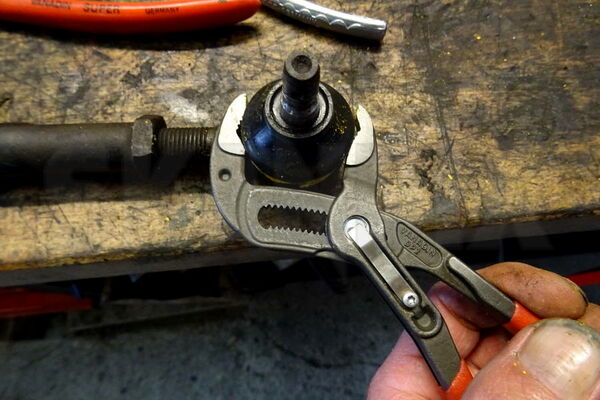
When the spring clip is in position, carefully press it back into place with a water pump pliers.
It may happen that it has overstretched a little when it is put on.
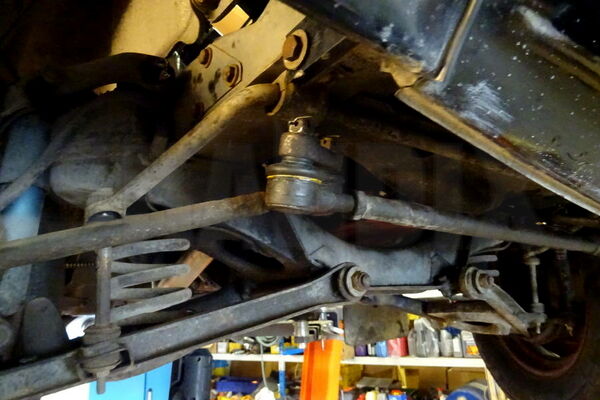
The joints are now again well protected against dirt and moisture.
Reassembly is carried out in reverse order.
For crown nuts, please use new locking spline pins, old bent up ones are very susceptible to breakage. For joints with locknuts, these must of course also be replaced.
- All notes serve only as an example and do not replace the workshop instructions of the automobile manufacturers! All information is supplied without guarantee!
Additional information...
- 1021735: Dust cap, Tie rod end