Door Seal Saab 900 (-93) Convertible
Saab 900 (-93)
30.11.2021Note on installing the Skandix door seal in the classic Saab 900 convertible. The seal corresponds in the dimensions of the profile to the not available original, but is fastened differently and must be cut to size.
Before removing the old seal, mark the end points on the door, for example with a strip of masking tape.
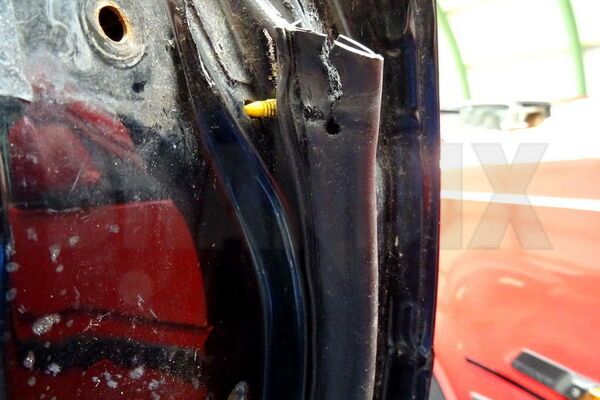
The original seal is fixed with clips that are inserted into the seal. These are not reused because the Skandix seal is self-adhesive.
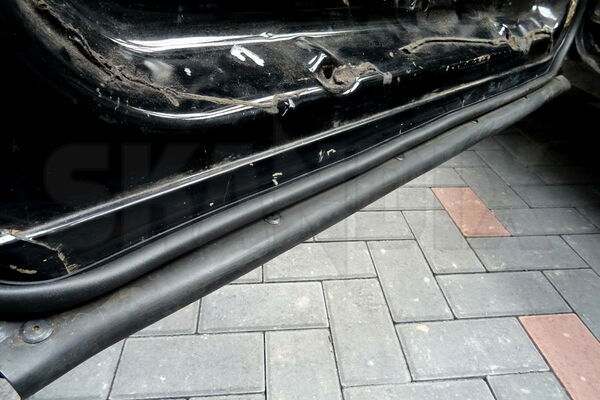
Pull off the old seal. This often causes the clips to tear out of the porous old seal.
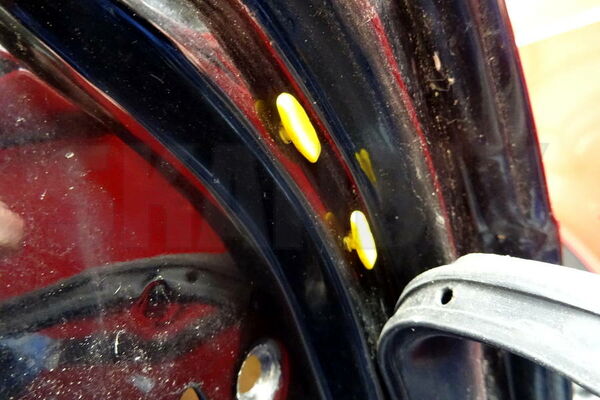
These remaining clips must be removed without residue. Suitable for this purpose are telephone pliers, side cutters or a slotted interior panel lever.
Afterwards, the contact surface of the seal on the door must be thoroughly cleaned and degreased, for example with brake cleaner or silicone remover.
Any rust that may be present under the seal must of course also be removed. If painting work is to be carried out, the paint must dry thoroughly before gluing the new seal.
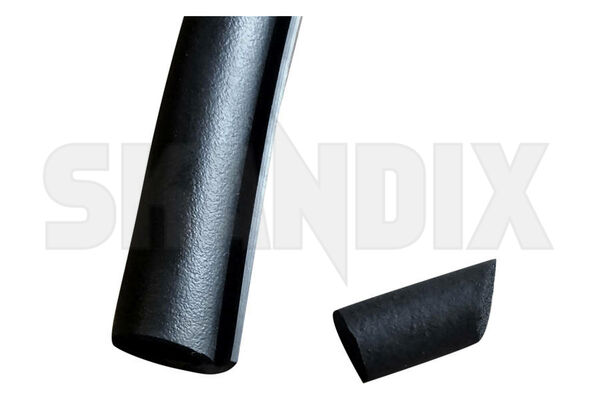
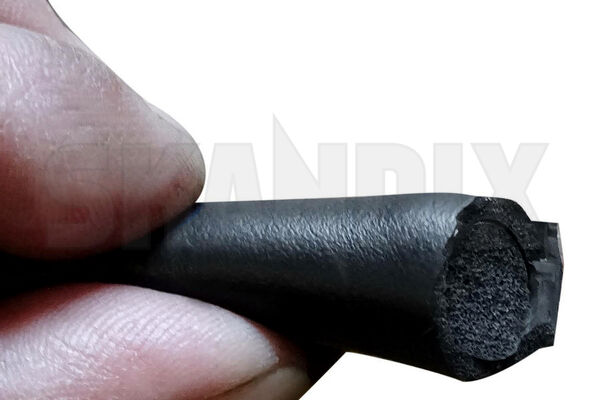
Now press the enclosed plug into one end of the seal, if possible with its full length.
To prevent it from coming away, the plug should be fixed in the seal with some suitable adhesive (e.g. Innotec Adheseal).
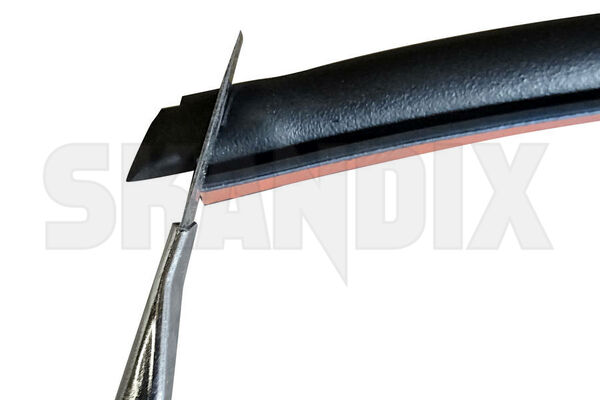
Now cut the end with the plug at an angle according to the original seal.
If the gasket is not mounted, this can be done with a sharp cutter knife or scalpel, a good hose scissor is even better.
With this end in place, the seal is now begun to be glued on.
Preferably start at the front of the door, because the other end is easier to cut off at the end.
The tapered end of the seal is now placed where the top end was previously marked.
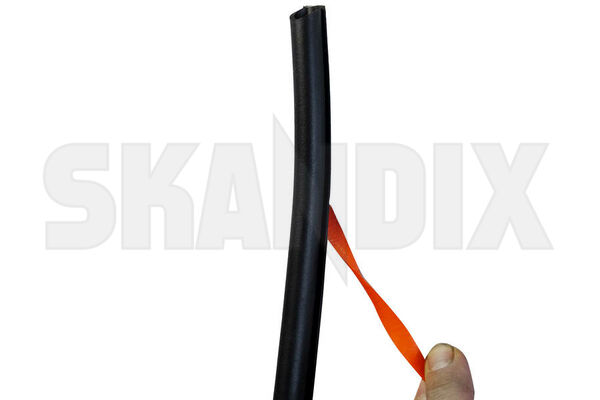
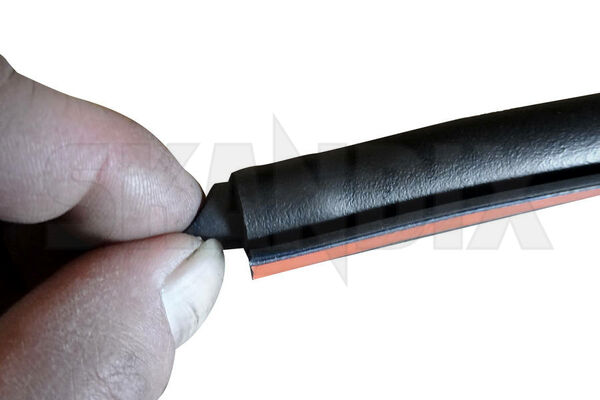
When gluing, always only peel off the foil directly before the gluing process and press it on immediately behind. Never pull off the foil completely before gluing - this will only lead to dirt on the glued surface and thus to poor adhesion.
The rear end of the gasket is also cut to a tapered shape just before pressing the seal on.
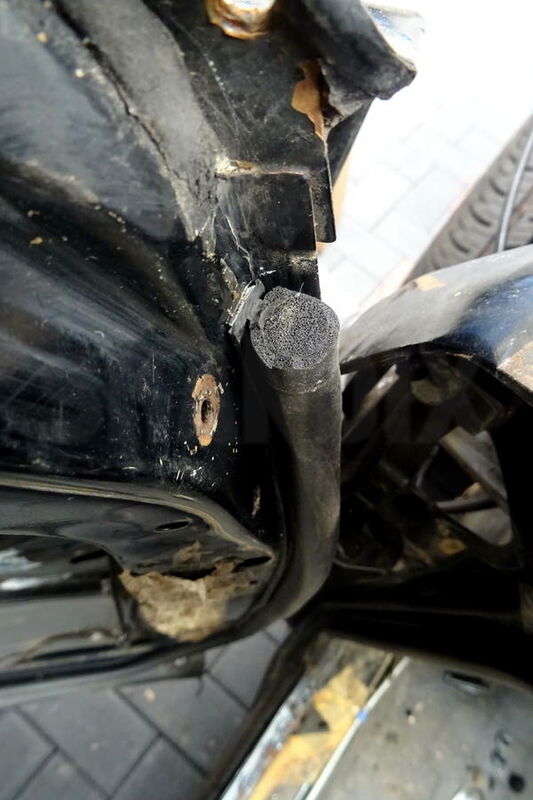
The plug is inserted in after gluing.
Done!
- All notes serve only as an example and do not replace the workshop instructions of the automobile manufacturers! All information is supplied without guarantee!
Additional information...
- 1078594: Door seal front fits left and right