Cogwheel Odometer
Volvo 200,
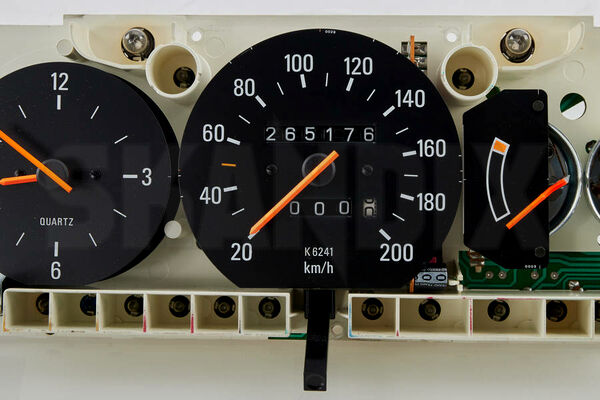
19.10.2023Instructions for changing the cog wheels that drive the odometer in the speedometer. Here as an example on the instrument cluster of a 1986 Volvo 244 with electronic sensor. In Germany, if the odometer does not work, this is now a serious defect in the main inspection and the inspection badge will not be issued. The procedure is very similar for many older Volvos with electronic sensors. In the case of speedometers with mechanical drive via speedometer cable, it is often much more complicated because, for example, the speedometer needle and the dial have to be removed.
Remove the instrument cluster. To do this, unscrew the fastening screws and pull the instrument slightly towards the steering wheel. Pull off the connectors. Then remove it towards the passenger side.
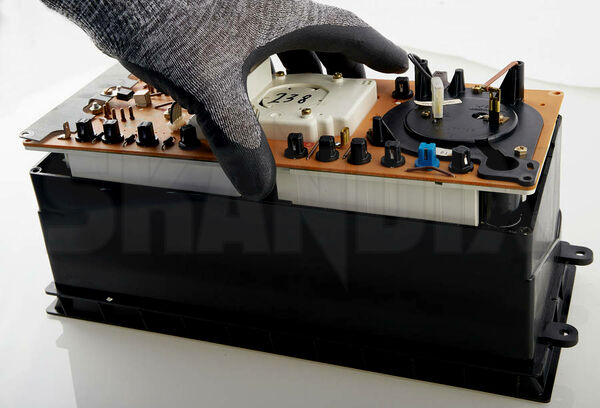
Next, remove the circuit board from the housing. Put the housing aside.
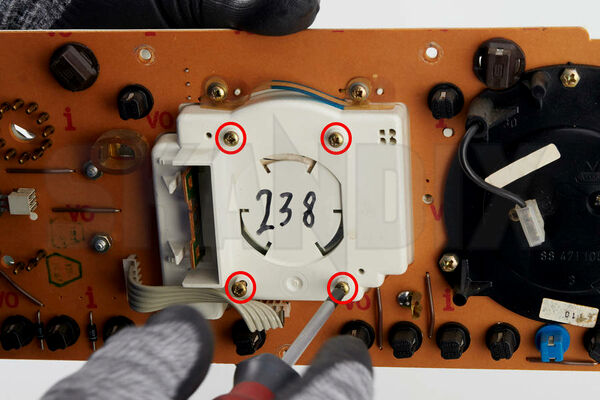
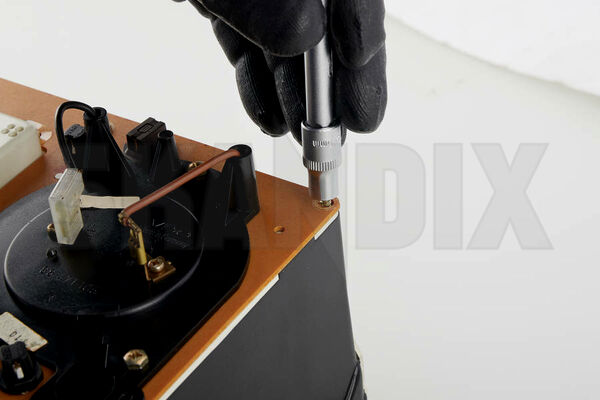
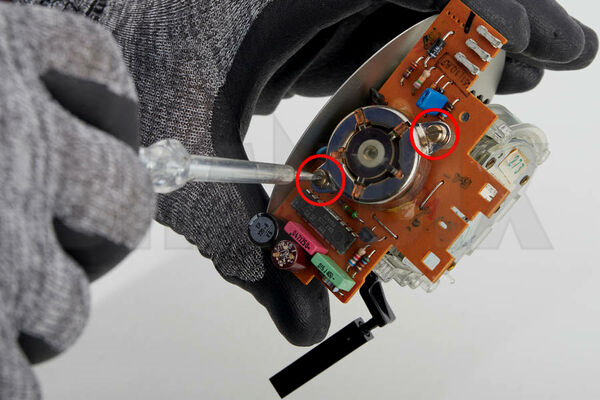
Now unscrew the tachometer from the circuit board by loosening the 4 marked screws.
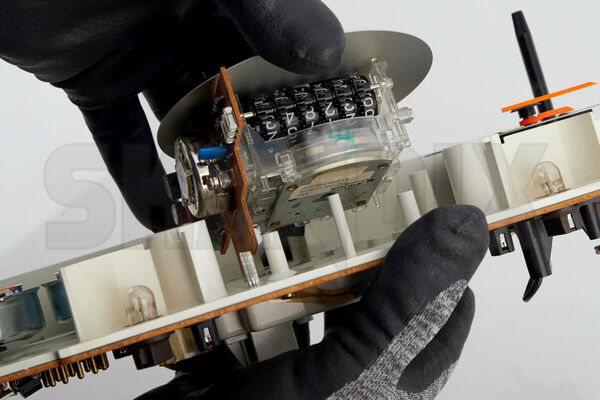
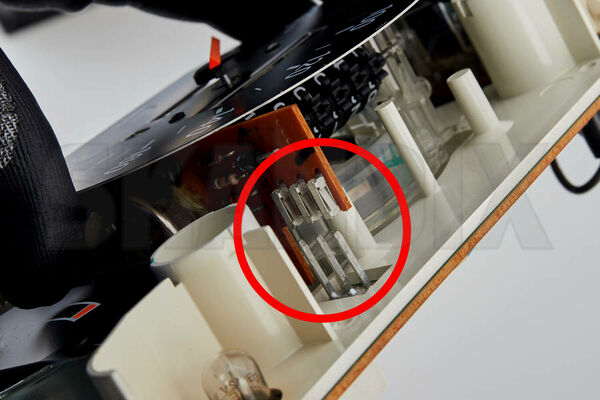
Carefully pull the tachometer out of the holder and the connectors as vertically as possible so that they do not bend off the circuit board.
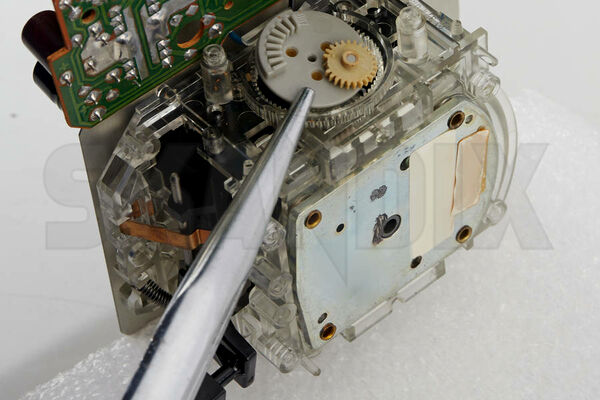
Now the two gears that need to be changed can be easily removed; tweezers or telephone pliers are very helpful here.
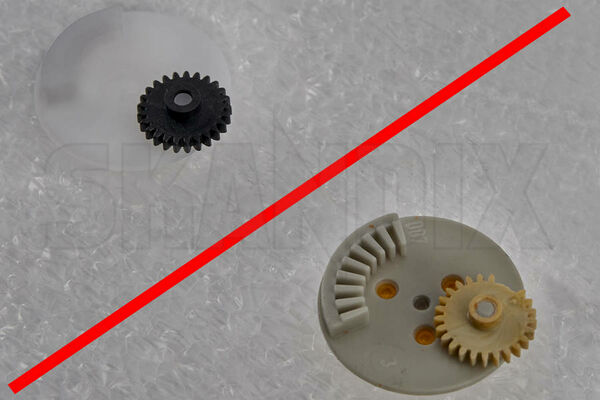
Here is a comparison of the old (bottom) and the new (top) cog wheels of the drive. The tooth loss is clearly visible.
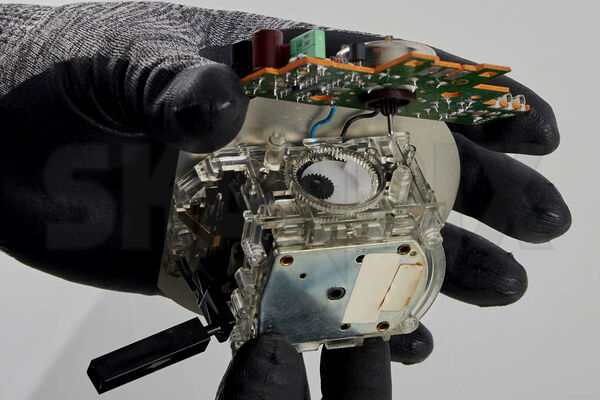
Insert the new cog wheels. Reassemble in reverse order.
When inserting the speedometer into the mounting, make sure that the connectors slide into each other straight and without being tilted.
Finally, put the carrier board back into the housing. The instrument cluster is now ready for installation!
- All notes serve only as an example and do not replace the workshop instructions of the automobile manufacturers! All information is supplied without guarantee!