Replacement of the control arm bushings
Volvo 200
14.08.2024Here we show you how to replace the control arm bushings of the Volvo 200 series with our press tools, shown on a 1993 245.
Please observe the safety precautions when working with a hydraulic press! Safety goggles are mandatory to protect your eyes against possibly flaking off rust particles!
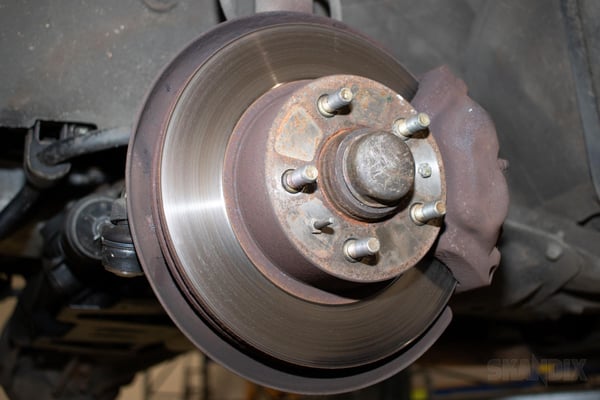
To remove the control arm, put the vehicle on a lift and take the wheels off. If you do not have a lift, jack up the car underneath the middle of the axle and secure it with jack stands and chocks.
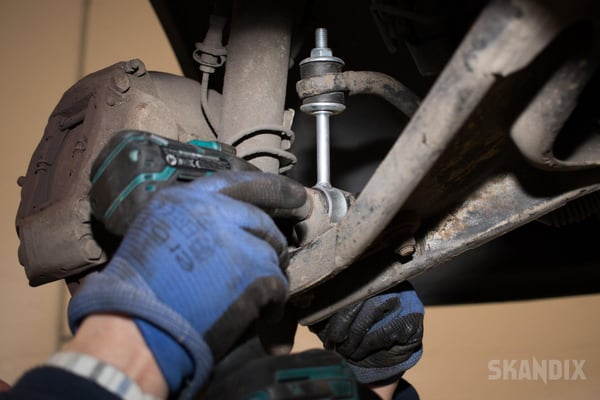
Unscrew the sway bar link from the control arm and take the screw out.
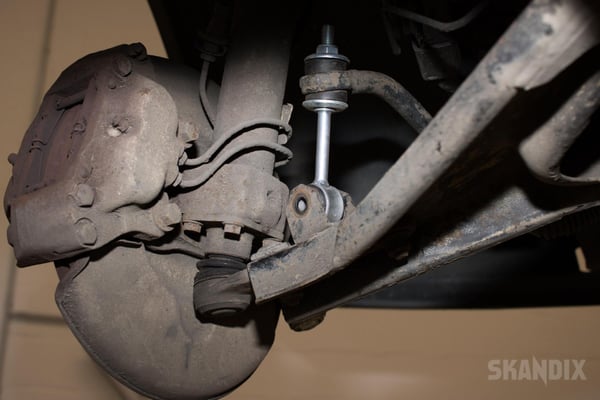
Make sure the sway bar link is loose in its seat and is not stuck on the control arm because of corrosion. If necessary use rust dissolvent and a lever to break it loose.
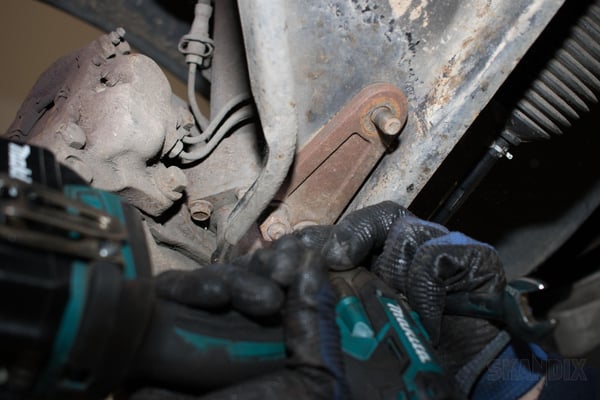
Unscrew the lower ball joint from the control arm. Since the ball joint has some play in its fastening holes, it is useful to mark the old position of the ball joint with a paint marker, so the axle does not get misaligned so much.
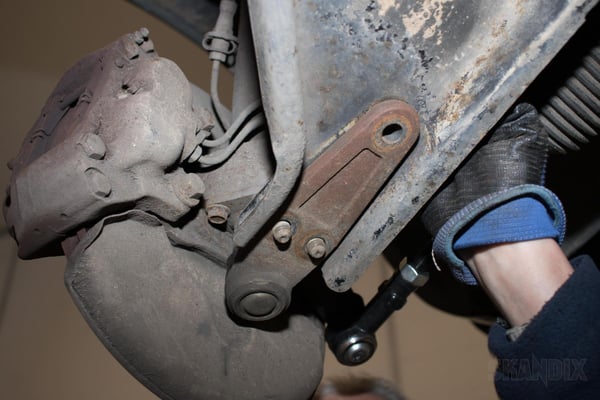
Remove the bolts from the control arm and ball joint. The two outer bolts are connected from the factory, to remove them you have to pull down the control arm and the ball joint a bit.
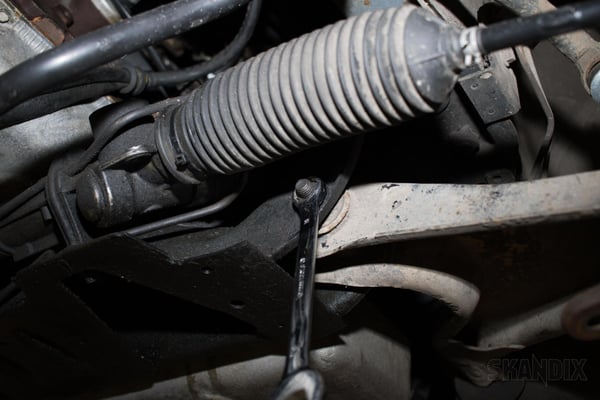
Loosen the front control arm bushing.
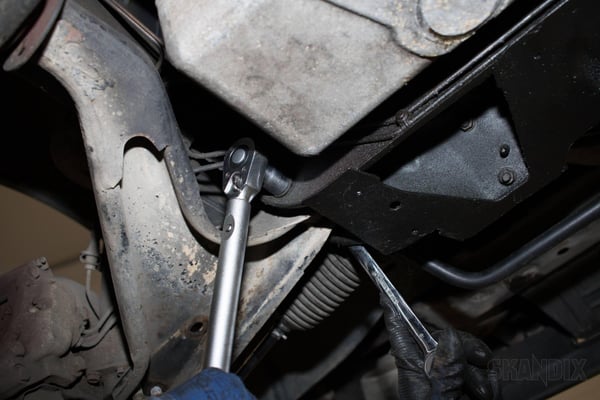
Since the bolt is torqued firmly and there is not enough space for an impact, it is helpful to use a long ratchet or lever. Leave the loosened front screw in the bushing about 2cm deep, so the control arm can not drop completely when you unscrew the rear screws in the next step.
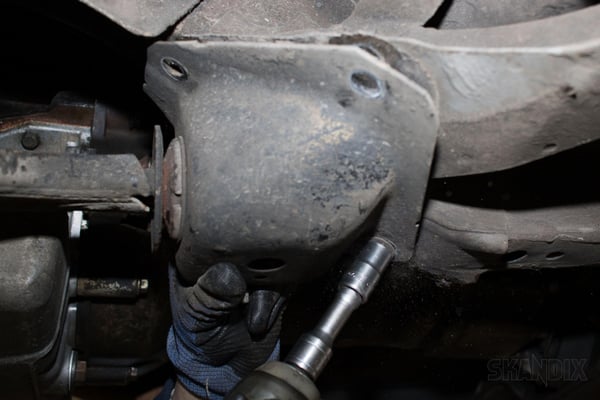
Now unscrew the rear console, then take out of the front bushing.
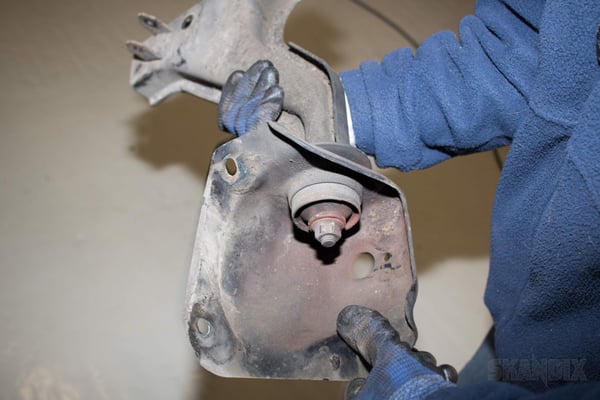
Take off the control arm with the console. When attached to the car it is nearly impossible to break loose the nut inside the console, since it is torqued very firmly.
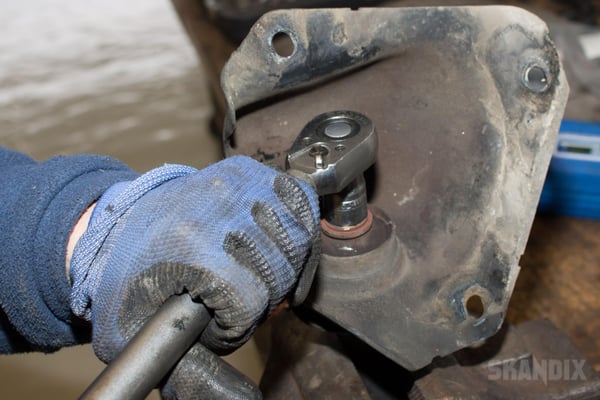
When the control arm is clamped in a vice, you can loosen the nut of the rear bushing easily.
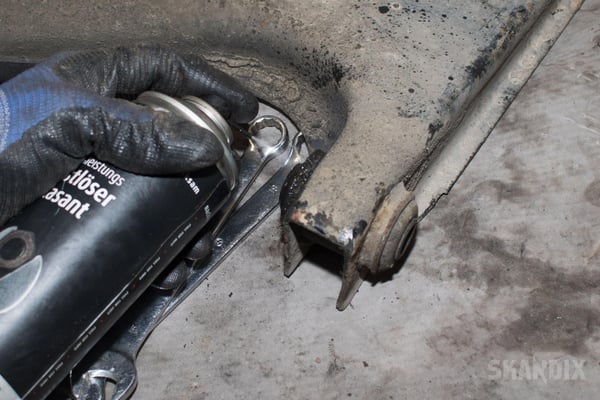
Soak the bushings with rust dissolver, the outer steel sleeves can be stuck in their seats because of rust.
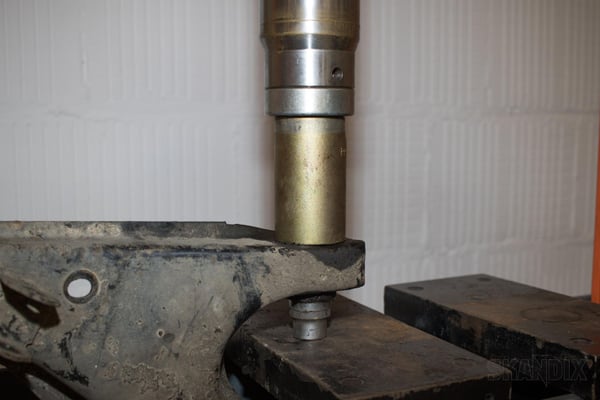
Now you can press out the outer bushings out of their seats. It is important to use pressing sleeves with almost the exact same diameter as the bushing. Press on the outer steel sleeve of the bushing. If the bushing will not come out, it is possible to drill out the center of the bushing and cut the remaining sleeve with a saw, so it can be punched out towards the center of the bushing.
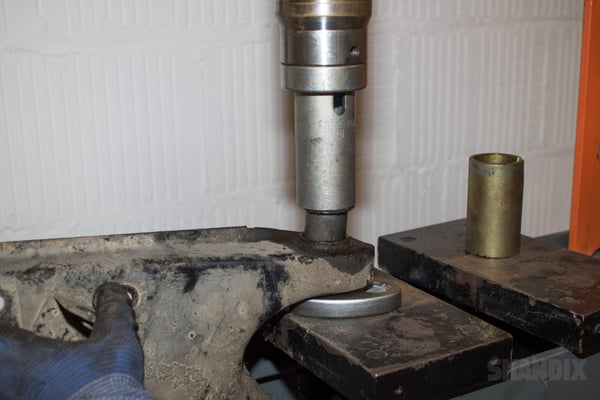
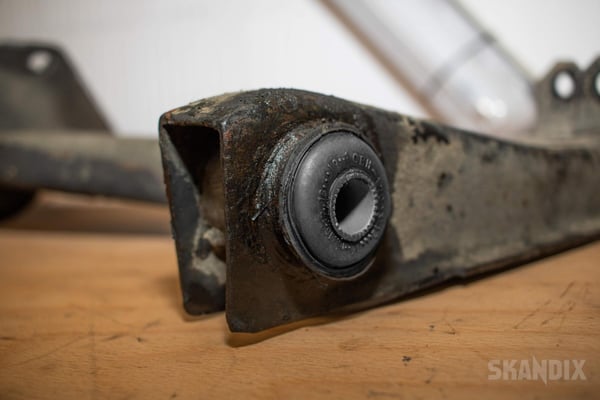
Remove rust out of the seat of the bushing. Do not grind away too much! Otherwise the new bushing will not not seat firmly enough and travel in its seat. Put a little bit of grease on bushing and seat and press in the new bushing with the correct size pressing sleeve. Use a suitable support with a cutout when you press in the bushing, because it will stick out of the control arm when pressed all the way in. Without the support you can not press in the bushing deep enough into the control arm.
- All notes serve only as an example and do not replace the workshop instructions of the automobile manufacturers! All information is supplied without guarantee!
Additional information...
- Installation guide: Replacement of the control arm bushings
14.08.2024, 961 KBytesDownload now


