Replace the upper door trim mouldings
Volvo 121, 220
01.12.2021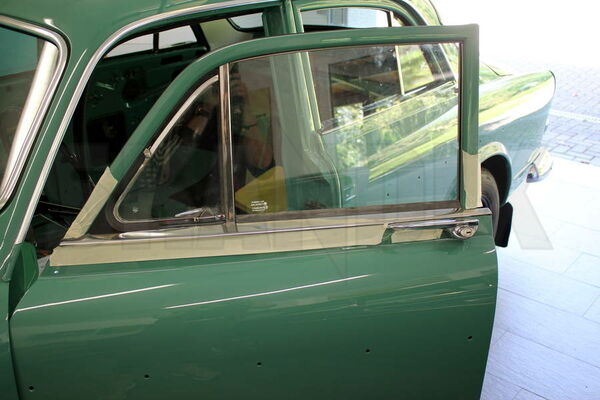
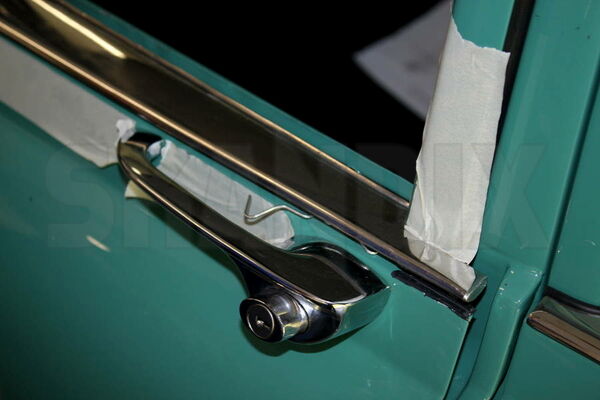
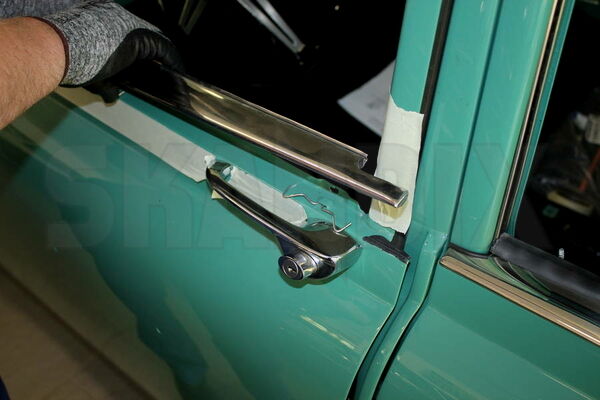
Protect the paint near the trim mouldings with tape.
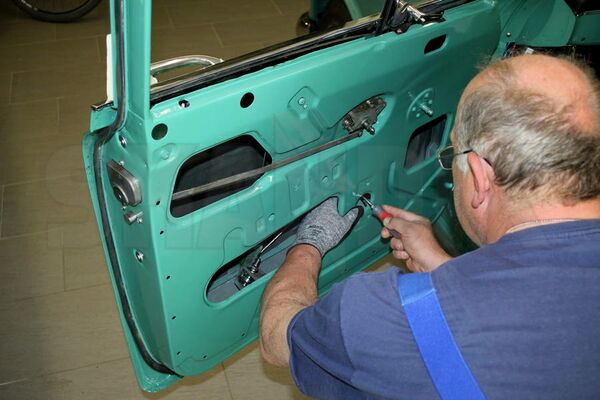
Removing the window guide is necessary. Take off the door panel and unscrew the lower screws of the front window guide.
Unscrew the screws in the middle of the front window guide.
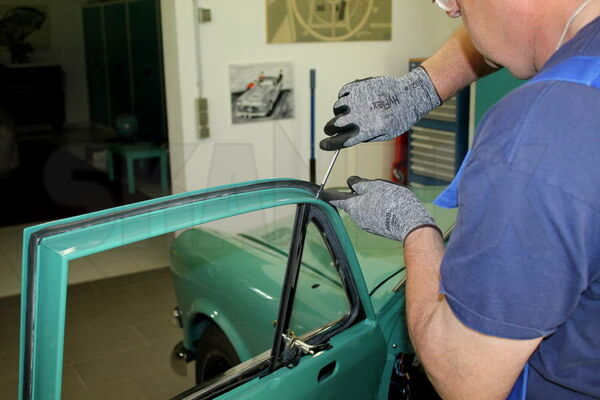
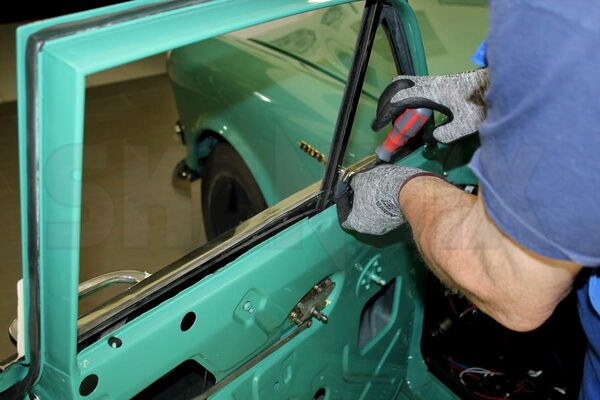
Unscrew the screws on top of the front window guide.
The rear window guide must also be removed in order to be able to move the ventilation window together with the front guide. Otherwise the crank window would be in the way. Unscrew the upper screws of the rear window guide.
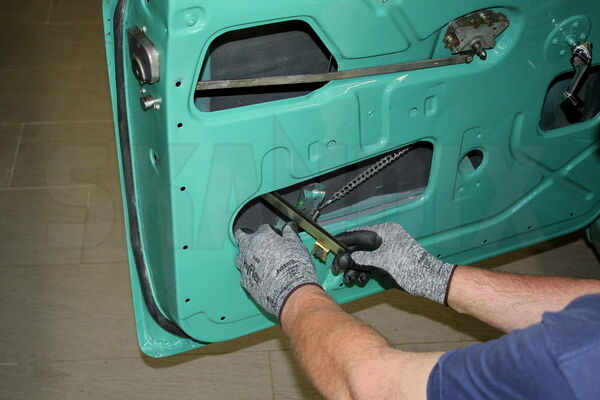
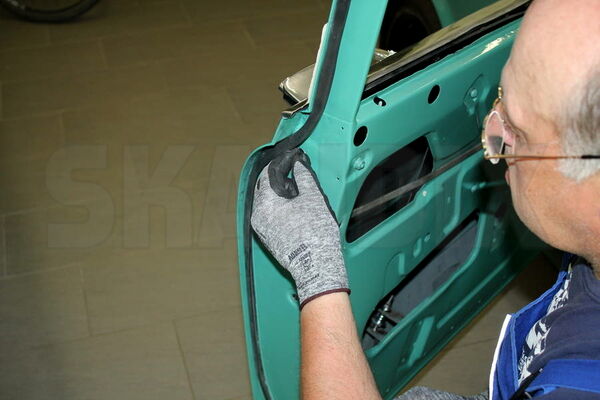
Remove the rear window guide and the screw which connects the crank window with the window winder cable. The window is not removed from the door.
Pull down the upper window guide.
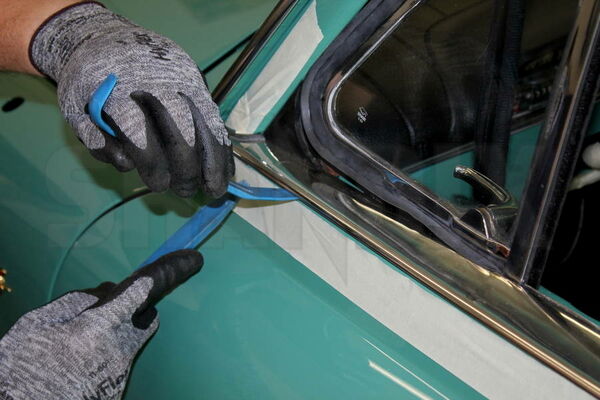
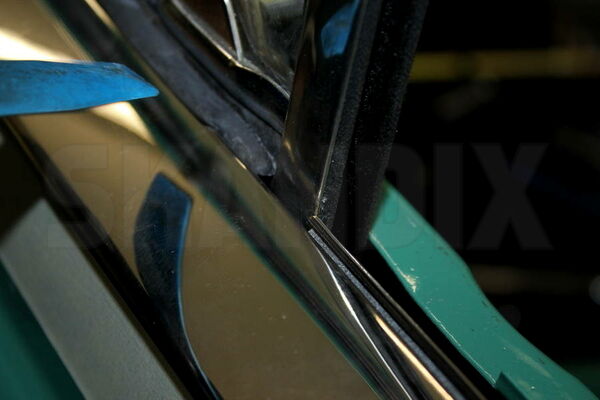
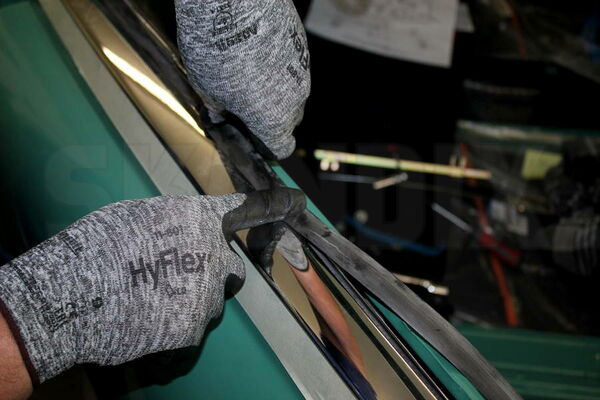
The clips for the trim strips are pressed inwards with two putty knifes and then removed from the trim moulding downwards. You can make your work easier by cutting a notch in one of the tools.
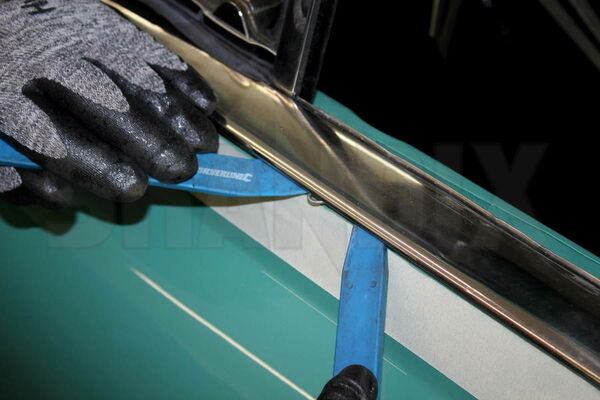
There are 3 Clips at each moulding.
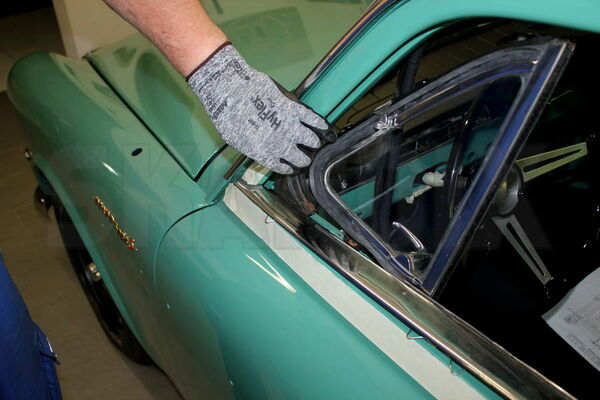
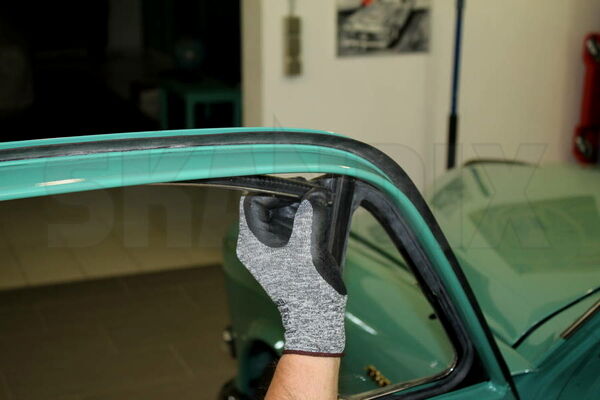
Turn the ventilation window to the side until the triangular gasket can be taken out.
When all clips are unlocked, the trim strip can be pulled up.
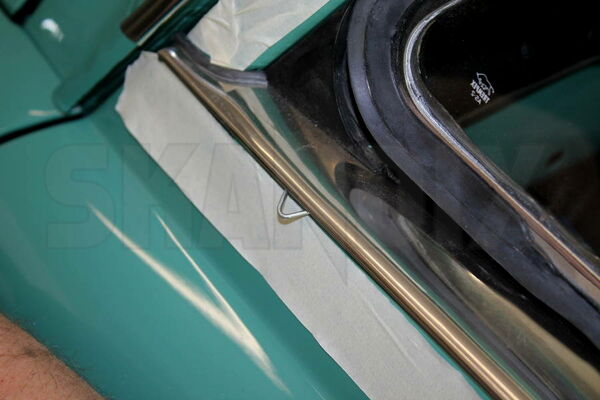
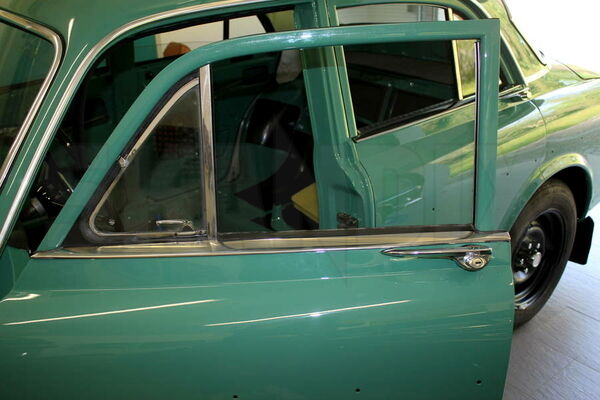
Pull the sealing profile (Skandix 1006889) onto the round cut-outs of the trim strip and put on the trim strip. The trim strip must be positioned correctly to the ventilation window as in this photo. The trim strip has a groove for the scraper. This groove must lie outside in front of the ventilation window frame.
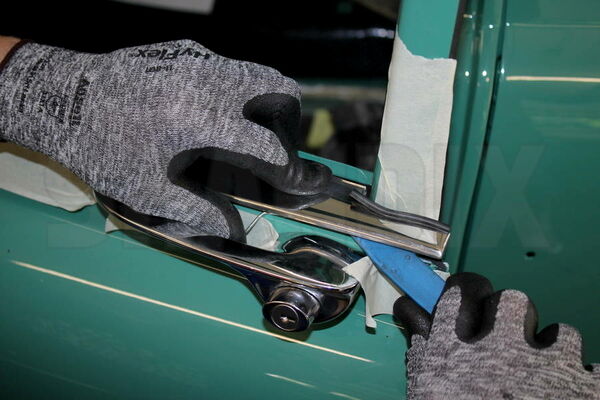
Slide the clips between the door and trim strip, push inward with a squeegee, and edge up so that the clips snap into the edge of the trim strip. Since the clips have a relatively high clamping force, the trim strip must be held against the top.
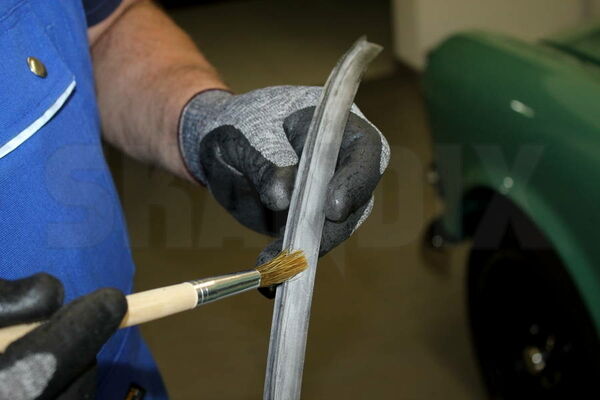
Coat the wiper strip with a suitable lubricant and push it onto the trim strip.
- All notes serve only as an example and do not replace the workshop instructions of the automobile manufacturers! All information is supplied without guarantee!