Removing and fitting the rear window trim
Volvo 121
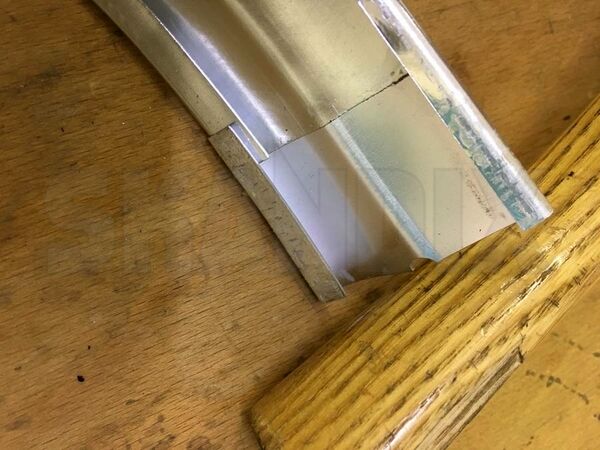
09.12.2021Complete set for the rear window with 8 pieces. The trim mouldings are like the original parts made from anodized aluminium. Source: Volvo
Removing:
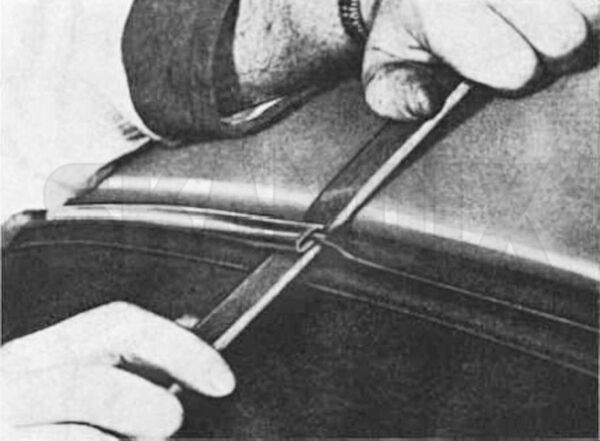
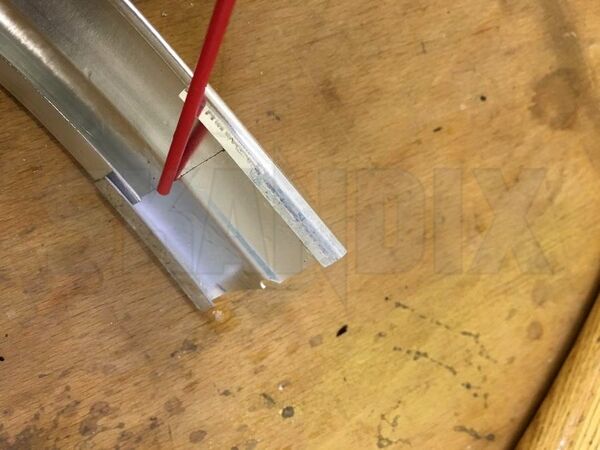
1. Push the joining pieces at the lower corners backwards. Release the lower trim moulding by pressing it upwards out of the rubber strip with a wooden putty knife. Pull the trim moulding upwards carefully and follow round with the putty knife.
2. Release the side moudings in the same way with the putty knife and remove them. Remove the angular joining pieces by pulling them downwards and turning inwards at the same time.
3. Remoce the upper trim moulding in the same way as the lower one.

Fitting:
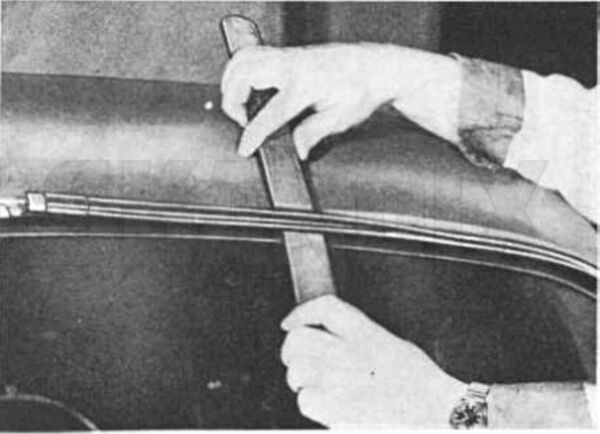
1. Moisten a 4.0 mm (5/32") leather cord in soap solution or paraffin and place it in the groove of the rubber strip for the trim moulding. Start and finish at tone of the upper corners.
2. Place the upper trinm moulding in position and press it up against the rubber strip. Pull out the leather cord and press in the trim moulding at the same time. Fit the angular joining pieces.
3. Press on the side mouldings and push them up into the joining pieces. Fit the side mouldings in the same way as the upper trim moulding.
4. Fit the lower trim moulding in the same way as the upper one. Fit the lower joining pieces.
Tipp: Check wether the trim joints are sliding easily at the mouldings.
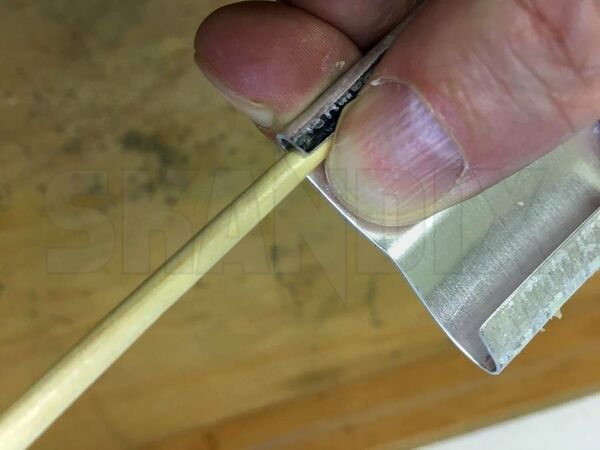
If necessary adapt the ears of the trim joints using a brush brush handle. Caution: The material is very soft, do not impress!
- All notes serve only as an example and do not replace the workshop instructions of the automobile manufacturers! All information is supplied without guarantee!