Rear bumper reinforcement and repair kit
Volvo 900
09.12.2021Installation instructions for the repair kit replacing the not longer available rear bumper bracket, or using items from model years before 1993 and after 1996.
Some owners of the Volvo 900 have already experienced it: The screws of the bumper support can raze out of the support by contact corrosion. Road salt and the combination of steel and aluminum provide a diligent reaction at this point over the years, without any notice of it. If you now, for whatever reason, dismantle the bumper, the drama is perfect because the knurled bolts rotate in the bumper. In that case you can only remove the bumper, after loosening the side screws, with a crowbar from the impact absorbers, because the knurled bolts cannot be counterbalanced. For this purpose, there is now a quick guide to the conversion to the still available variant or the use of our repair kit.
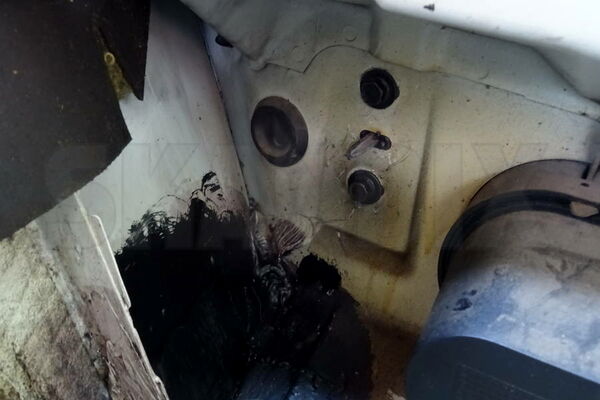
To disassemble, open the covers of the two side storage compartments in the trunk floor and set aside. Unscrew two screws of the side bumper fixing on each side. Pull the side parts out of the guide and close the hole for the guide pin between the screw holes on the body with an adhesive strip, so that it does not slip back in again. The pin breaks off otherwise easily when removing and reassembly is exhausting without the pin.
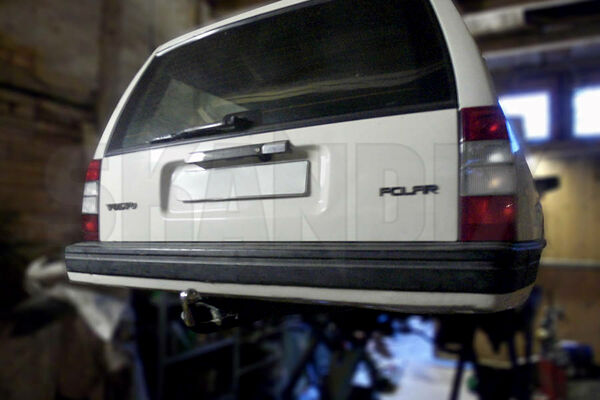
When replacing the support or installing the repair kit, the bumper skin must be completely disassembled. To do this, unscrew the cover bar from the bottom of the sill and remove it. This is the black bar, which can be seen from above in the middle of the picture.
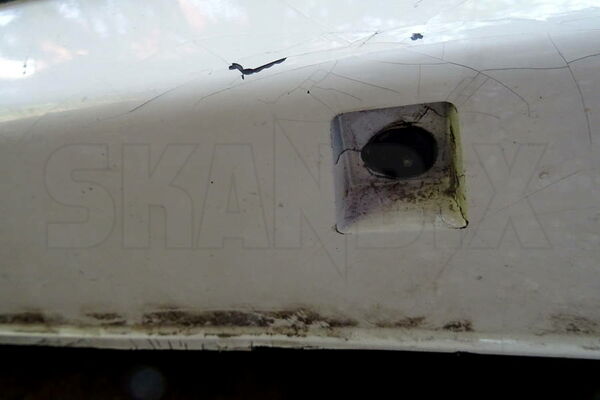
Then remove the seven clips from the bottom of the bumper skin. These have a peg in the middle that can be knocked out with a suitable punch. Then they can be easily levered out with a screwdriver. These clips, expansion plugs or expansion rivets (Skandix No. 1005982) are also used at the top of the other bumper version under the trim moulding!
In this variant, the outer skin is only hooked on top. It can now be folded down a bit, pushed forward and removed. On this occasion the bumper skin can be thoroughly cleaned on the inside, otherwise it will be difficult to do so.
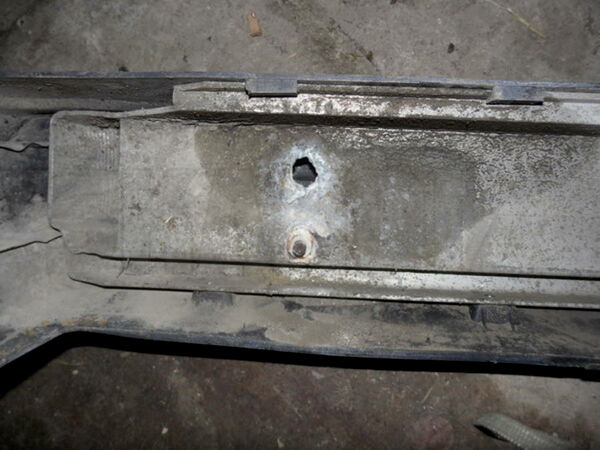
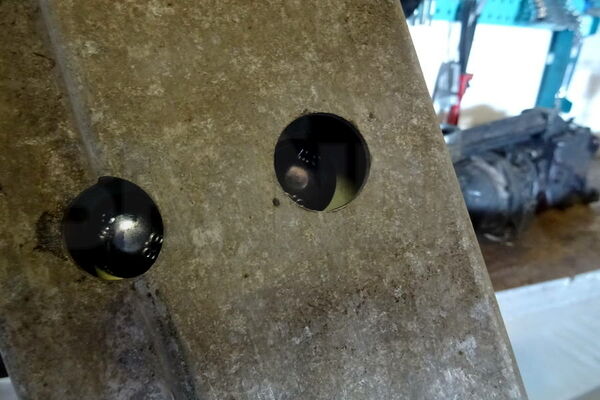
Only unscrew bumper support, if possible. Bolted connections that spin off can be levered with a long crowbar. Holding the screws in the carrier is hardly possible because these originally have a round head.

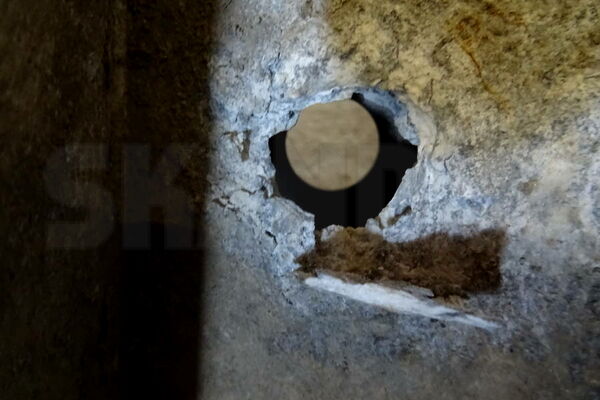
Important: if the carrier is now disassembled and should be reused with the repair kit: Thoroughly clean and remove traces of external metals (rust!). Then you should seal it with grease or wax. Painting is of course also possible, but it should be noted that not every primer works well on aluminum. In the case of a colour coating, the carrier must also be completely cleaned, preferably by blasting. Also, the mufflers should be thoroughly cleaned and de-rusted, they are currently no longer available as new parts. They were painted twice in the illustrated case with Brantho Korrux "3in1" (1046095).
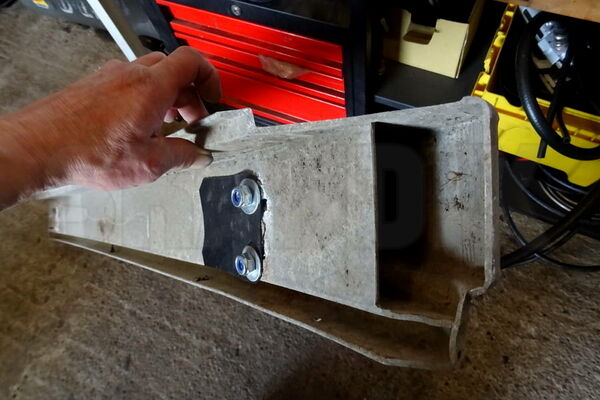
In order to avoid further contact corrosion at this point, we have enclosed pads with our repair kit, intended to prevent direct material contact. The pads should be applied to the surface of the counter plate in the support and on the impact damper. The pad on the impact damper is also available separately as a preventive measure. Fix the pad with some grease on the sheet.
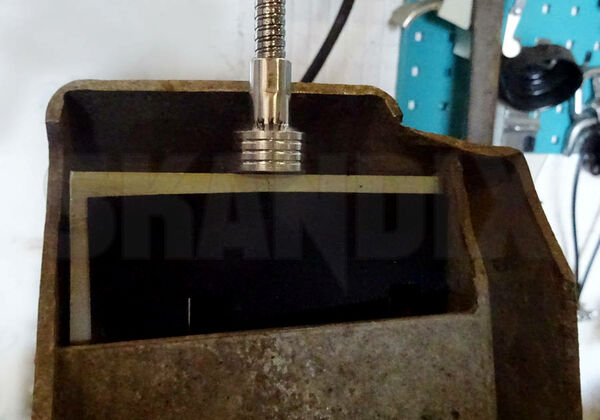
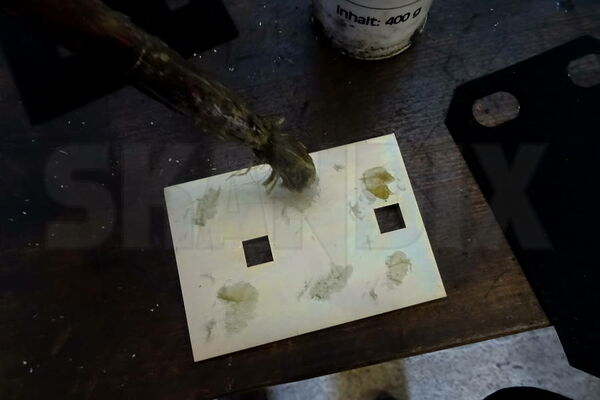
For mounting the bumper, insert the clamping plate with a flexible magnetic picker ( 1070873) from the outsid into the reinforcement. If the plate is in it`s position, fold the flexible arm of the picker. So you can fix it and have your hands free.
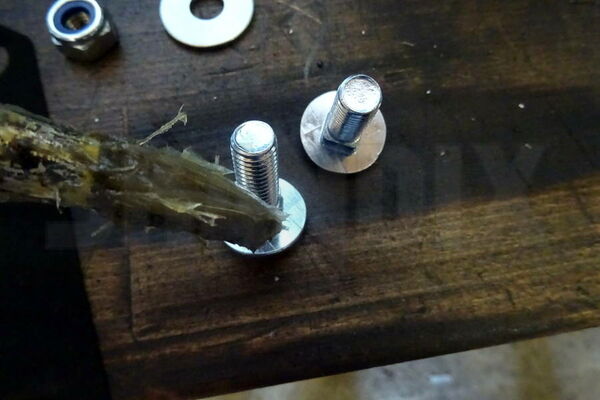
Now also coat the lock screws with a little grease on the back of the head for fixation.
Now insert the lock bolts through the holes in the outside of the support and press into the retaining plate. Due to the grease, they are kept in place.
Attach the support and tighten all four nuts until you can still move it with some force. When using the repair kit, if necessary, press on the screw head from the outside with an extension to be able to apply the nuts easier.
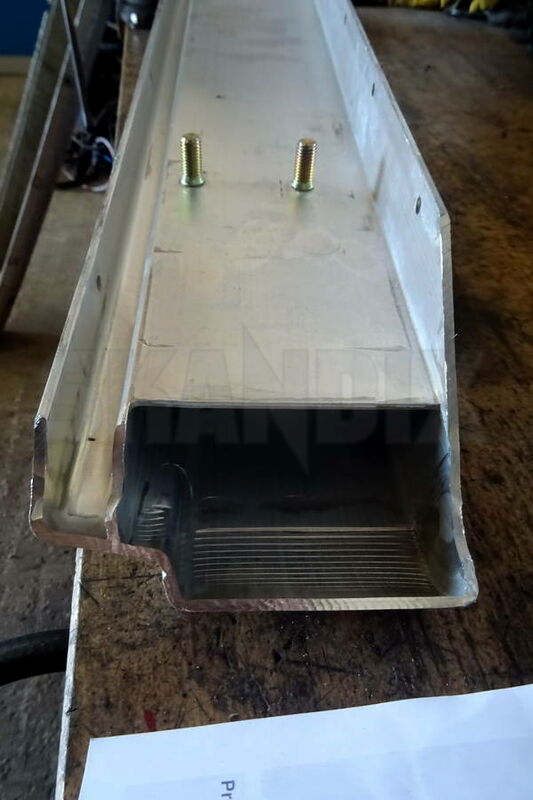
Put the outer skin over the support, if necessary, hook it up in the middle and lock it down with three loosely inserted expansion rivets. Then attach the side bolts from the boot and screw in three turns. If a different carrier is used than originally installed, the following applies: -When the variant is used with the above holes for the expansion rivet in conjunction with the outer skin to hook up (picture), then you can ignore the top connection. The skin is fixed with the seven rivets and four screws as well, it sits tight enough on the support when properly installed. This is not the case, however, if the impact dampers have ever been lightly pressed. Then the outer skin can rattle. In such a case, the skin may be fixed to the top of the support with a suitable PU or MS polymer adhesive (e.g., Innotec Adheseal, 1039424), which, of course, will make re-disassembly difficult. - In the reverse version (in Figure 1 and 5) with the angled edge above to hook the outer skin (not available now!) this edge must be removed, otherwise you cannot properly attach the outer skin. The aluminum can be sawed quite well, but it is absolutely necessary to wear protective glasses. In addition, drill the holes for the seven upper expansion rivets into the support. It does not fit without this rework!
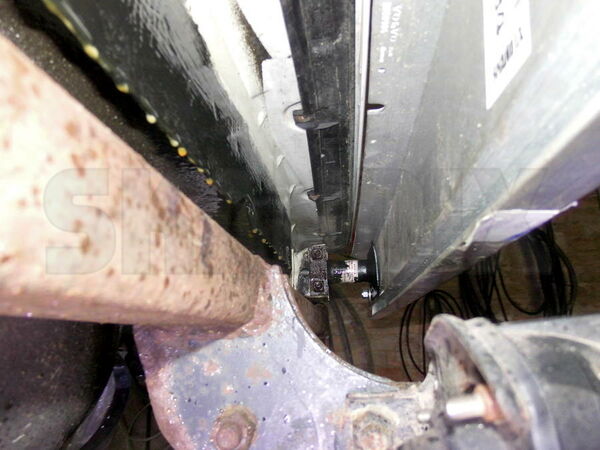
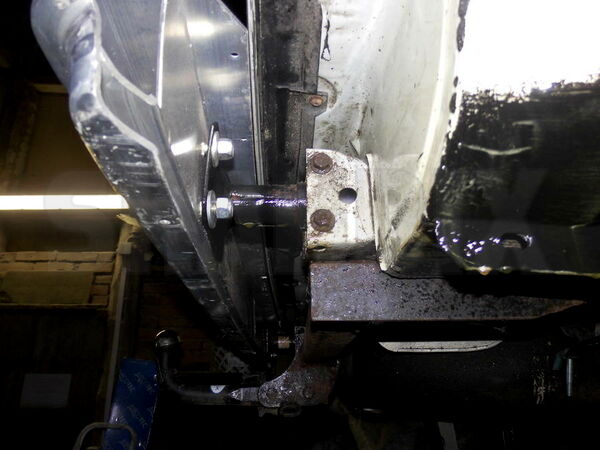
Now move the carrier in the impact dampers, so that the clearance on the side and to the tailgate fits properly and tighten the nuts on the impact mufflers. Only then apply the remaining expansion rivets and lock and tighten the side screws.
- All notes serve only as an example and do not replace the workshop instructions of the automobile manufacturers! All information is supplied without guarantee!