Tool rear axle bushing
Volvo 200, 164
04.09.2024The bushings of the rear trailing arms on the Volvo 164 and 200 series tend to be worn quite often, since they have to take a lot of force constantly. We show you that the replacement is not a big problem, when you have the right press tool and you use it correctly.
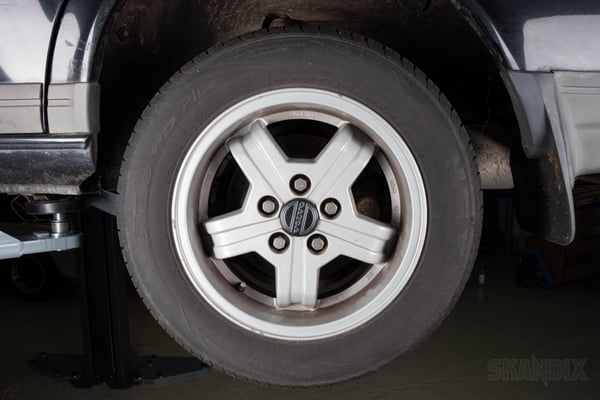
To do this repair properly a lift is required! To do this repair on jack stands will be rather painful and dangerous. Put the car on the lift and take off the rear wheels.
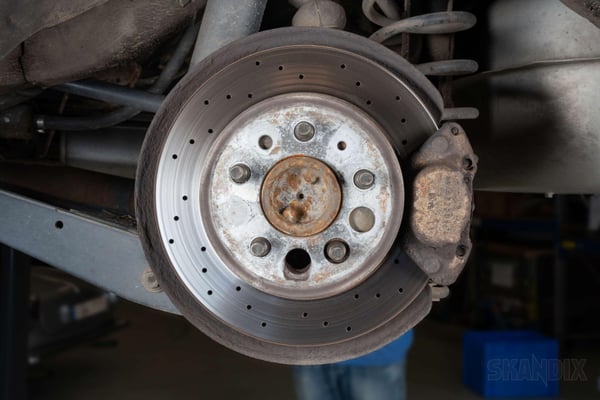
It is advisable to replace the bushings one after another, otherwise the axle would need to be supported completely.
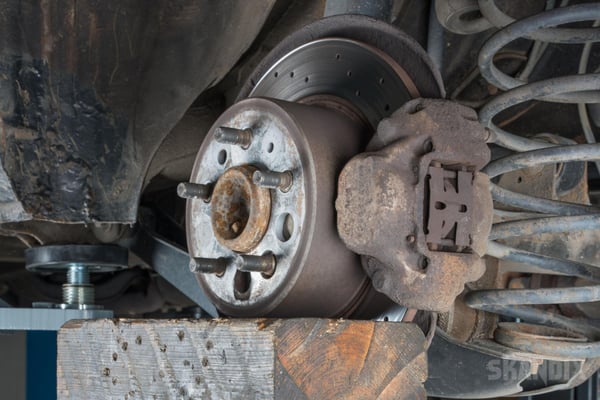
Before loosening the trailing arm, you need to support the affected side. If you support the axle under the wheel hub (like its seen in this picture), you need to pull the hand brake first.
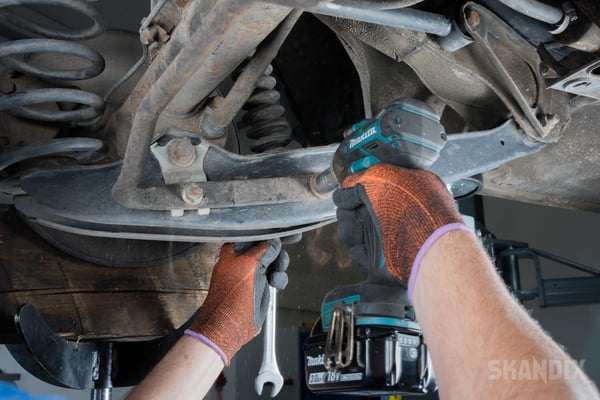
If your car has a rear sway bar like this one does, unbolt and remove the sway bar completely. With the sway bar attached it will not be possible to lower the trailing arm enough to get good access to the bushing.
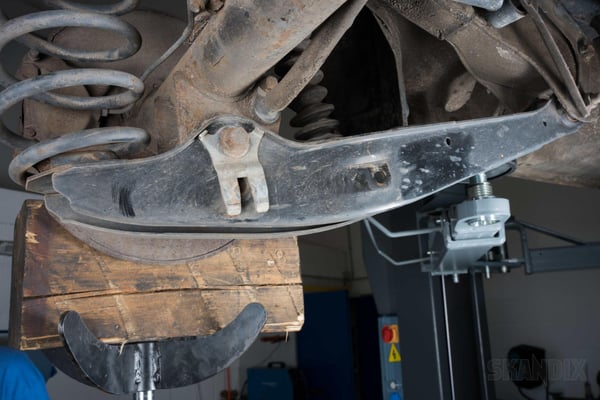
Remove the rear bracket of the sway bar, it is attached with the screw of the axle bushing to the trailing arm.
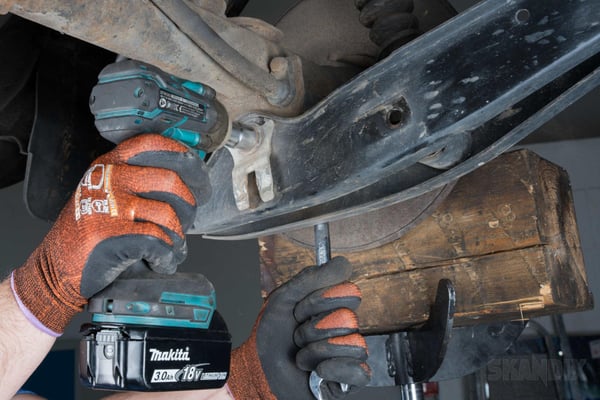
Loosen the sway bar on the other side too. To do this put the screws of the shock absorber back in the trailing arm loosely and use the transmission jack on the other side.
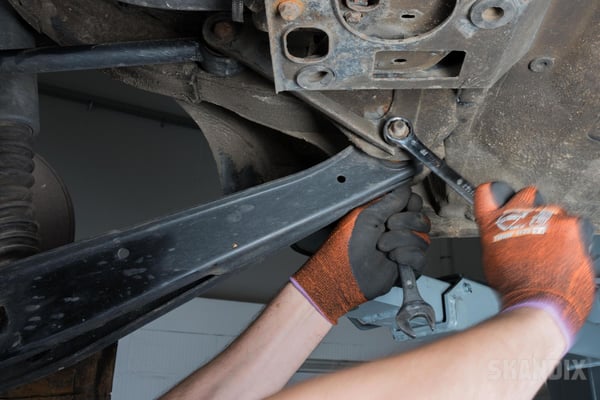
When the sway bar is taken off, loosen the screws of front trailing arm bushings a few rotations. Do not take the c´screws out completely!
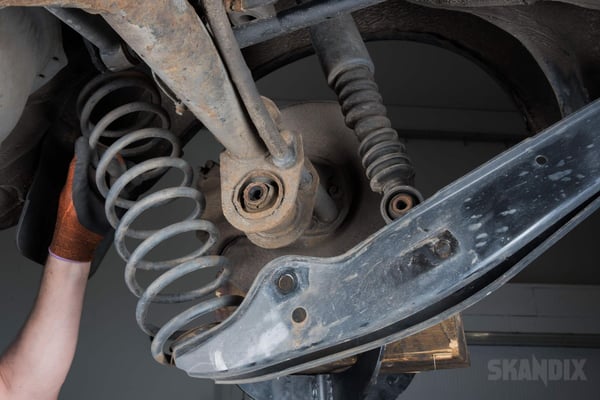
Take out the shock absorber screw on the supported side of the axle.
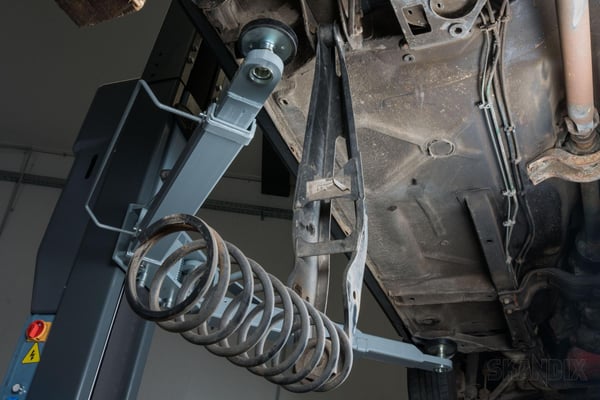
The trailing arm can be folded down easily now.
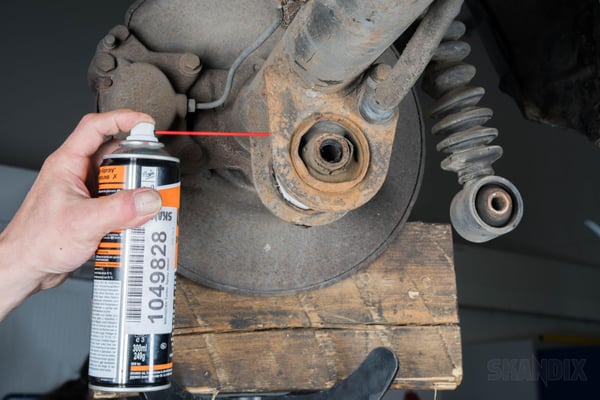
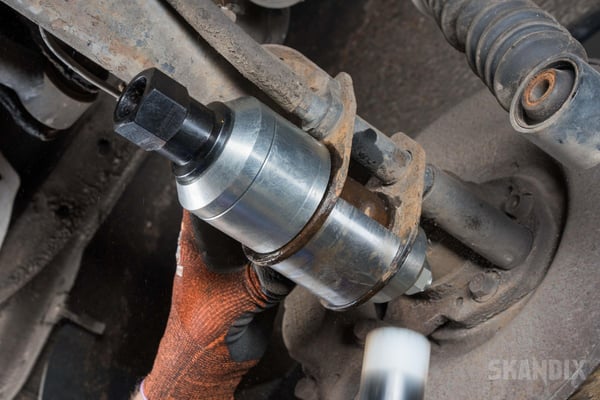
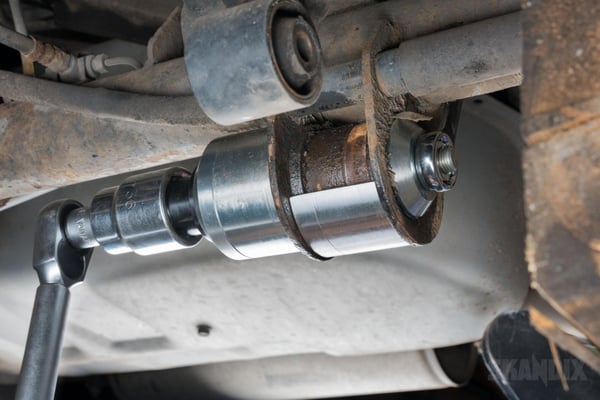
When the bushing starts to move out of the seat with a slight knock, pressing it out the rest of the way will be easy normally.
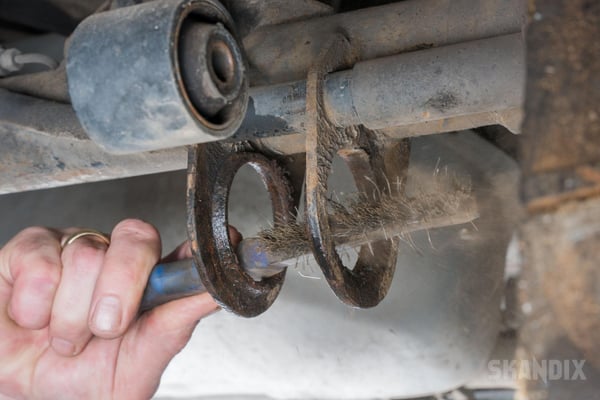
Clean the seat of the bushing and remove rust as much as possible, but do not take off material of the seat.
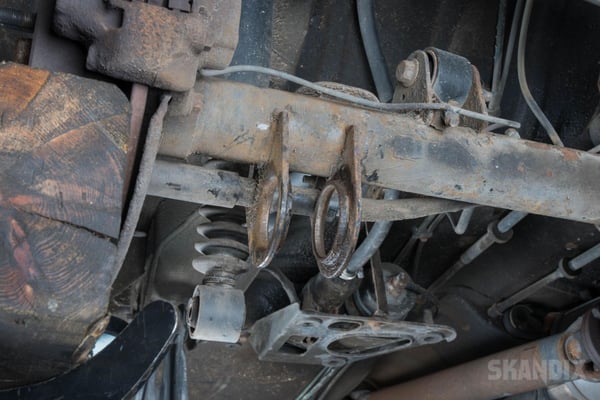
The cleaned seat of the bushing should be lubricated slightly with grease to prevent corrosion and make the install of the new bushing easier. Make sure no grease will remain on the rubber of the bushing later.

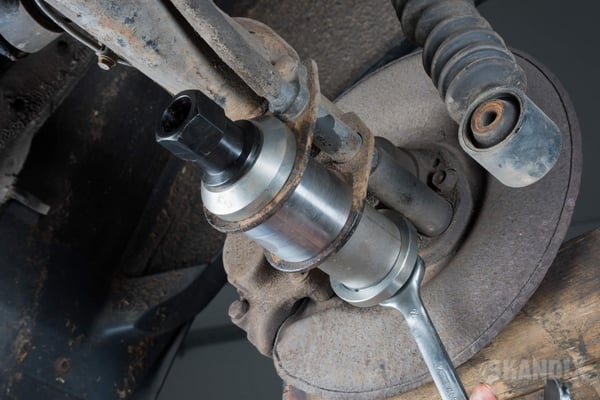
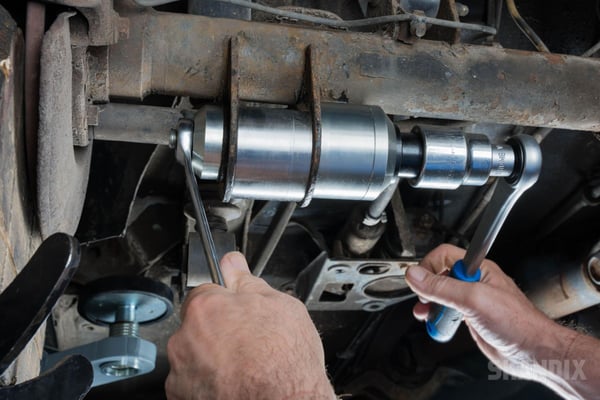
Press the support sleeve into position. Now you can pull the new bushing in the seat brackets rather easily with a long ratchet.
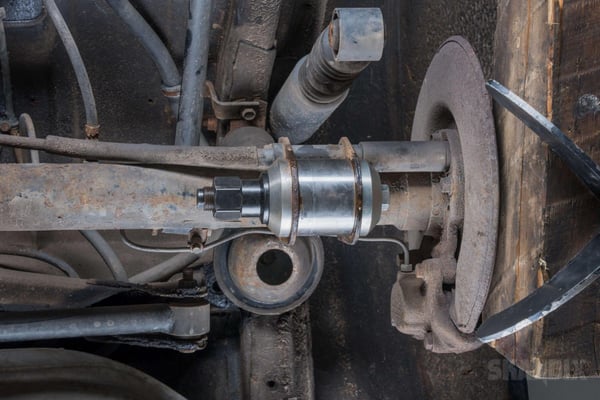
When the bushing is pressed completely into its seat it hits the outer side of the tool and you can not turn any further. Now dismantle the press tool and take it off.
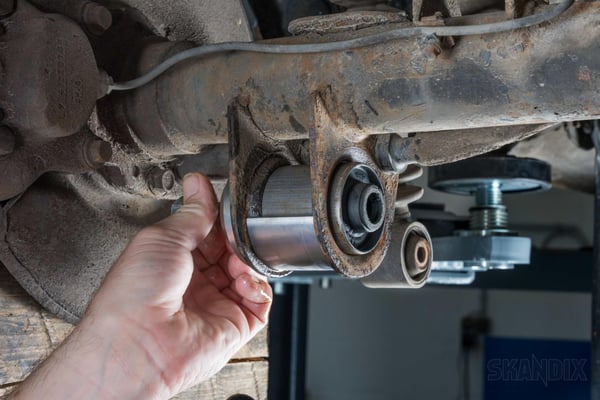
Do not forget to take out the support sleeve too.
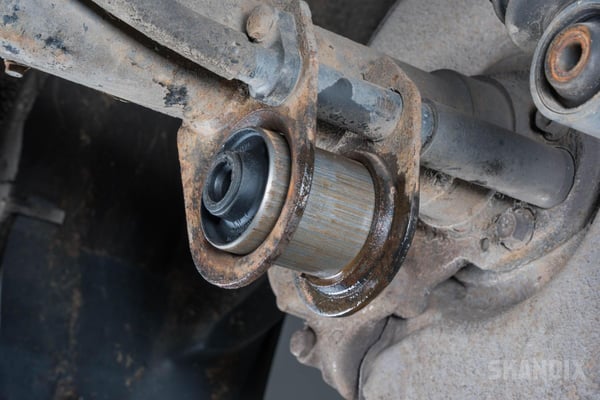
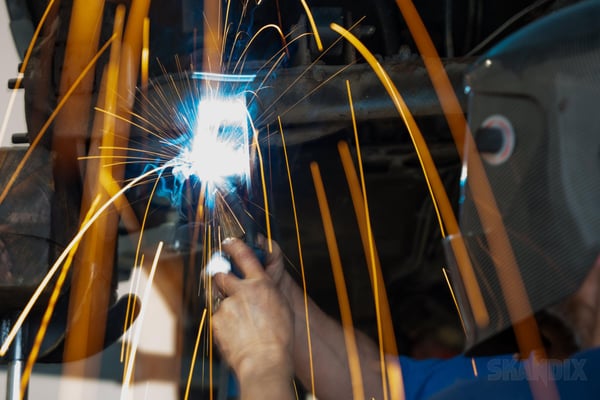
Now check if the bushing is sitting firmly into its seat. Rather often the seat brackets lost some material over time due to corrosion or cleaning. In this case the new bushing can be moved sideways with some force.
- All notes serve only as an example and do not replace the workshop instructions of the automobile manufacturers! All information is supplied without guarantee!
Additional information...
- Application advice: Tool rear axle bushing
04.09.2024, 1.5 MBytesDownload now


