Power steering, electrical Upgrade kit
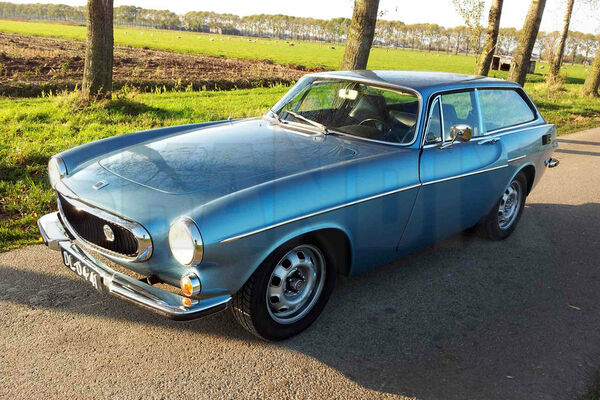
Volvo P1800
10.12.2021Retrofit manual for the electrical power steering at the Volvo P1800ES.
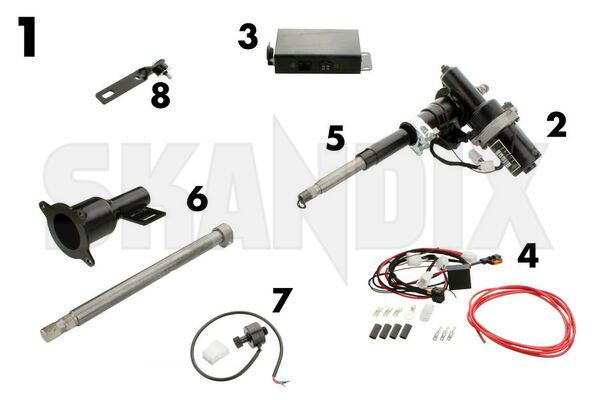
1: Powersteering, complete set
- 2. Servo motor
- 3. ECU
- 4. Wire harness with controller
- 5 Input shaft
- 6. Output shaft with tube
- 7. Speed sensor
- 8. Bracket
Take the car for a testdrive ad check the orignal steering system for faults. Also check the indicator switch, horn button and speedometer. When all OK, continue with the conversion.
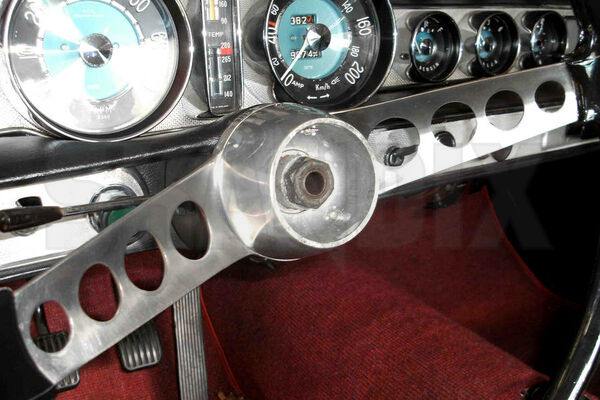
Locate an ignition switched 12v plus and label this wire. Disconnect battery earth. Remove horn button and cut the wire, the horn wire now can be pulled out through the steering box. Finally remove steering wheel.
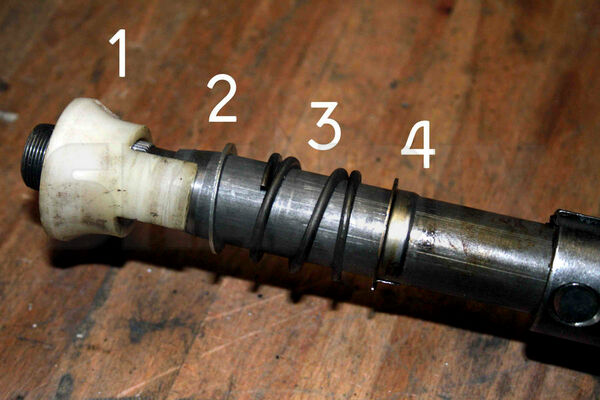
On the orignal steering shaft are installed, starting from the steering wheel: indicator reset, washer, spring and washer. Remove them, they will be refitted later onto the EZ unit in the same order.
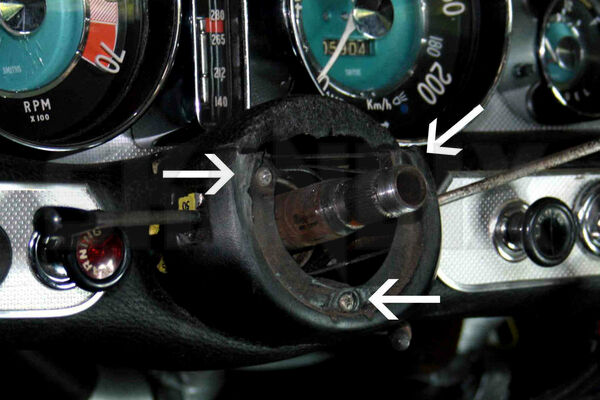
Remove the cover underneath the steering wheel, this is installed with 3 screws. Also remove the switches from the column. They do not need to be removed from the car, just leave them hanging.
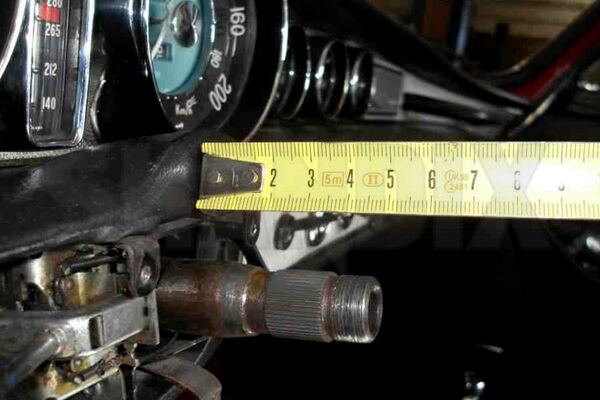
Measure the distance how much the steering shaft sticks out against the tube and dashboard. Write them down, they will be needed to determine the right lenght to cut the original column later on.

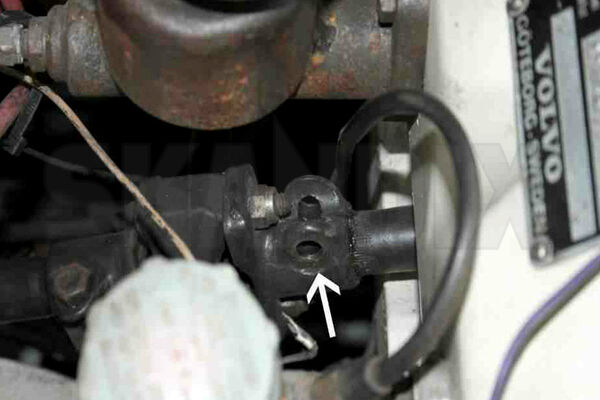
Remove the installation bolt from the steering shaft in the engine compartment (this is underneath the master brake cilinder).
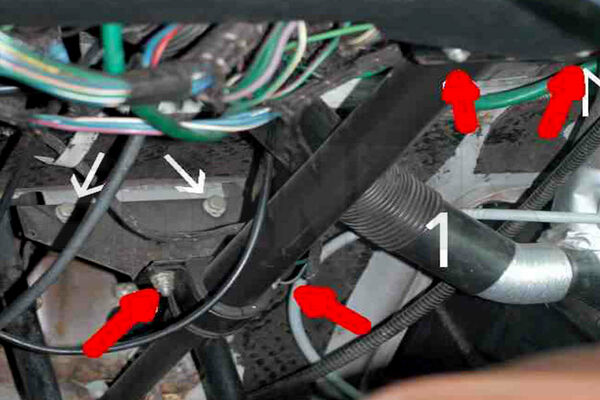
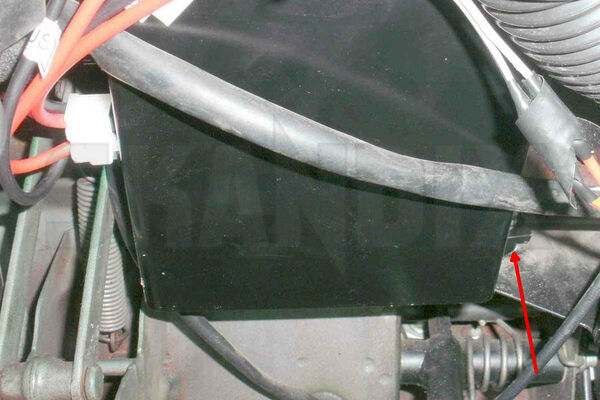
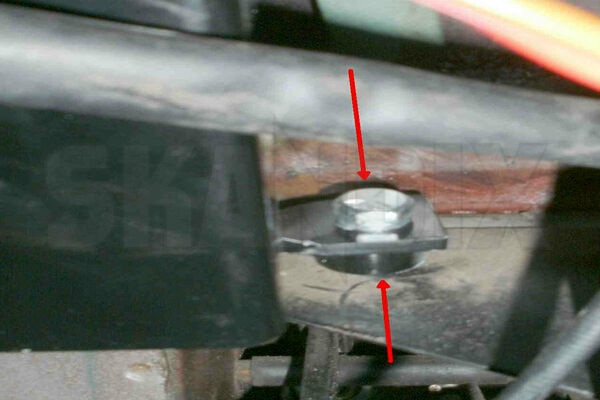
Remove the installation bolts from the brackets from the orignal steering column (see red arrows).

Remove steering column and shaft (be carefull with the switches). Temporarly install the steering wheel to be able to remove the steering shaft much easier. Shaft en column need to be removed at the same time. If the shaft is sticking in the coupling, use a slide hammer to pull it out.
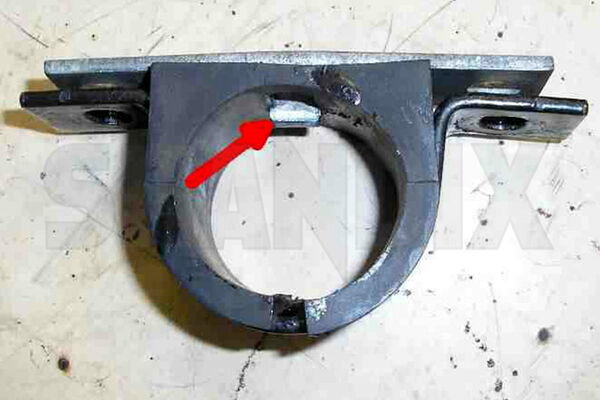
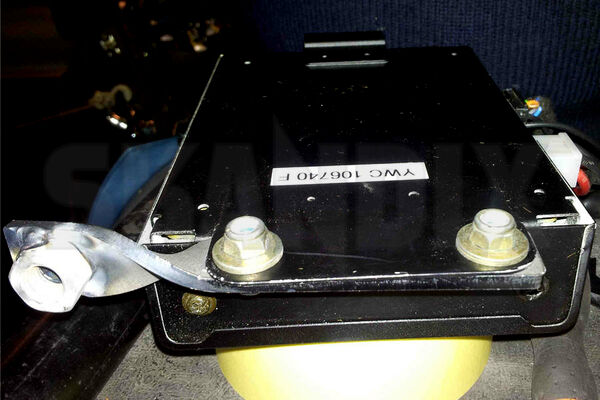
The original brackets need to be modified, the lip needs to be removed (see photo).
Install the EZ outputshaft in the car, slide it into the orignal u-joint. Do not fully tighten the installation bolt.

Now slide the output tube over the installed shaft. Finally install the clamp on the shaft.
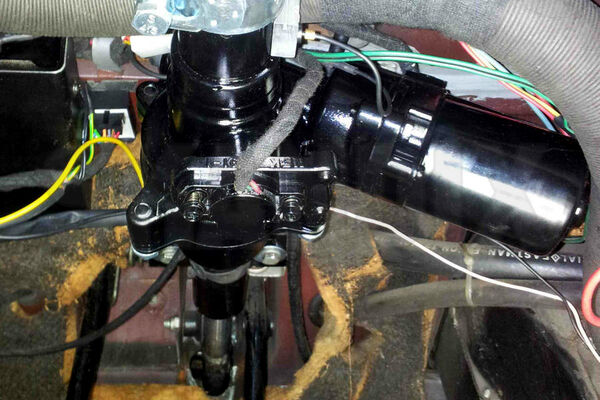
Install the EZ unit in the car, first stick the inputshaft from underneath through the dash.
Tighten the clamp from the output shaft. Install the output tube with 3 bolts on the EZ unit.
The upper part from the original steering column is re-used. The original steering tube needs to be shortened, use the measurements from the beginning to determine the right length. Be sure that after installation the tube doesn`t touch the contact ring from the horn.
Slide the just cut tube over the input shaft, set it to the right position according the measurements from the beginning and tighten the clamp.
Install the modified brackets (with rubber), also tighten the steering shaft coupling bolt and the lower bolts from the bracket on the output tube.
Install the column switches back on the EZ unit, reinstall all parts from point 3 and 4 at the EZ unit. Install the steering wheel and check the clearance between steering wheel and cover. Check if all installation bolts are tightened OK, If available also the steering lock bolt.
Install the ECU left from the steering column. Remove the installed bolt there and use the 5mm longer supplied bolt to install the bracket with ECU there.
Guide the horn wire though the firewall to the EZ unit and connect it to the contact ring from the EZ unit.
Connect the thick red wire (30+) through the fuseholder with the battery plus. V
- All notes serve only as an example and do not replace the workshop instructions of the automobile manufacturers! All information is supplied without guarantee!
Additional information...
- 1044834: Power steering, electrical Upgrade kit
- 1054642: Power steering, electrical Upgrade kit
- 1054643: Power steering, electrical Upgrade kit
- 1054644: Power steering, electrical Upgrade kit
- 1054645: Power steering, electrical Upgrade kit
- 1054646: Power steering, electrical Upgrade kit
- 1054647: Power steering, electrical Upgrade kit
- 1054648: Power steering, electrical Upgrade kit
- 1054649: Power steering, electrical Upgrade kit
- 1054650: Power steering, electrical Upgrade kit
- 1054651: Power steering, electrical Upgrade kit
- 1054652: Power steering, electrical Upgrade kit
- 1054653: Power steering, electrical Upgrade kit