Replace the fuel pump inside the tank
Volvo 700, 900, S90 (-98), V90 (-98)
22.12.2021We show how to diassemble and assemble the fuel pump unit inside the tank at the Volvo 700, 900, S/V90 Series. The manual is based on a 1995 Volvo 945 with B230FT Engine but can also be used to repair the other models (For examle the pre-pump at vehicles up to 1994). The fuel tank should be as empty as possible. Pump out the fuel over the filling pipe at unscheduled repairs.
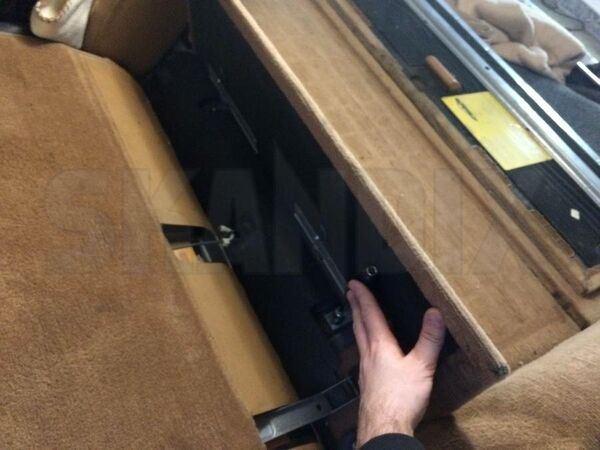
Fold down the backseat bench and screw out the 3 nuts of the cover lid behind the bench.
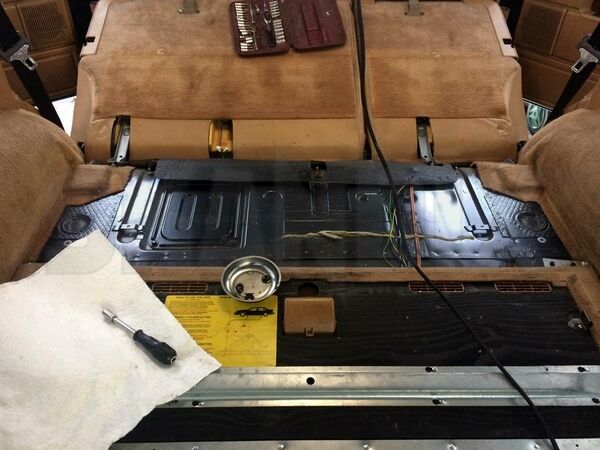
Now you can reach the Floor panel service door.
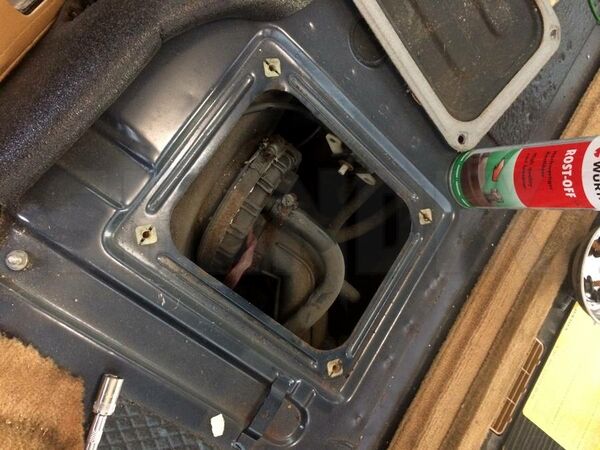
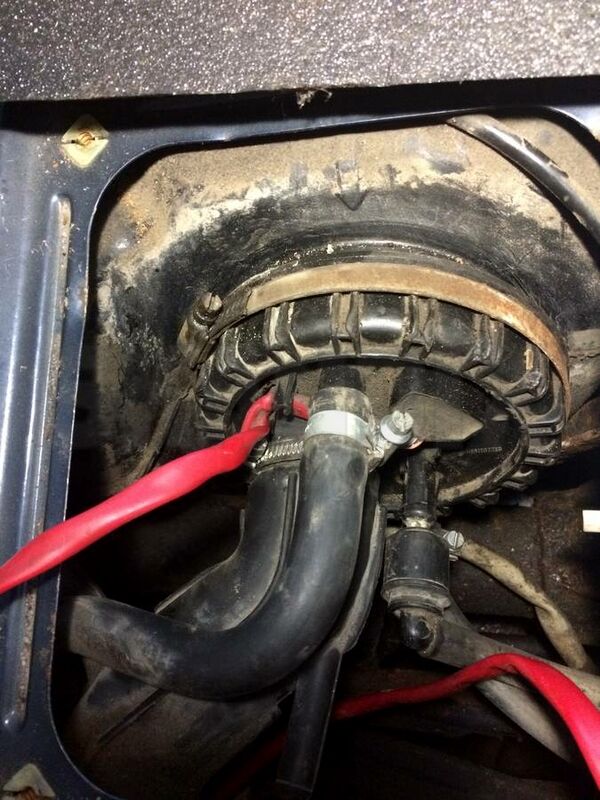
Disassemble the service door and clean the area. Apply rust remover to all hose clamps.
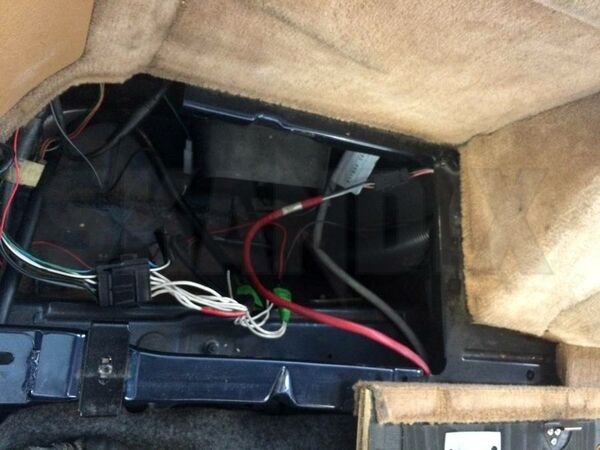
The wiring harness for the fuel pump is firmly attached to the pump and must therefore be completely led out to the pump cover. First remove the left rear floor flap in the boot and disconnect the plug connection.
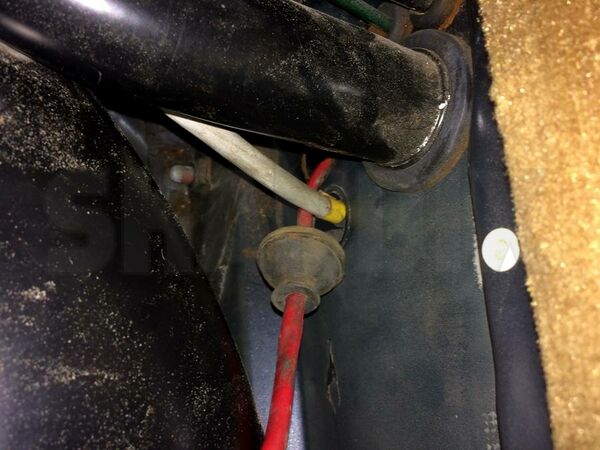
Pull out the cable grommet under the front boot floor flap from the body and pull out the cable in the direction of the fuel pump.
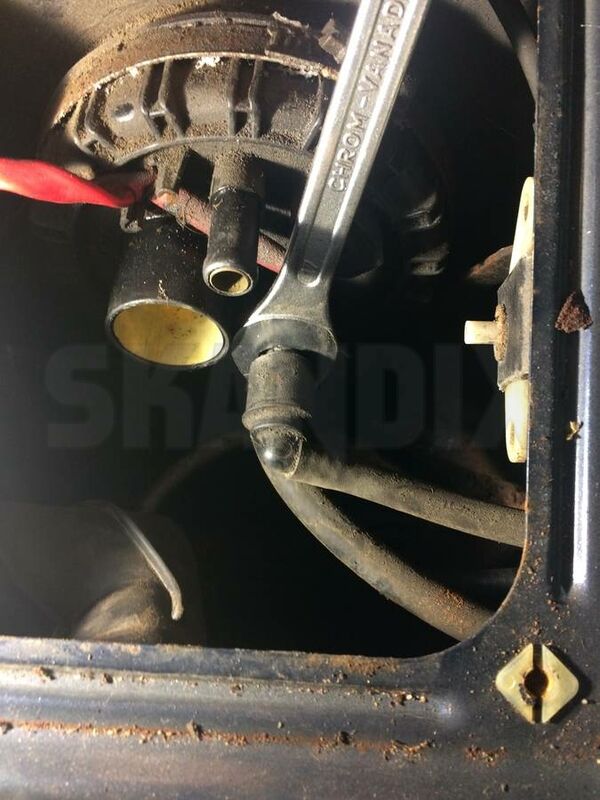
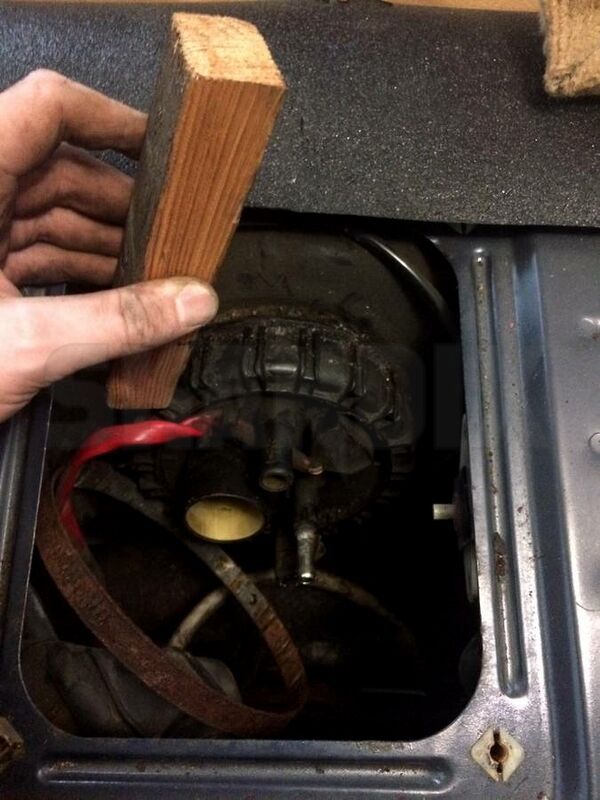
Remove the union nut/mounting ring of the fuel pump with Volvo special tool 9995448. Alternatively you can use a piece of wood and a hammer.
Caution: The thread at the tank is fragile and cannot be repaired in case of damage!
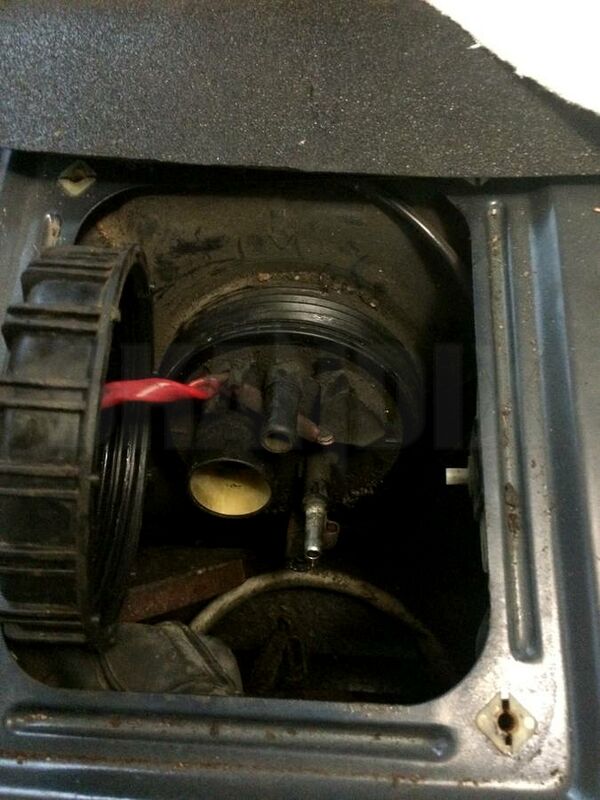
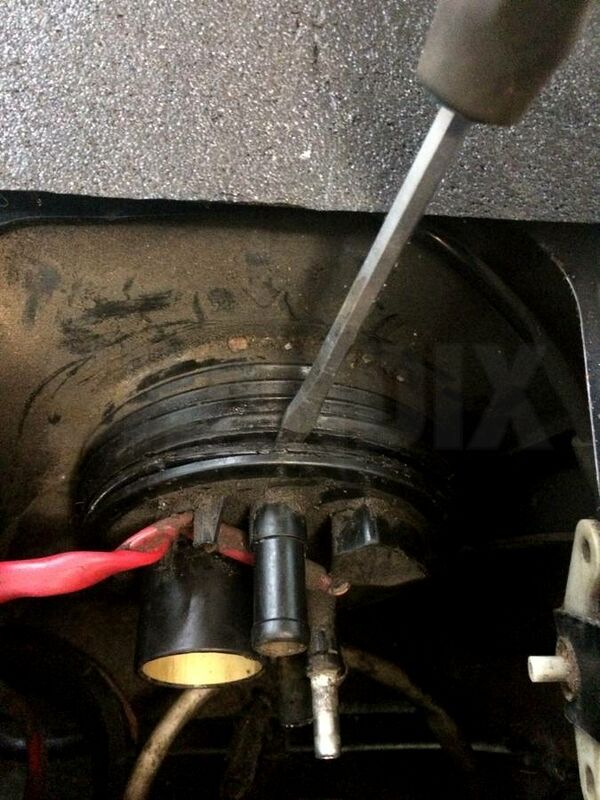
Loosen the pump from the tank. You can carefully lever with a flat tool if the pumpe sits sticky after years.
The correct disassembly is a game of patience, but this procedure is successful:
1. pull the pump straight back under the floor panel.
2 Turn the pump clockwise (approx. 60°) under the floor panel.
3. Push the pump back to the front and then turn it clockwise a little again.
4. pull the pump straight upwards, then turn it slightly counterclockwise and finally pull it out completely through the service door.
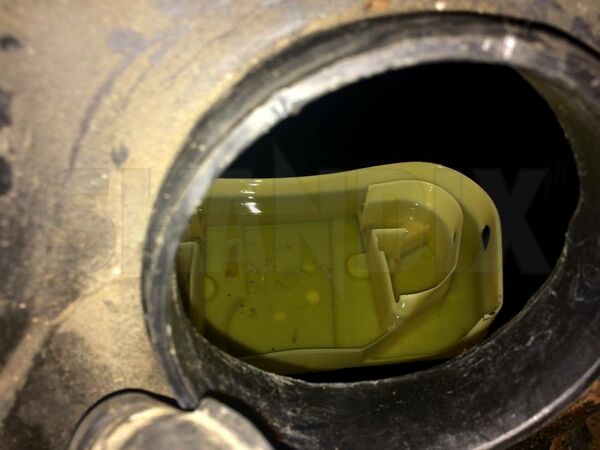
Rolling pot at the bottom of the tank.
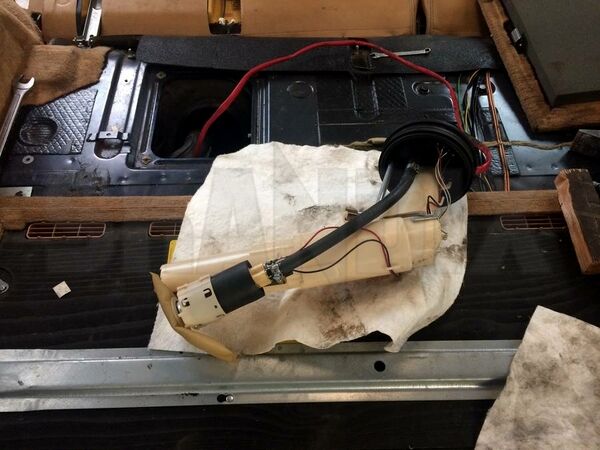
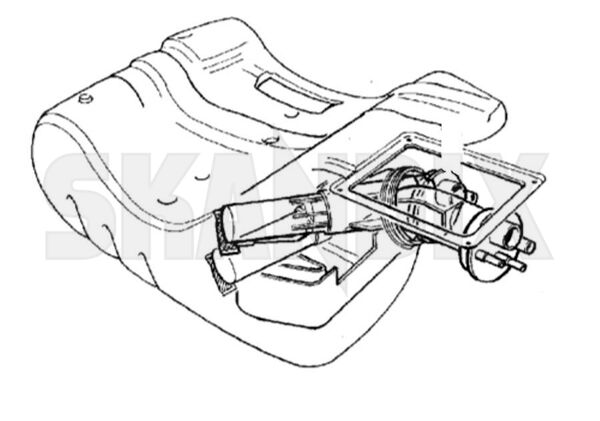
Now the complete unit can be replaced or repaired.
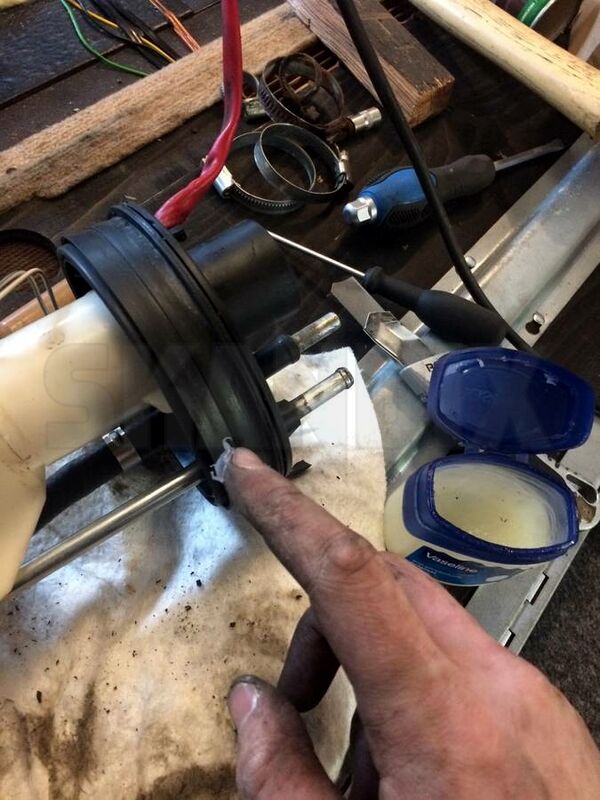
Apply a suitable lubricant (For example technical vaseline) to the seal and the tank.

Inserting the pump is done the other way round in the same way as disassembly. Please note, however:
- It is absolutely necessary to reinsert the pump correctly into the rolling pot! If this is not the case, the pump can later suck in air when cornering - the motor stops! When inserting the pump into the tank, it is best to use a flashlight and insert the pump with the other hand.
- It is essential that the seal slides cleanly into the seat. It tends to "roll up". If it does not fit properly, it will smell of fuel inside. Therefore, when inserting the pump, check the seal with a mirror all around and correct if necessary with a flat tool.
Now the union nut can be carefully reassembled. If it cannot be attached cleanly to the thread, it can be brought into a circular shape by lightly tightening the large clamp before assembly.
Attention: Tighten carefully and do not overtighten to avoid damage to the thread!
All hose clamps should be replaced by new stainless steel clamps.
Lay the wiring harness clean again.
Now a tightness test must be carried out. Do not reinstall the service door yet. Run the motor with the service door open and check the area. When everything is tight, fill up the fuel tank and check again. Once you have made sure that everything is tight and that there is no smell of petrol, you can complete the repair by installing the service door and the rear seat.
- All notes serve only as an example and do not replace the workshop instructions of the automobile manufacturers! All information is supplied without guarantee!
Additional information...
- 1010999: Fuel pump electric Repair kit
- 1000603: Pump, Fuel pre-supply
- 1004918: Pump, Fuel pre-supply
- 1006098: Sender unit, Fuel tank
- 1006578: Sender unit, Fuel tank
- 1014285: Fuel pump electric
- 1015002: Fuel pump electric Repair kit
- 1017901: Fuel feed unit
- 1020316: Fuel feed unit electric
- 1023711: Sender unit, Fuel tank
- 1067033: Fuel pump electric
- 1025173: Seal, Fuel sender unit Rubber
- 1027767: Locking ring, Fuel feed unit